Two weeks in the Forge
Published on Feb 28, 2025 by Impaktor.
Rivulets of sweat steam hot in the mold
Splashes in magenta, yellow and gold
Glowing sparks flashing too hot to hold
Made for pounding a massive weight
Forming metal, a willing fate
Anvil - Forged in Fire
Table of Contents
1. Introduction
Herein I collect some photos and teachings from the 2 weeks I spend in the blacksmith shop.
- First week was focused on smithing,
- second week was focused on metal casting.
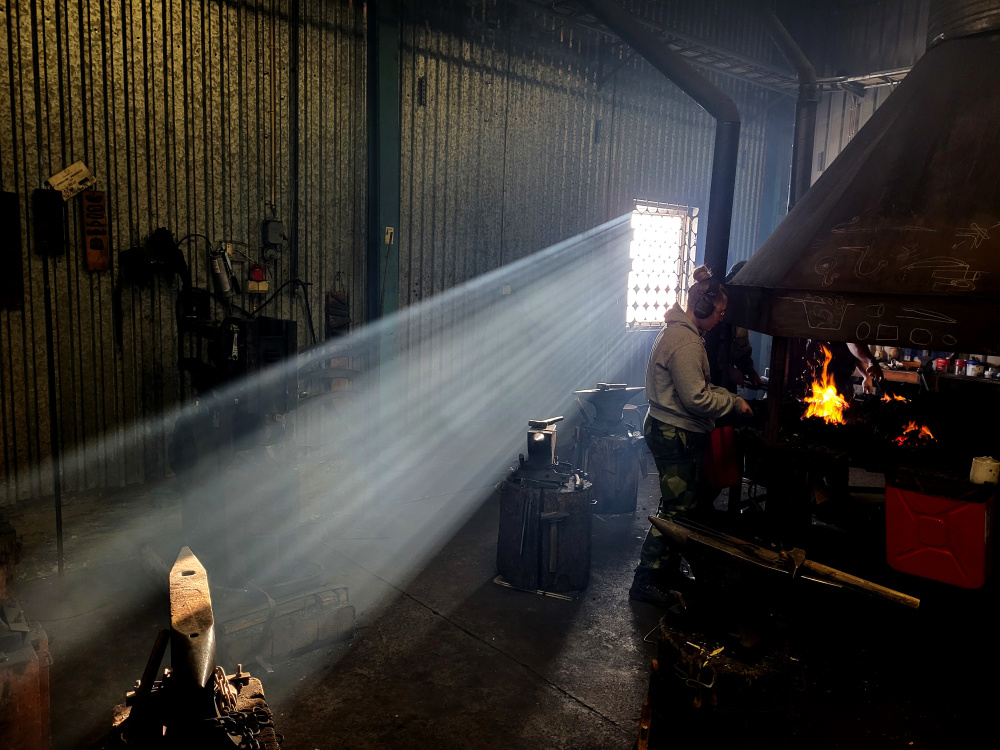
Figure 1: In total, there’s room for 12 blacksmith students, each have their own forge and anvil
2. Week 1: blacksmithing
2.1. Cost of the blacksmith shop
Just for fun: This blacksmith shop houses 12 forges, for the 12 students (2 year training), and they consume about 7 tonnes of coal (polish koks) for 100,000 SEK annually, which is the main cost of running the forge. There is no heating in the building, but temperature soon runs hot, even in winter when temperature reaches -15 C, as was the case during my time there (with open window).
2.2. “By hook or by crook”
I tried my hand at making hooks of various kinds. Initially I was too conservative with the heat, causing the tip of the iron to split when striking it with the hammer - i.e. demonstrating the saying “strike while the iron is hot”.
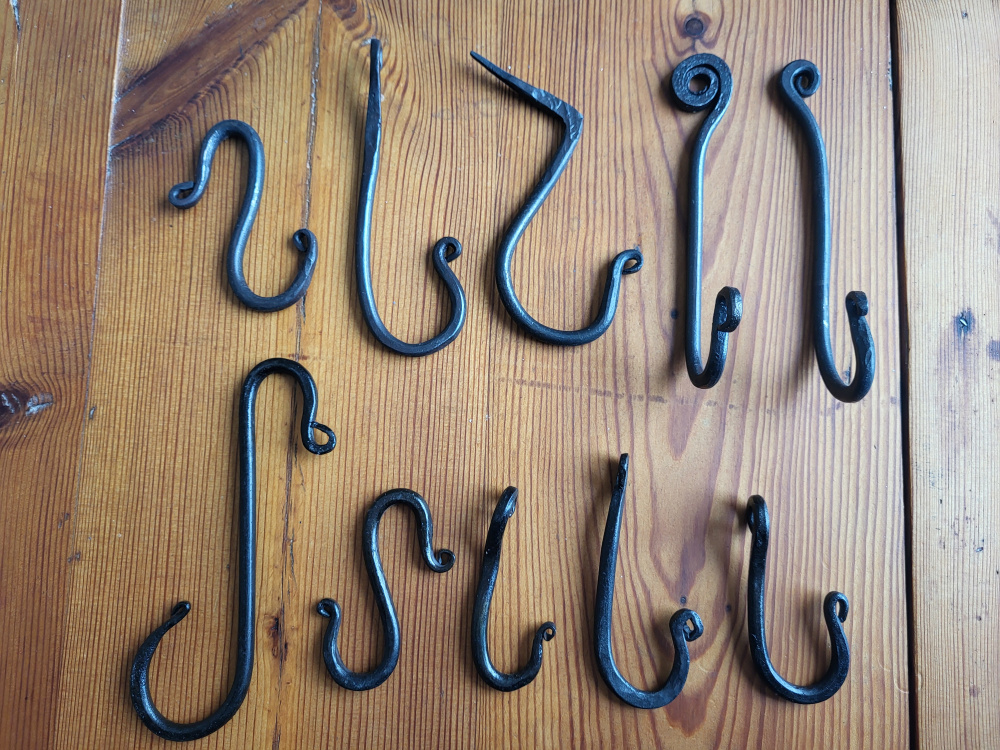
Figure 2: Hooks of various kinds (top row have been treated with linseed oil, bottom with tar).
I also tried making four nails but it was surprisingly hard, compared to making hooks, and required several new techniques. Apparently, making nails is unpopular among many smiths.
2.3. Fire Steel
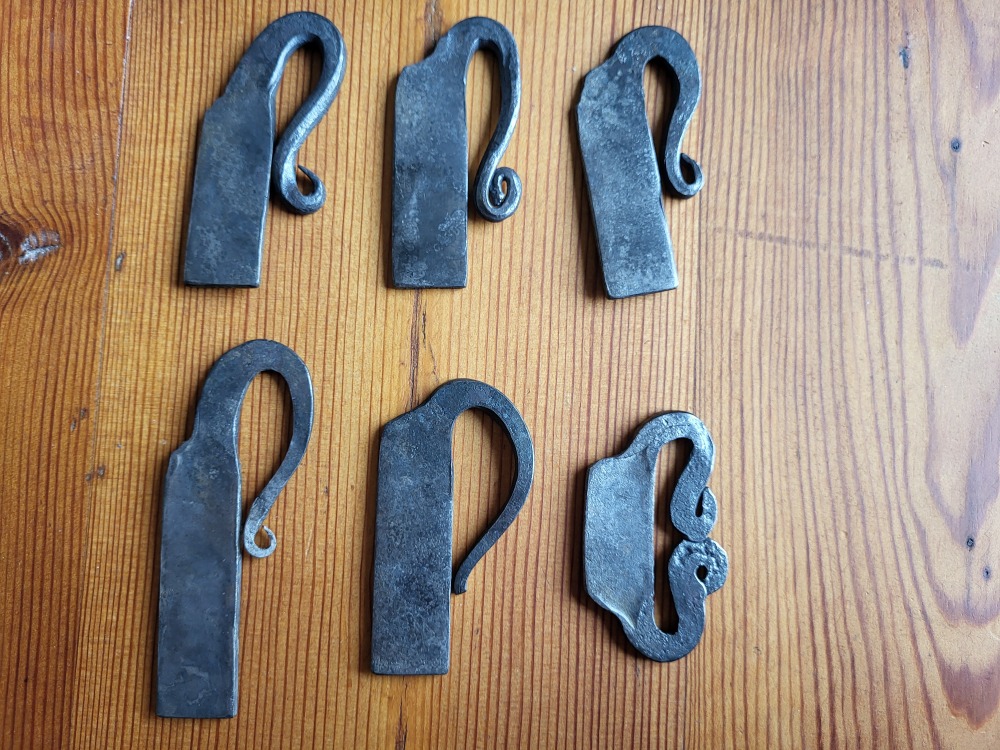
Figure 3: The end-result was 6 pieces of firesteel, of mixed estetic quality, but all ready to sparkle at the strike of some flint.
For making fire steel we work with high carbon iron, as the sparks are generated by the flint (or other rock that’s harder than steel) removing pieces of iron and carbon as we strike the fire steel.
A piece of fire steel will last a life time, assuming it’s not dropped on a hard surface, in which case it can crack.
It is important to only strike the steel when orange/yellow in color – any colder and it can crack, and if too hot, we damage the steel, e.g. seen when it sparkles firework (swe: tomtebloss).
| Coal | Comment |
|---|---|
| < 0.3% | Iron, Can not be hardened |
| > 0.4% | Can be hardened |
| > 0.8% | High carbon, a.k.a. 1080 steel |
The process is:
- Heat (repeatedly) the steel to orange color when forming the decorative tail against the anvil with the hammer
- Once done, we let it anneal (swe: normalisera) by heating the entire piece to orange, then let it cool on its own. This is to relax internal tensions, and let crystal structure of iron-carbon find its new natural form (see figure 4 below).
- Once cool, file down any sharp edges to make it comfortable to hold, and make the striking surface be smooth.
- Then re-heat the part closest to the striking surface, and dip in water, and pray to Crom it will not crack.
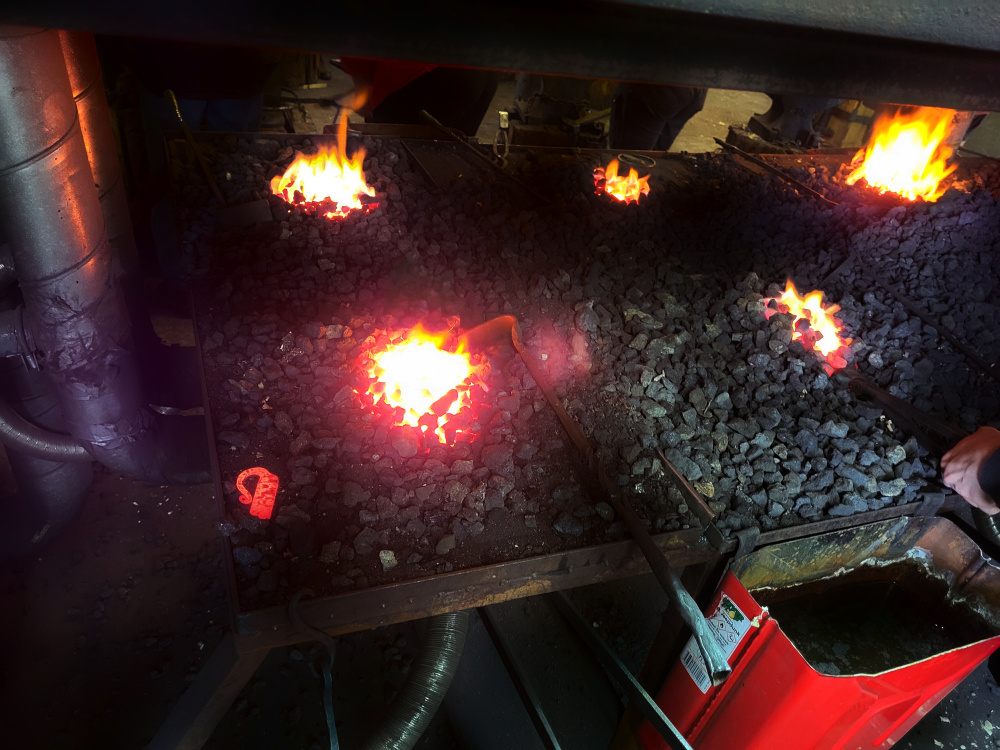
Figure 4: To the left is one (of the six) pieces of fire steel I made, currently being “noramlized”, i.e. slow cooling.
It is possible to use oil, rather than water, for hardening, however, for fire steel using water is the best. We found dipping only half of the fire steel in water caused it to crack. Likewise if the water was too cold, which is why I heated mine by submerging a thick red-hot iron in the water (maybe raising the temperature to 50 C - 60 C) prior to hardening the fire steel.
2.4. Post-processing
When the iron is hot (preferably still orange), aggressive brushing it with metal brush will yield a much nicer polished surface.
Final step is to protect the iron from rusting. I do this by heating them to orange, once cooled enough to loose the color, I apply a thin layer of tar using a rag.
(Fun-fact: the tar-covered rag I used to apply the tar later turned out to be a dead mouse. A regular piece of cloth will work just as well).
A second method is applying a very thin layer of regular linseed oil (swe: linolja), and let it dry.
I use both methods, below I’ve applied tar + heat on the objects to the left, and will apply linseed oil on the non-tared hooks. The fire steel will be untreated.
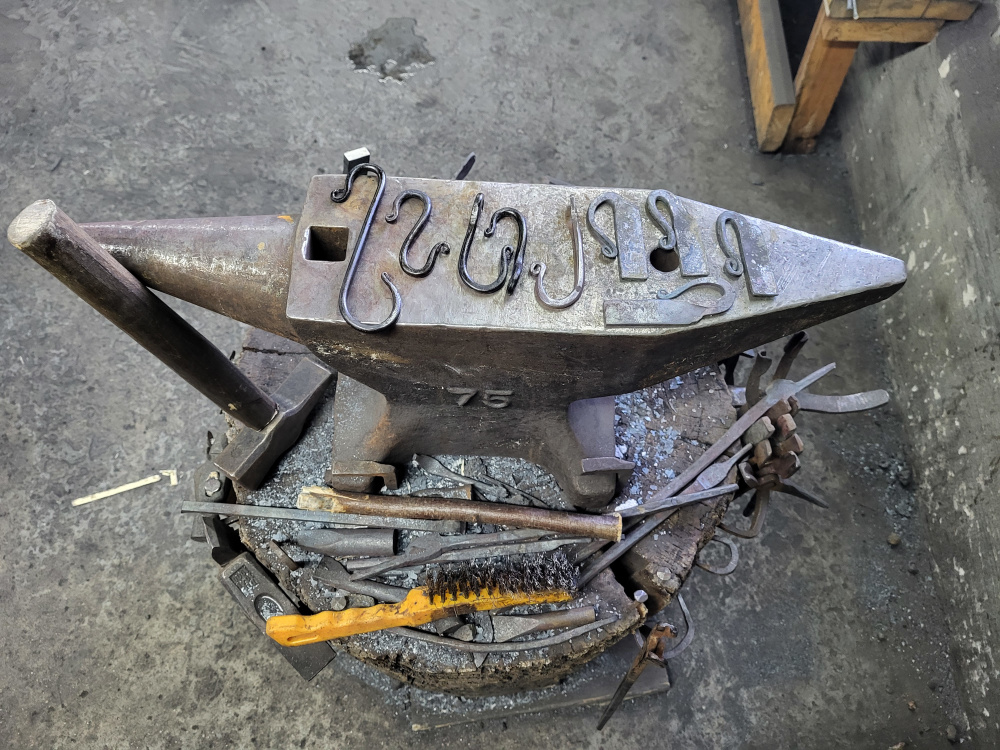
Figure 5: Four hooks on the left have been tared. Four fire steel on the right will only be treaded by the natural oils from the human hand.
3. Week 2: Casting
During the Bronze age (5000 years ago) they used many different kinds of copper alloys. Falun in Sweden supplied much of Europe with Copper. In Scandinavia the tin required for the Bronze alloy was sourced from either Cornwall or the Iberian peninsula (travel by paddle boat).
The “Bronze Age”, I’ve been told, is more aptly called “The Copper Age”, as they used various copper alloys (it not simply pure copper, like the ax of Ötzi (wikipedia)), such as:
- Brass
- 90%-95% Copper + 10%-5% zinc
- Bronze
- 80% Copper + 20% tin (added in the end, lest it boil off too early)
Interestingly, once casting became a way to mass produce items, the seam from the casting mold was kept, rather than filed down. This then became so “fashionable”, that also stone tools were hand crafted to have the seam, as if it was cast.
I start off by casting in brass, as it is very easy (but very poisonous) to see when it has reached the correct temperature, as the molten zinc starts burning with turquoise flames and glow white hot.
3.1. Making the mold
Roughly 90% of the success of casting comes from the attention put into making the mold. We use mineral sand (from gds.se, 25 kg / 900 SEK) that is packed tightly. The process is:
- Pack sand in the (bottom) wooden frame (“sand flask”).
- For the top layer of sand, I press it through a grater (swe rivjärn)
- Then a thin layer of chalk between the object and the sand
- Place the object, then repeat above in reverse for the top part of the flask: a dab of chalk, sand (grated), more sand, and pack.
- Remove top part and add: gas channel, pouring channel, and remove the original

Figure 6: Pack mineral sand hard, and even

Figure 7: Thin layer of white chalk, then press the original into the sand. Put on top part of the “sand flask”, and repeat packing of sand. Here, the original got stuck in the upper half.
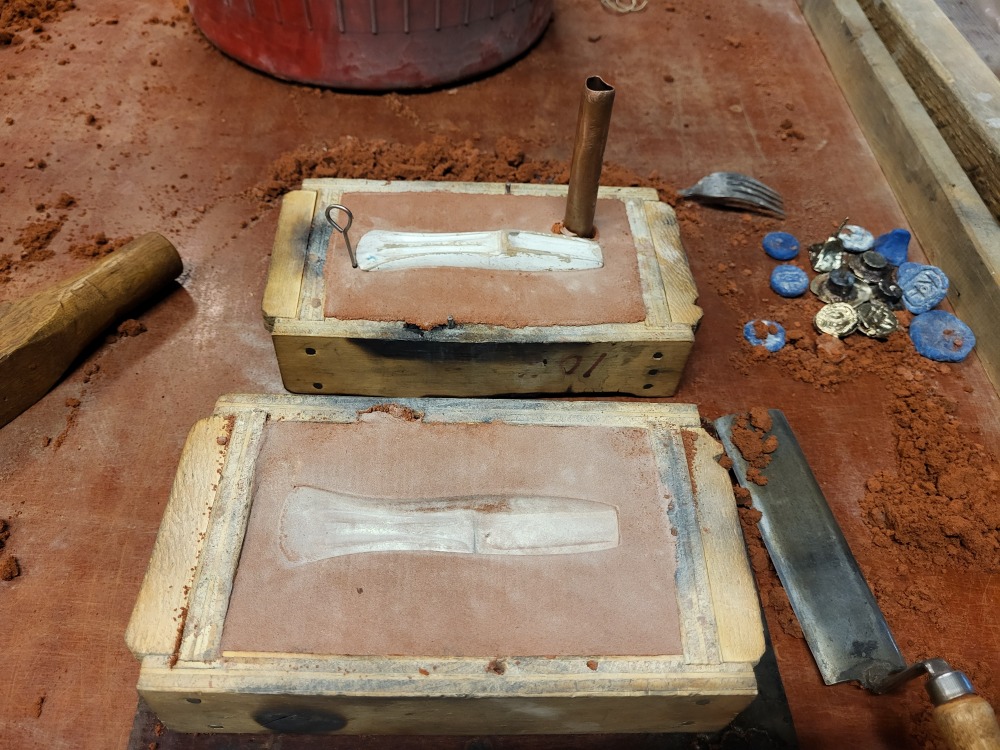
Figure 8: I keep the original in the sand for as long as possible, here while adding gas vent and larger hole for pouring in the top half
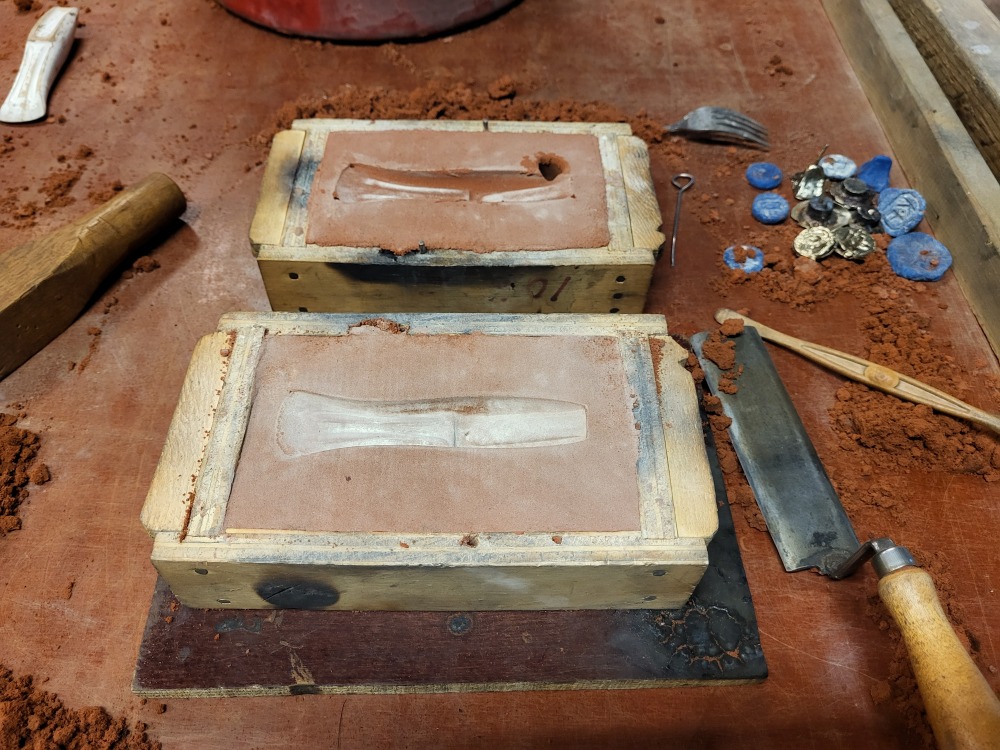
Figure 9: Mold is ready
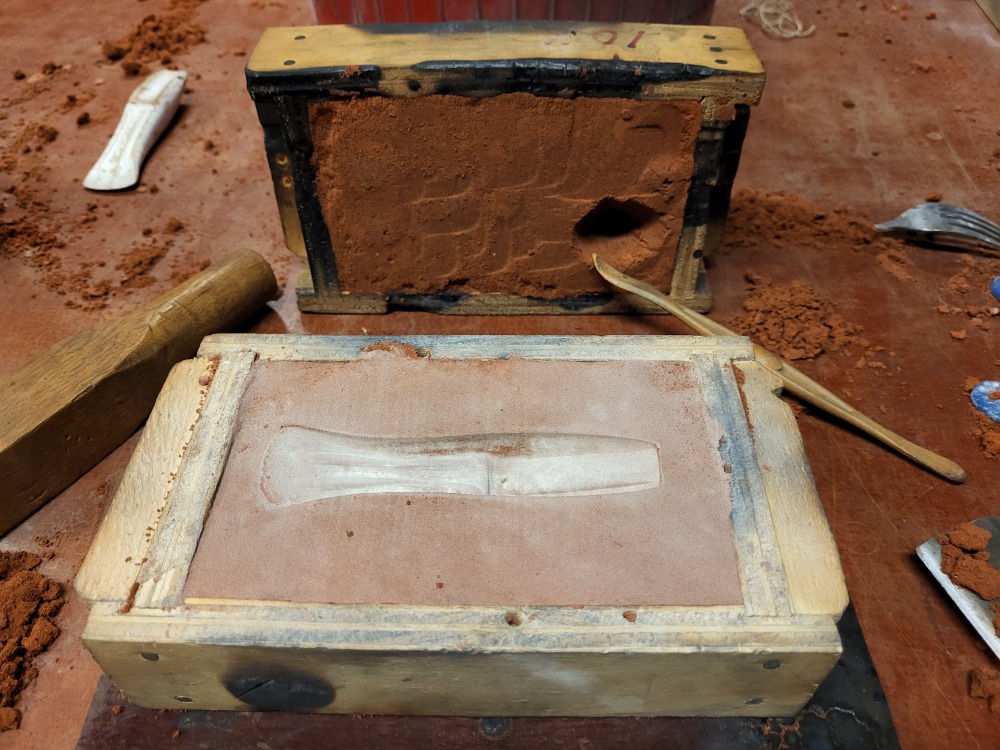
Figure 10: Put the top part on its side, and make the hole into a “funnel”
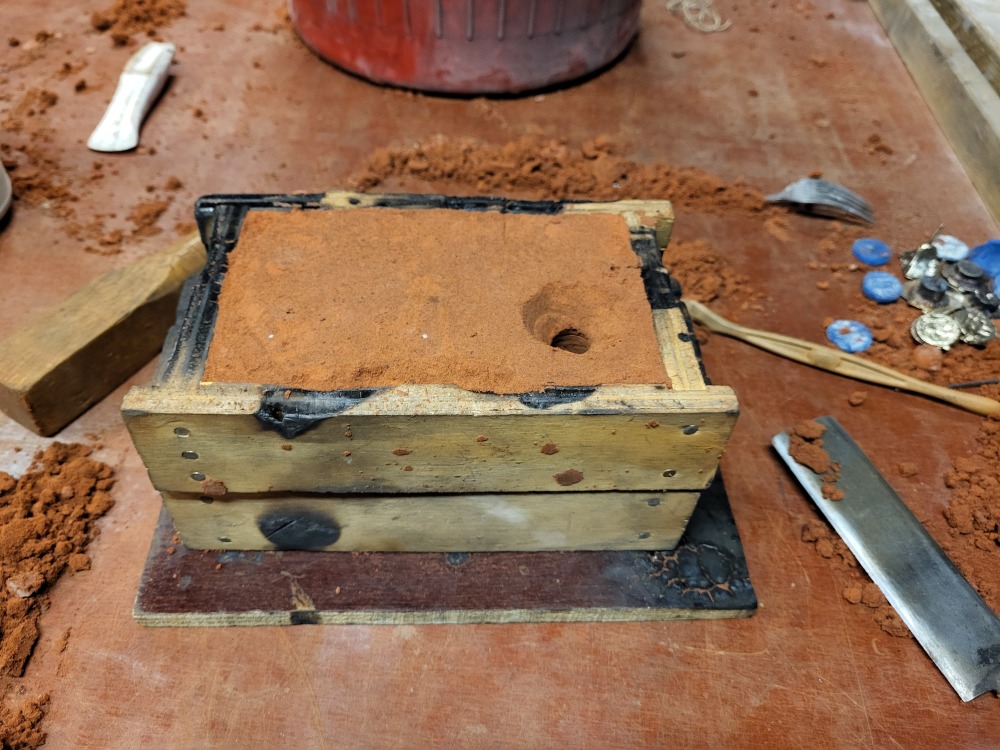
Figure 11: Now we’re ready
3.2. Helter Smelter
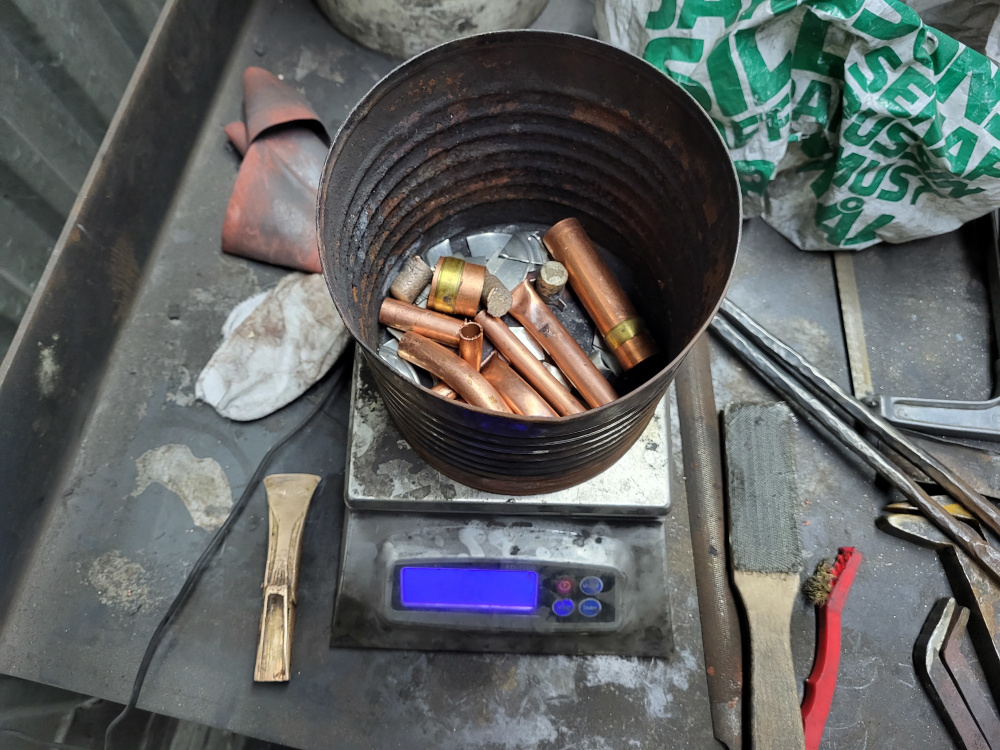
Figure 12: I weight a previous cast ax head (left) to just shy of 200 g. I add 80% copper (from pipes) and 20% tin (from a flea market trophy, Svegs Ångpanneförening) to about 300 g
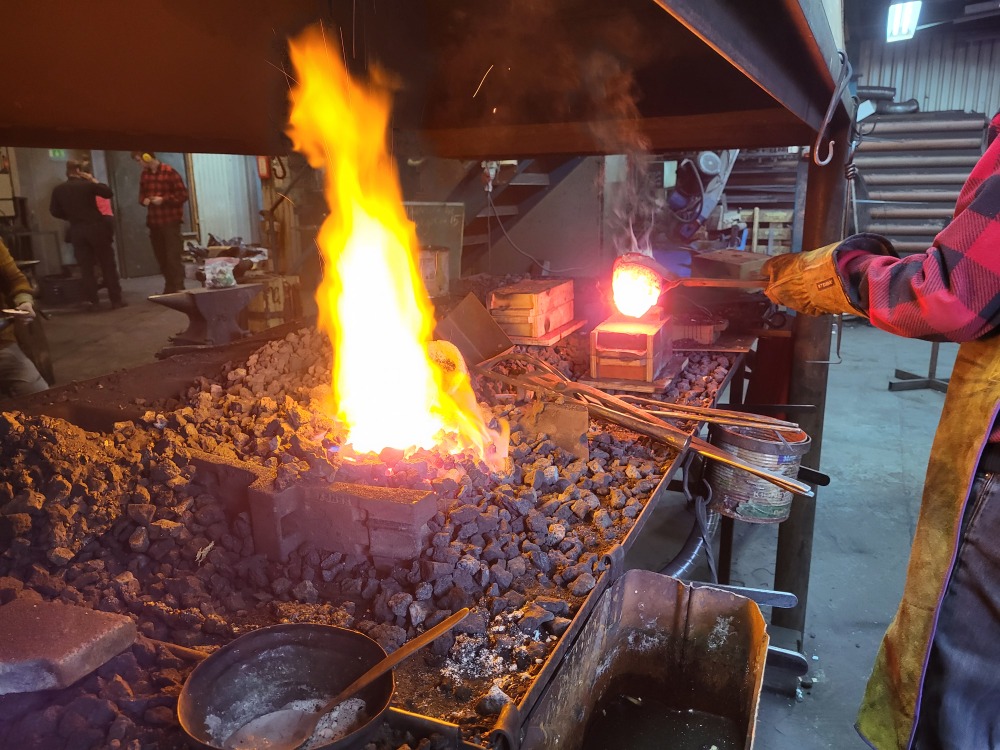
Figure 13: Pouring the metal (not my arm).
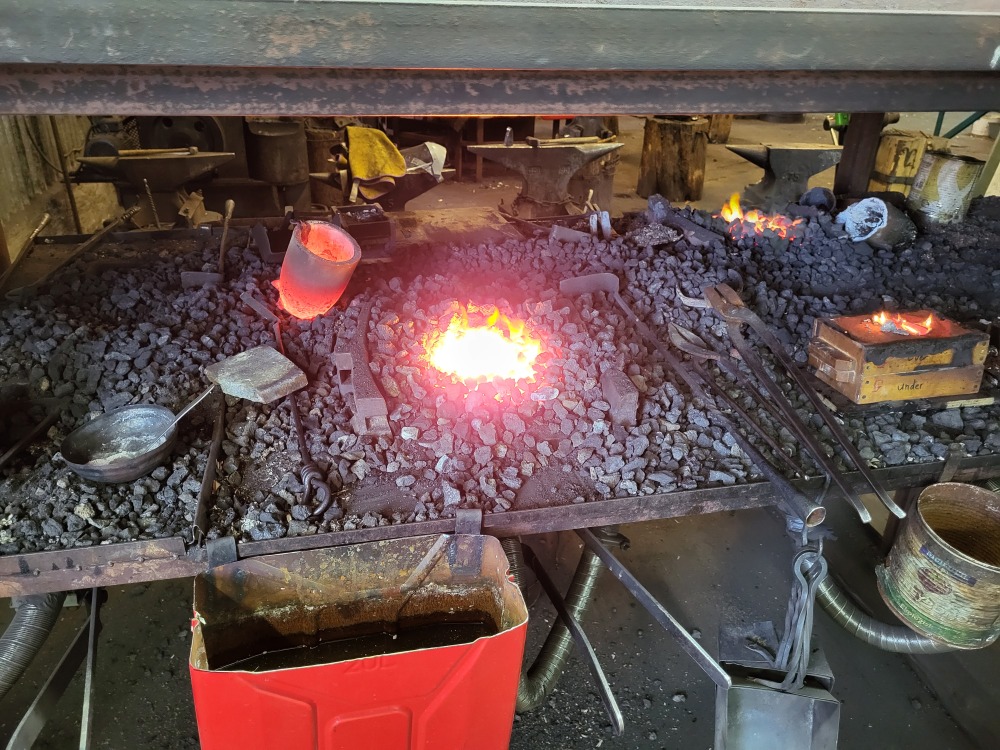
Figure 14: Once I’ve poured the sand/metal is burning and cooling (right). Excess metal is poured into a second mold (not shown), and the crucible (swe: degel) is left empty to cool (left).
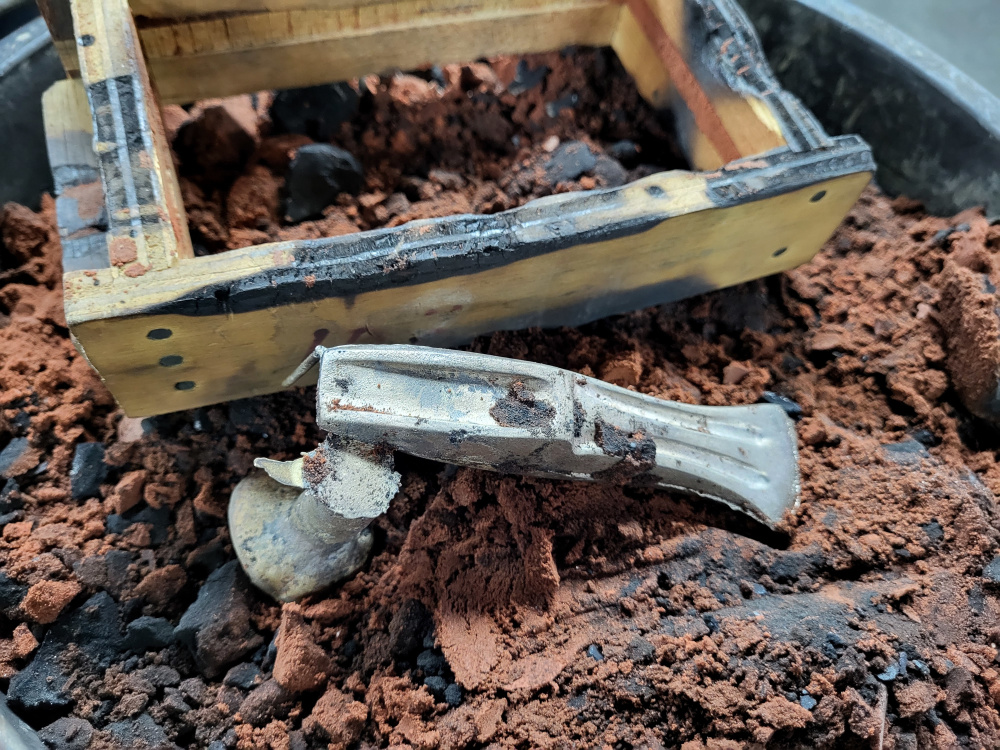
Figure 15: Once cool (5-10 min) we can remove the sand and inspect our bronze object.
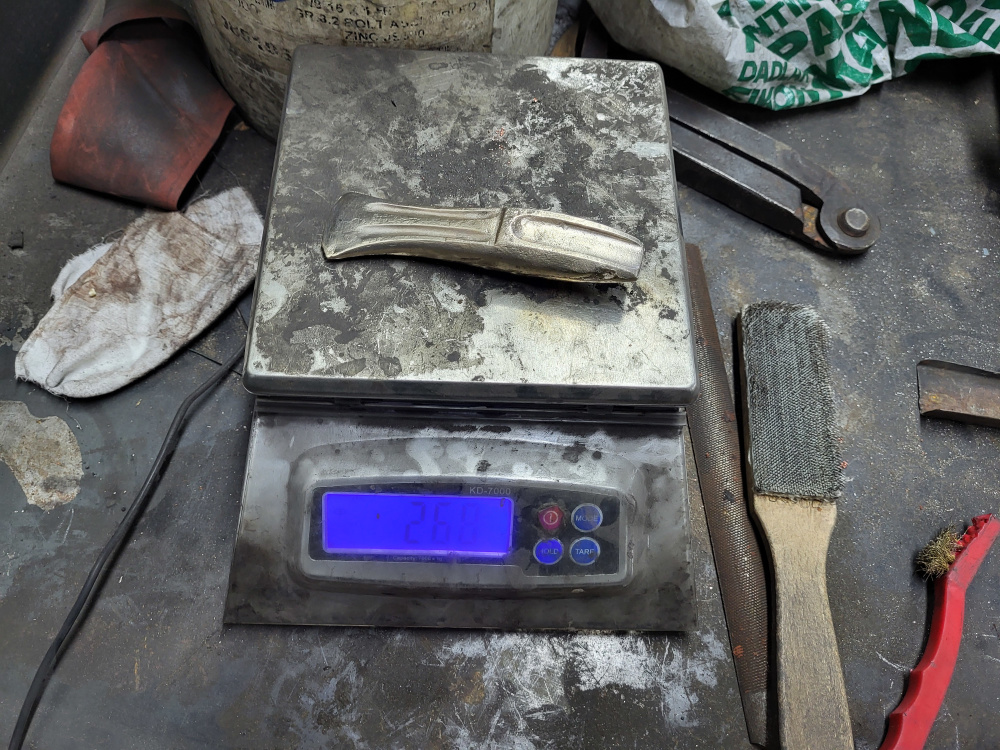
Figure 16: When removing the excess metal needed for pressure, it weighs around 260 g.
3.3. Making some brass objects
I started the week with brass (easier than bronze to see when the molten alloy has reached correct temperature for pouring).
3.3.1. Ötzi-ax & trinkets
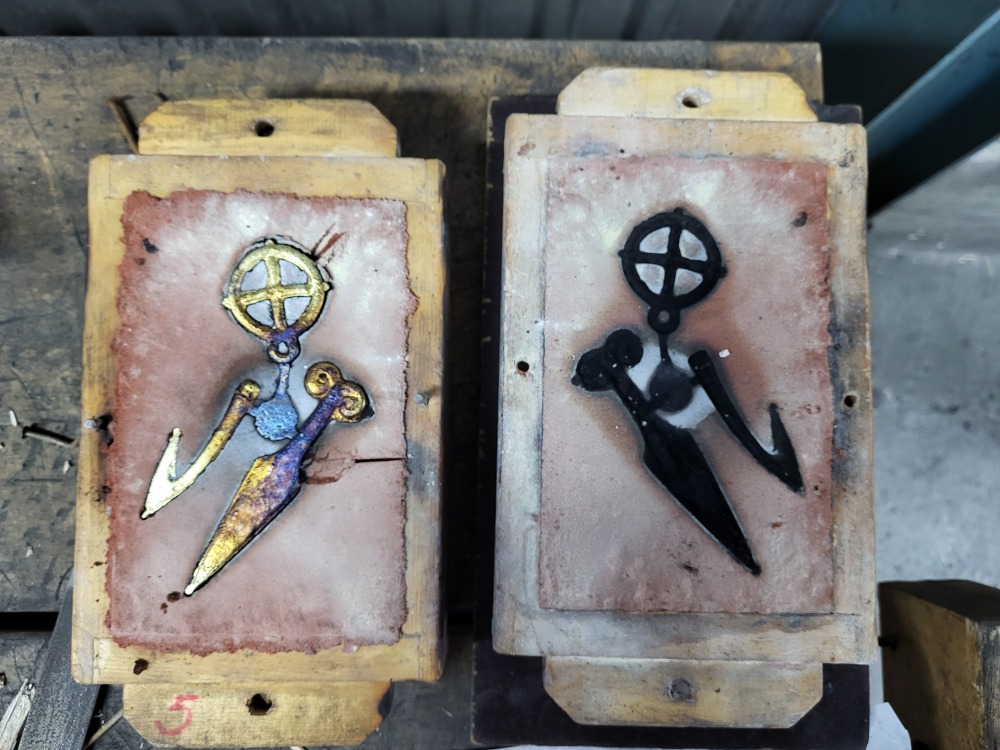
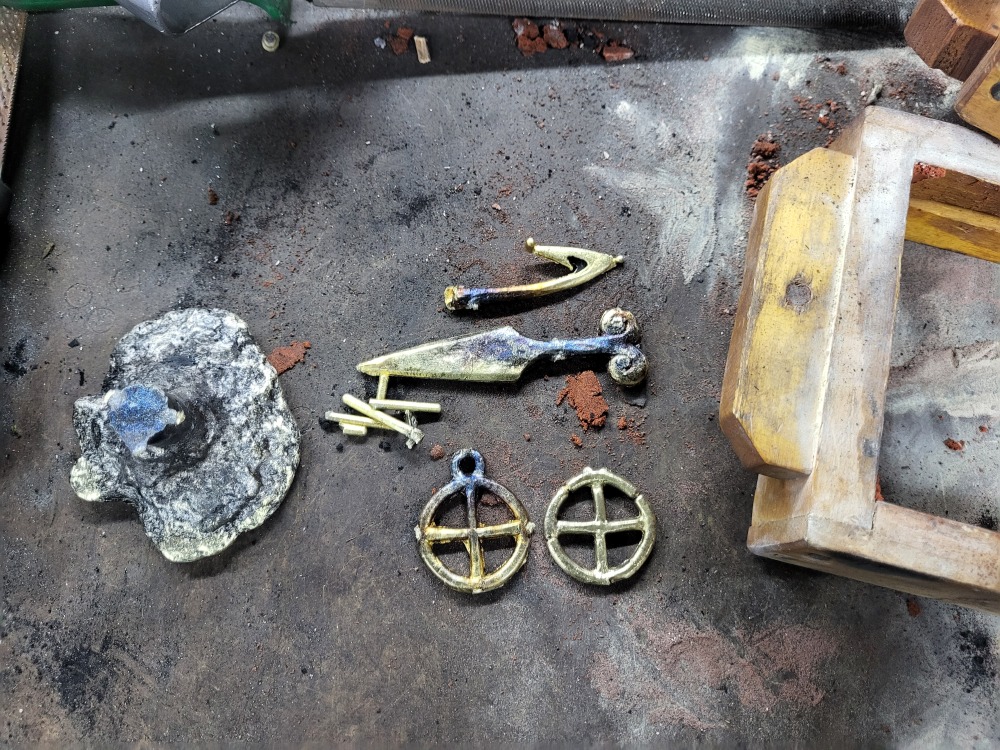
I made a copy of Ötzi’s copper axe (but in brass, pictures follow further down), and some decorative sun wheel (makes me think of Bathory’s Hammerheart album art, backside).
Here I’ve also experimented with making multiple objects in the same mold.
3.3.2. Stamp
Then I had the idea to make sigil stamps for wax seal for letters. The stamp I have been using only has single letter “K”, however, I’d like to have two initials “KF”, so I bought some clay (minimum age limit: 3 year old, I did not have to show ID to the cashier), and made some experiments.
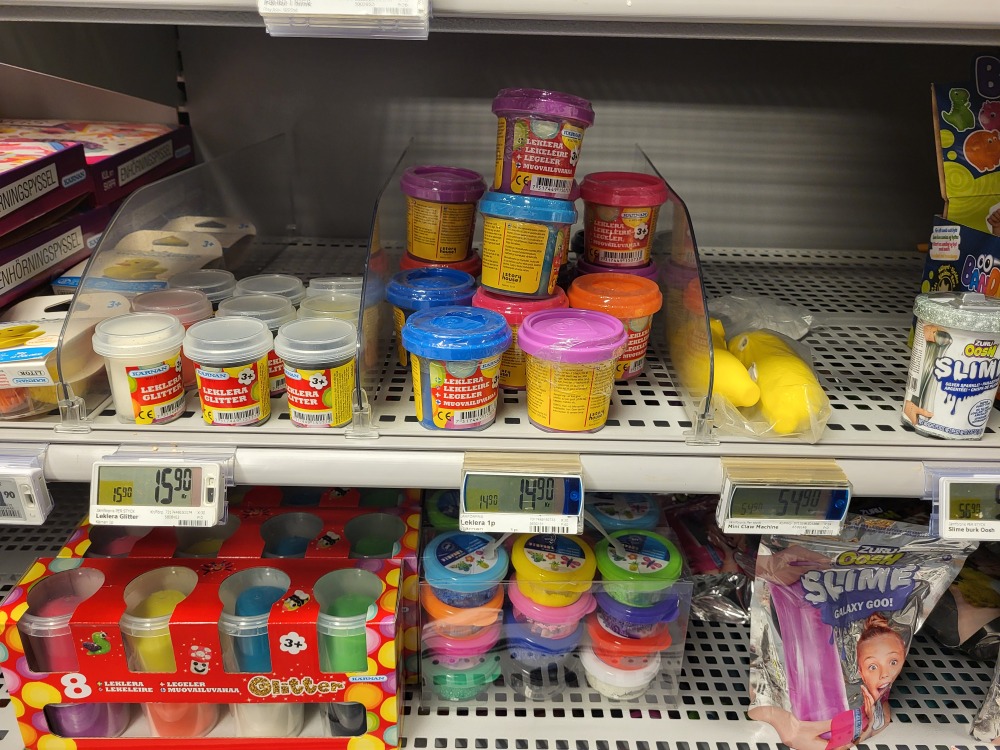
Figure 19: 14:90 SEK. (I hope I need not show ID to verify I’m above 3 years of age)
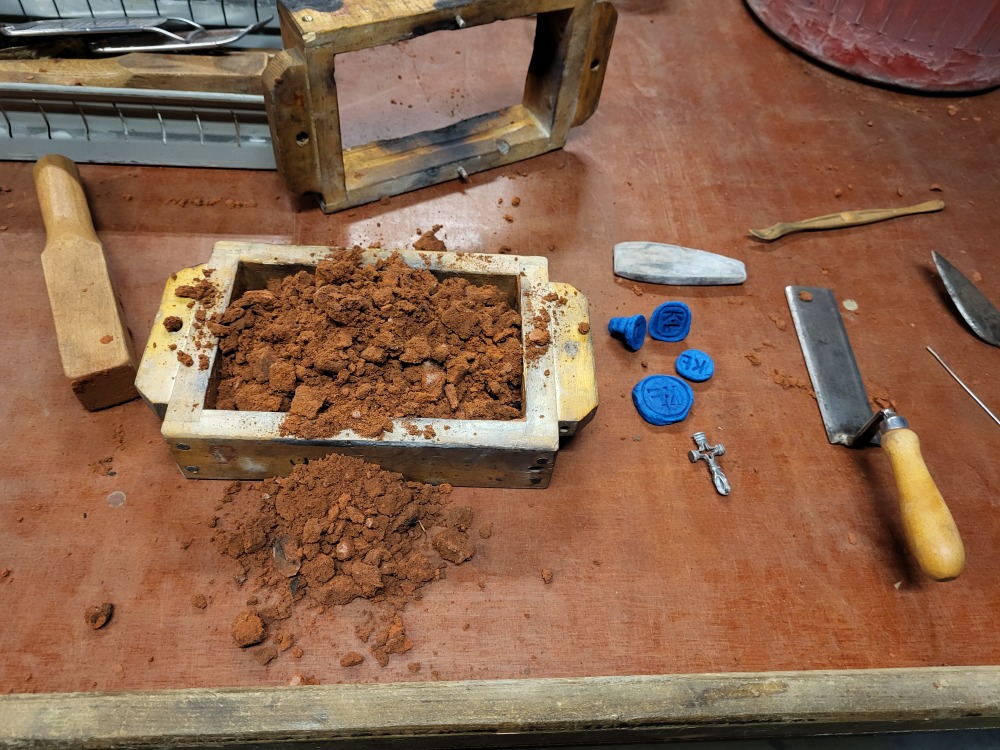
Figure 20: Fill with sand
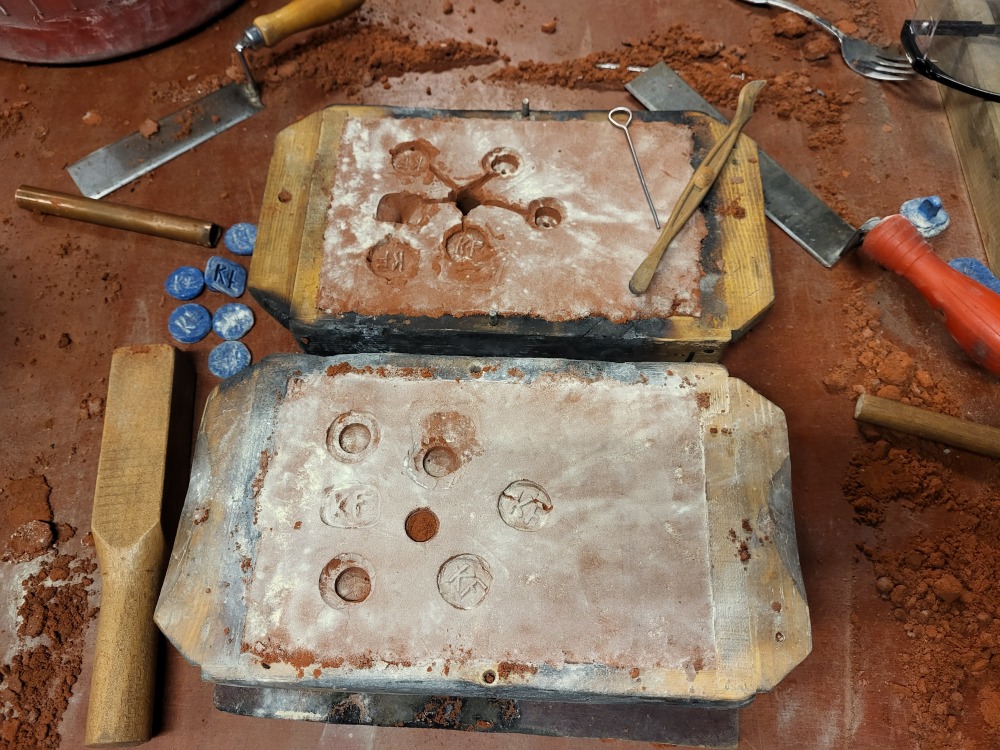
Figure 21: Connect the imprints with channels such that the metal can reach them all
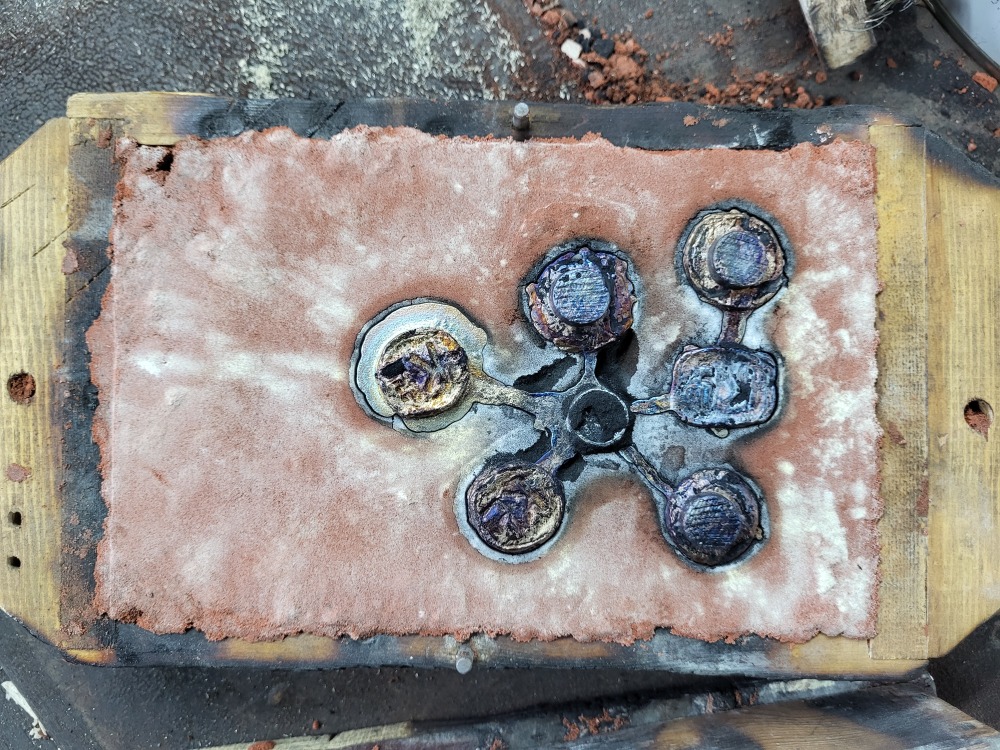
Figure 22: Result
I used a screw driver for making the letters, however, there’s a risk that when shaping the clay afterwards the walls get an angle higher than 89 degrees, which causes the sand to not release properly when making the imprint. This caused me to make a new batch of originals to try out.
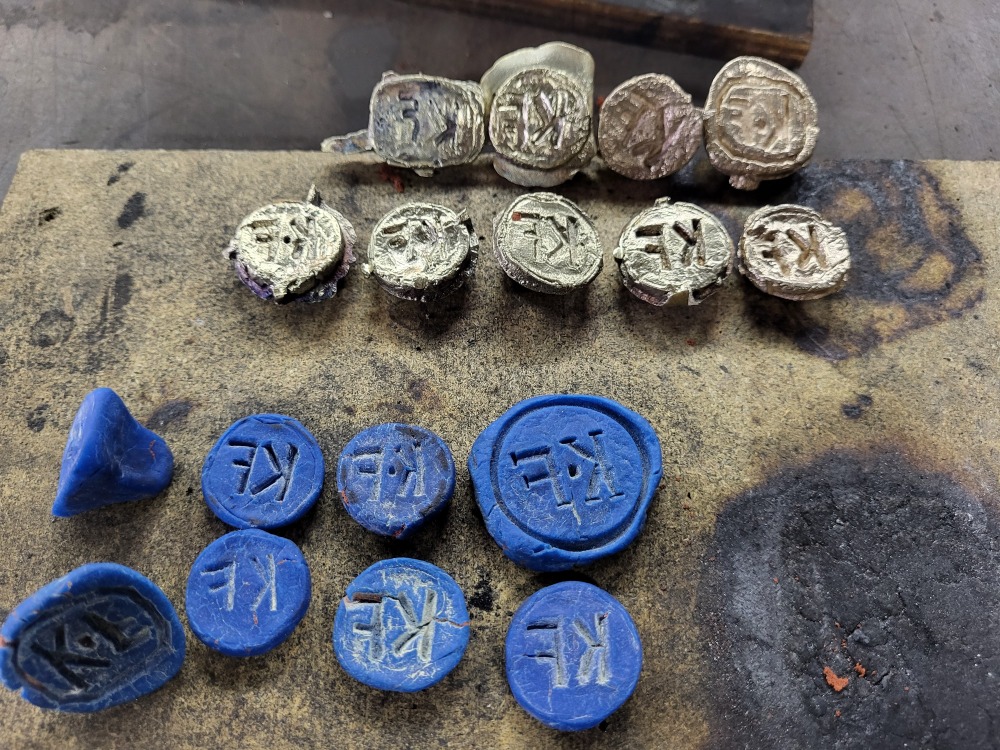
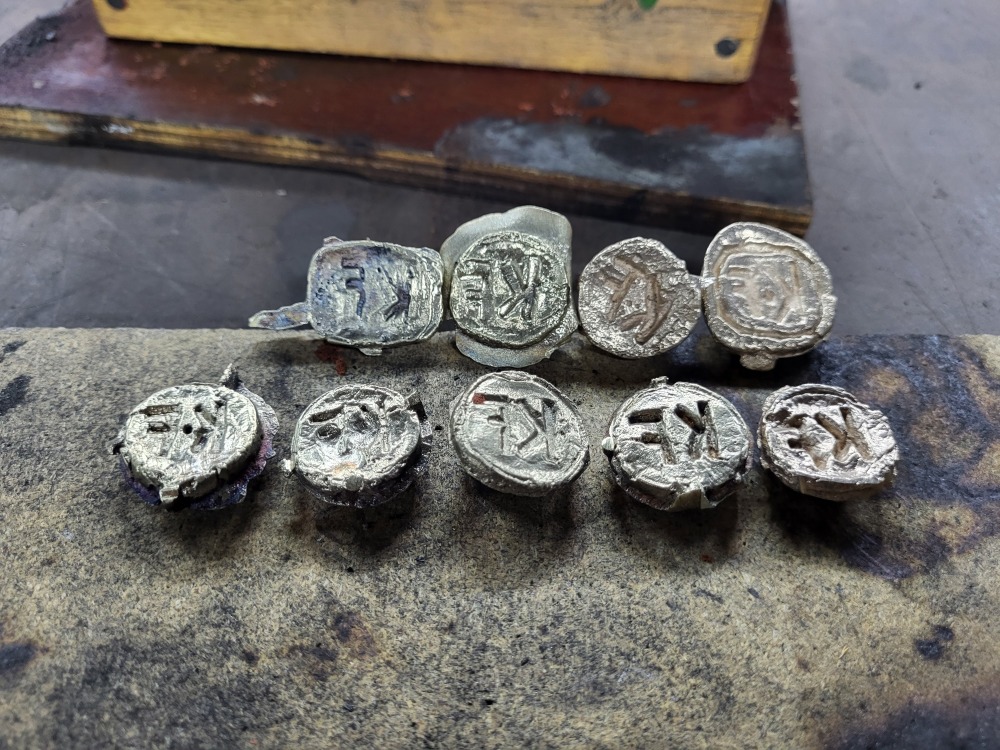
Figure 24: Mixed success
3.4. Deformation hardening
Copper alloy tools are not sharpened by grind stone or filing, as any sharp edge will go blunt instantly upon use.
Instead material is hammered out into a hard sharp edge at room temperature (since copper alloy metals become very brittle when heated).
We do this by hammering roughly 2 mm above the edge, using the back side of the hammer and/or on the horn of the anvil.
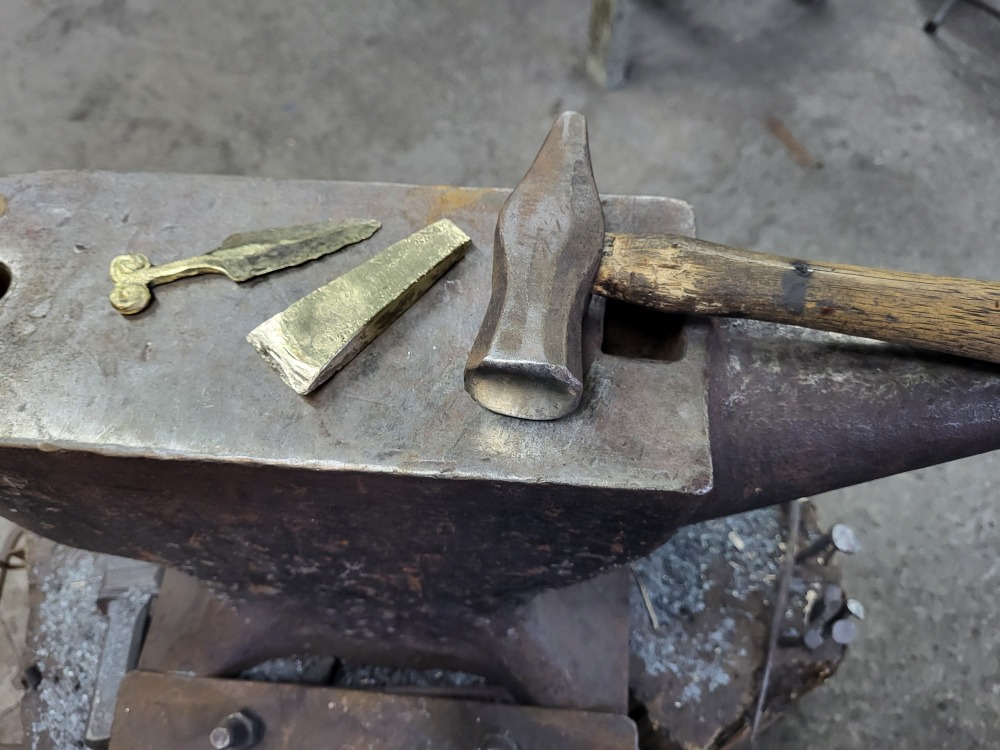
Figure 25: Deformation hardening by hammering material (here, brass) out to become a sharp edge
3.5. Lessons learned
- When making my own originals, make sure to not have angles higher than 89 degrees in the imprints.
- Don’t pour the liquid bronze smelter too early, keep heating for a minute or two after adding the tin
- Put most of the time and effort into the sand cast - the result can never be better than the imprint of the original
- Do not forget adding gas vents to the mold
4. Making an axe
Here we make a high technology tool from days of yore.
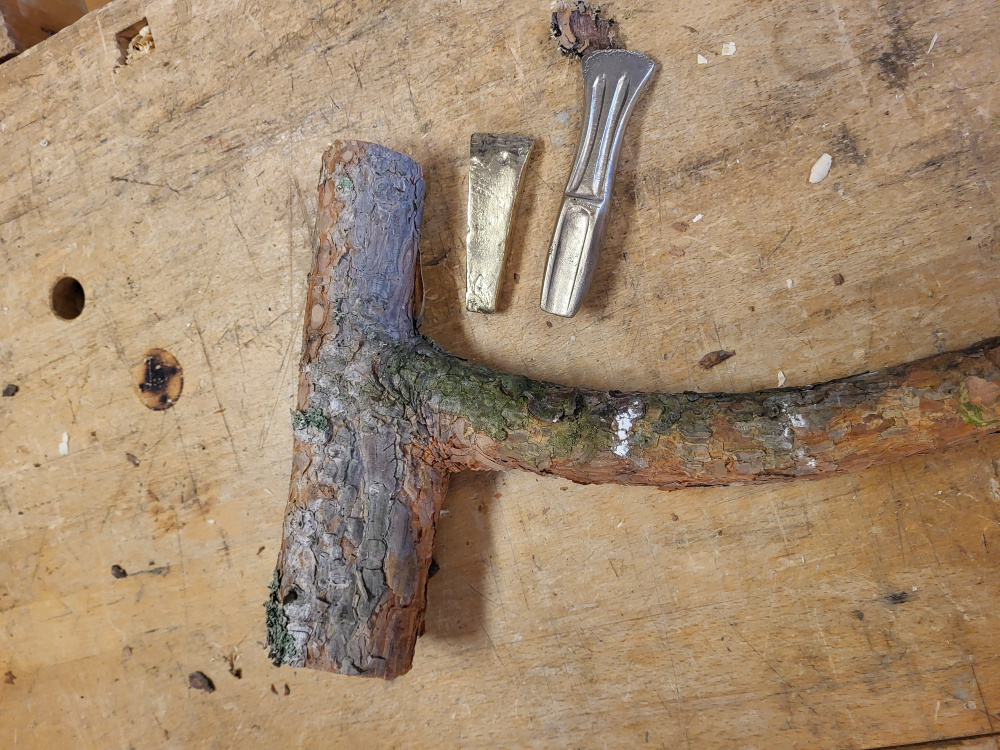
Figure 26: Find a suitable branch, here contemplating using it for either a brass axe head or bronze
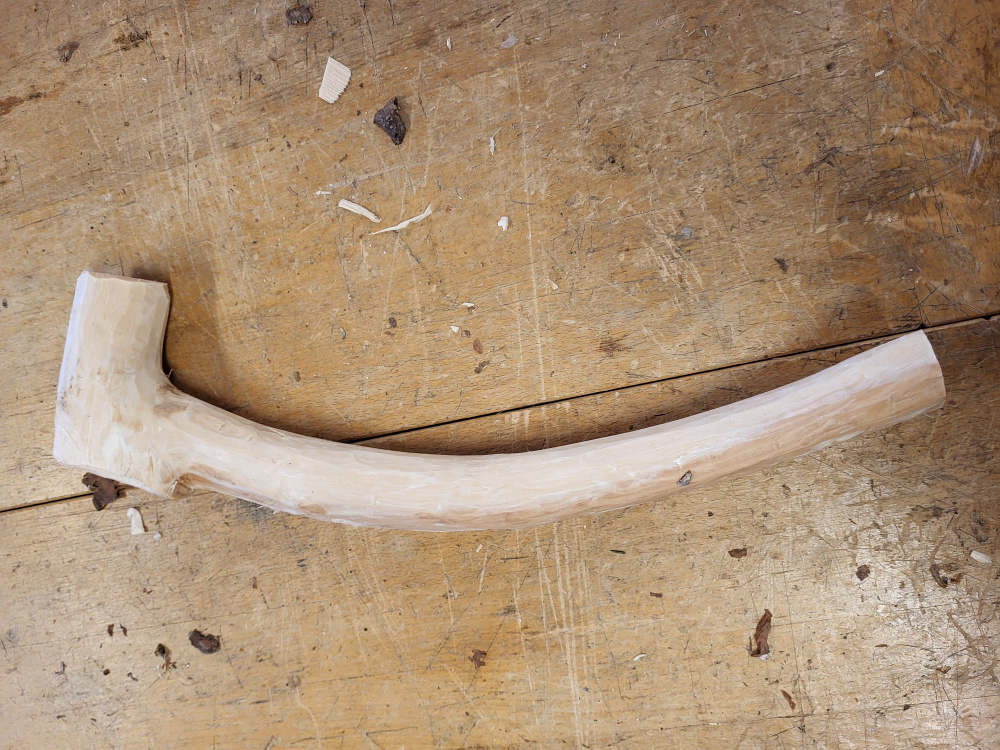
Figure 27: Shape it into an axe handle
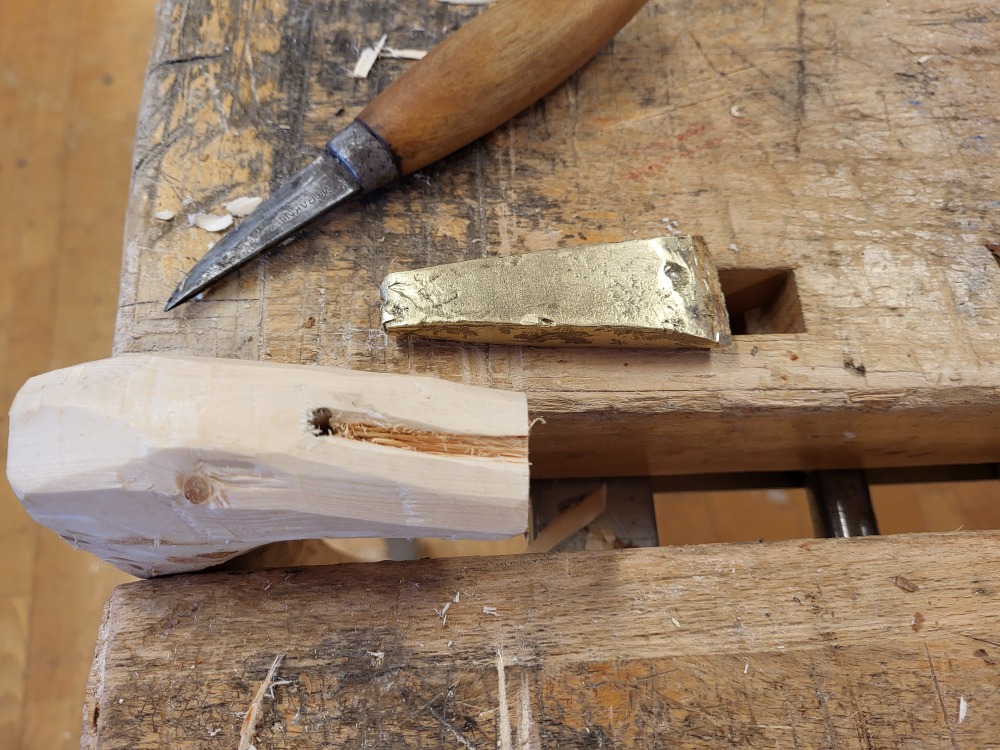
Figure 28: Drill a hole and then carv outwards from it to make a slit
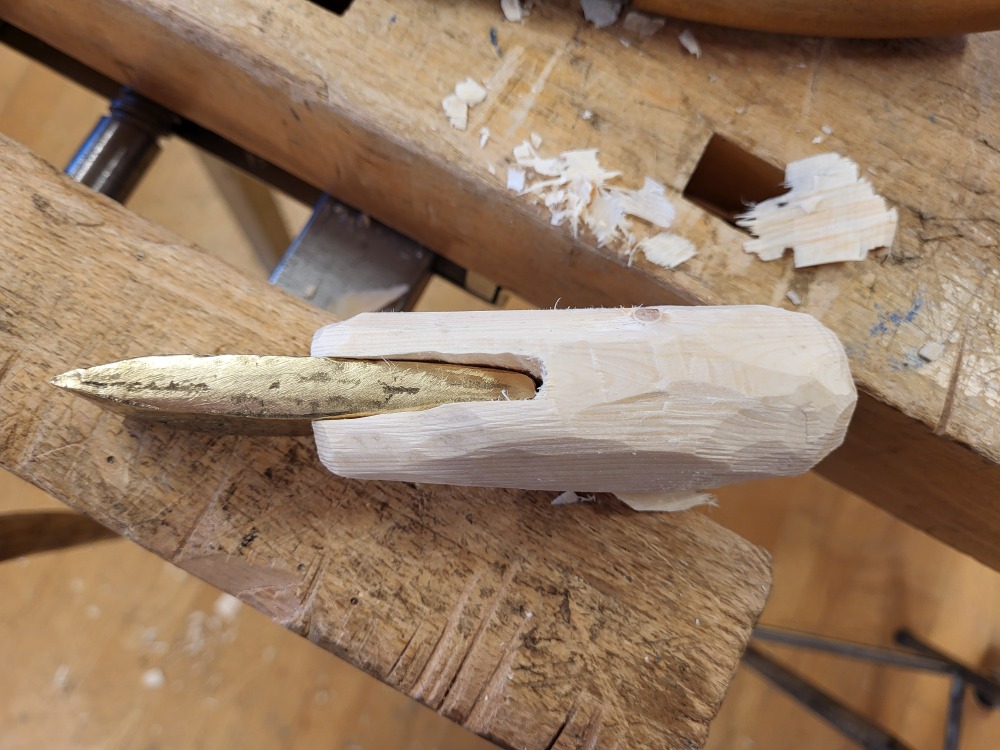
Figure 29: Carve the slit concave for the axe head
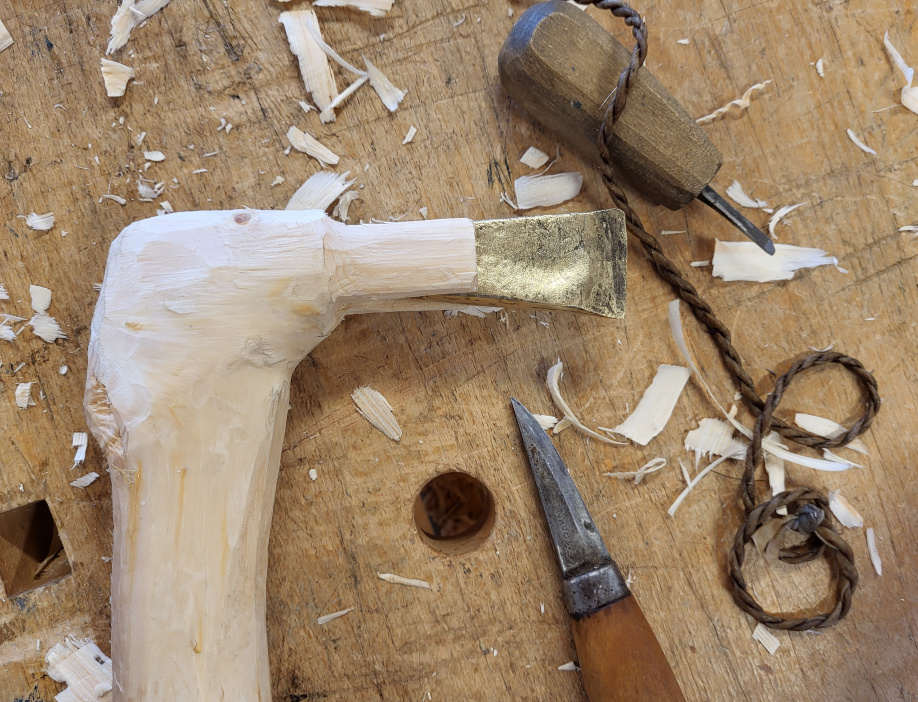
Figure 30: Make a “step down” bevel (swe: avfasning) for the section that string will wrap around
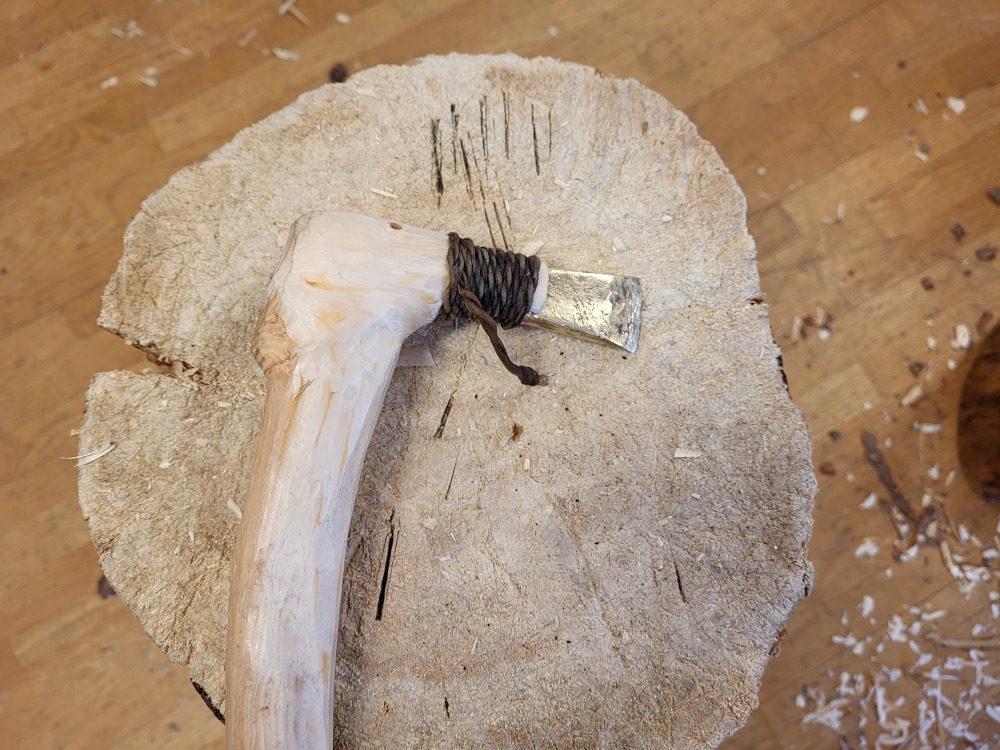
Figure 31: Use wet raw hide as string. It will shrink when it dries. (The marks above it in the log is from test-chopping with this axe).
