Tanning sheep skin
Published on May 30, 2025 by Impaktor.
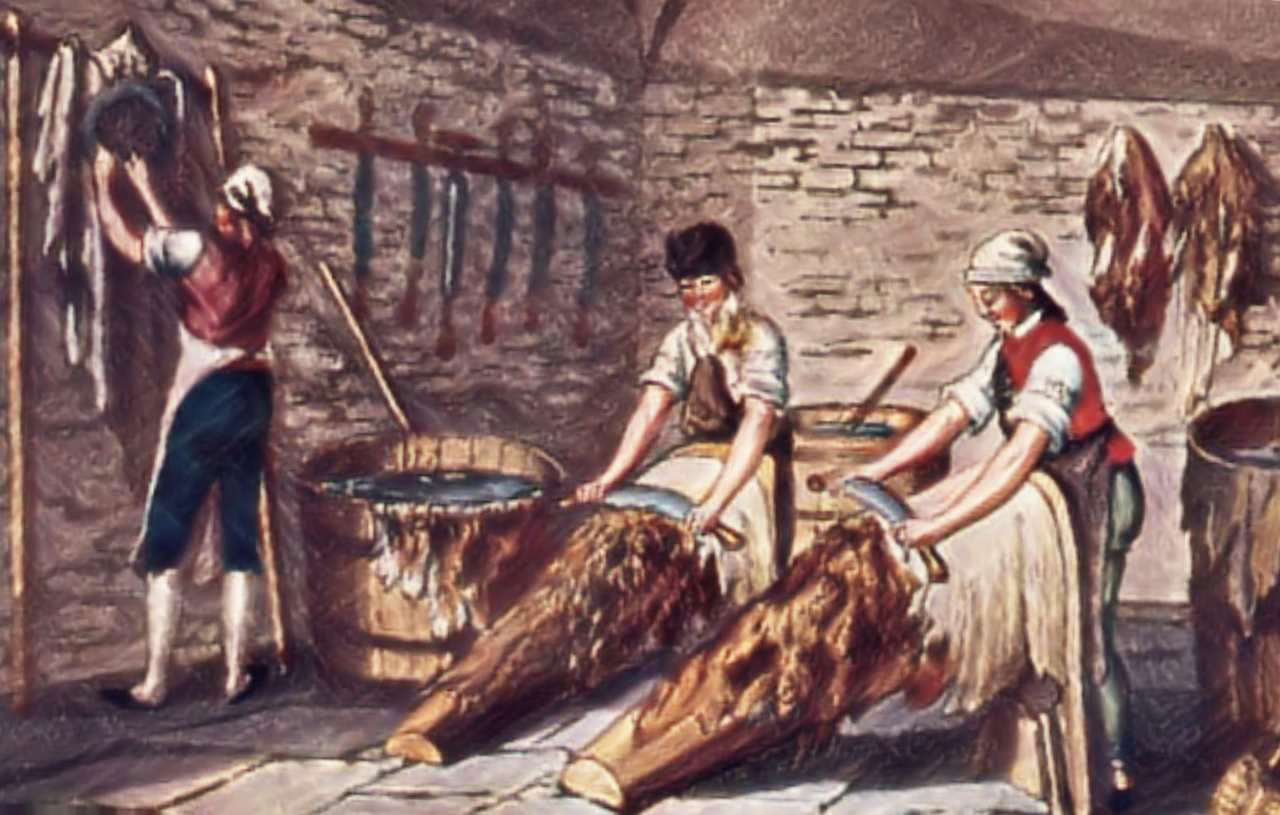
Table of Contents
1. Introduction
Herein I describe how I spent a week (or two) in the tannery to prepare a raw sheep hide, using fat tanning.
The skins were bought from a butchery, for around 300 - 400 SEK a piece (roughly 30 EUR or USD).
2. Day 1
2.1. Inspect it
First we check the skin is in good condition, worth tanning:
- Are there black dots -> mold?
- Are there red areas (not to be confused with blood, especially around the neck) -> bacteria
2.2. Scrape it clean
Once we know the skin is worth preserving, I scrap the skin clean from fat, and membranes (swe: hinnor), in a special bench (swe: räckbänk) that holds the skin securely. We used räckskrapa (trowel), see figure 10 below.
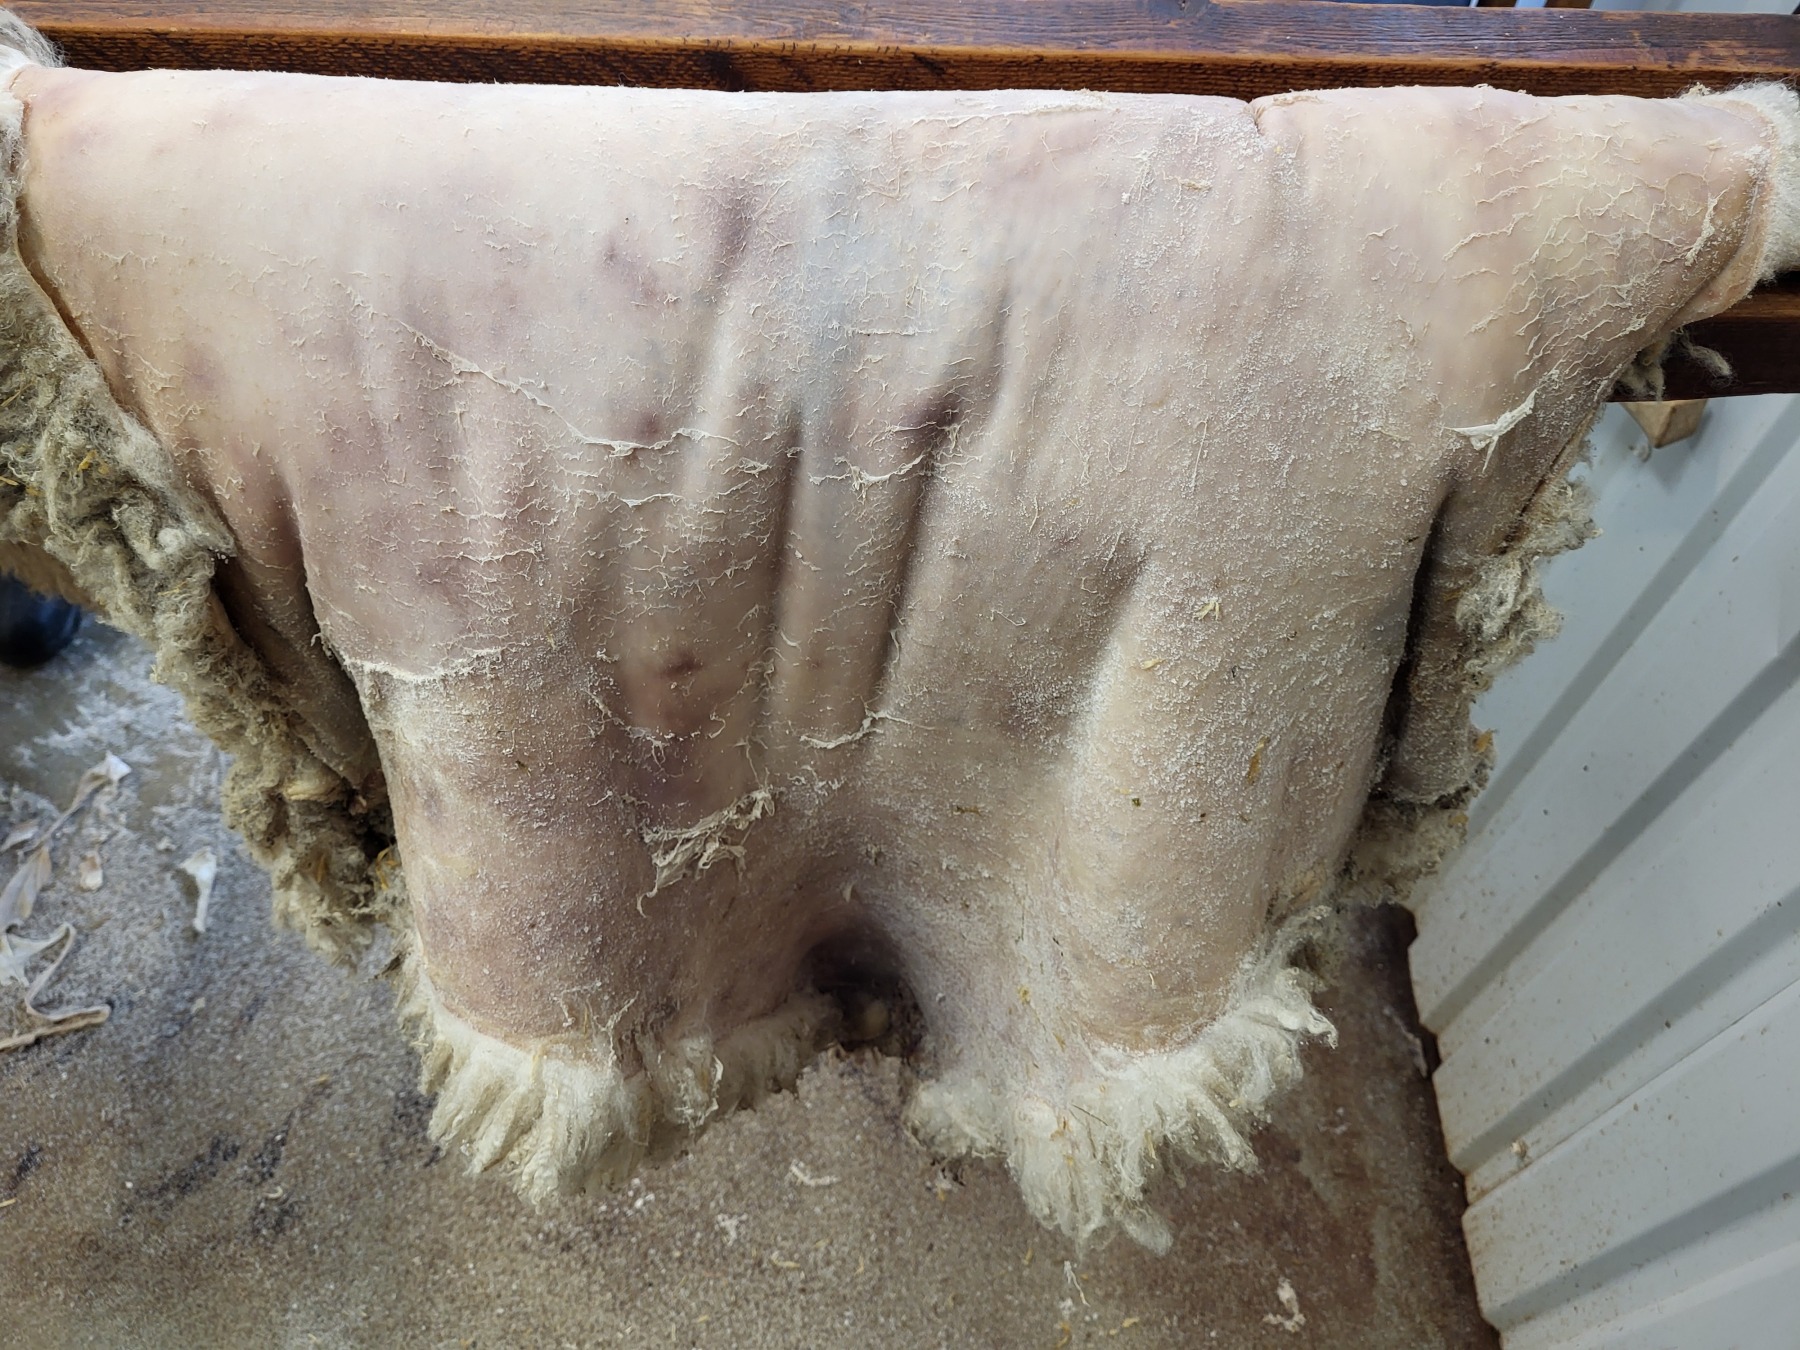
Figure 1: Scrap the flesh-side clean from fat and membranes
2.3. Wash it clean
Next we wash the skin clean, first hose it down to get the worst out, hanging it on a half-log as shown in the top illustration.
Then we put it in lukewarm (35-37 C) water with some soap or dish detergent to wash out grime, and repeat 3-4 times. If the water is too hot, the skin might be “cooked” (swe: skinksvåle) which is not what we want.
When the water is no longer very dirty, rinse the skin 3-4 times in a water bath, as before, but now to get the leftover soap out. Make sure the skin is soft everywhere, lest the tanning process will not be absorbed into the skin. If there are hard / dried parts (typically at the edge), leave it to soak in the water for a bit longer.
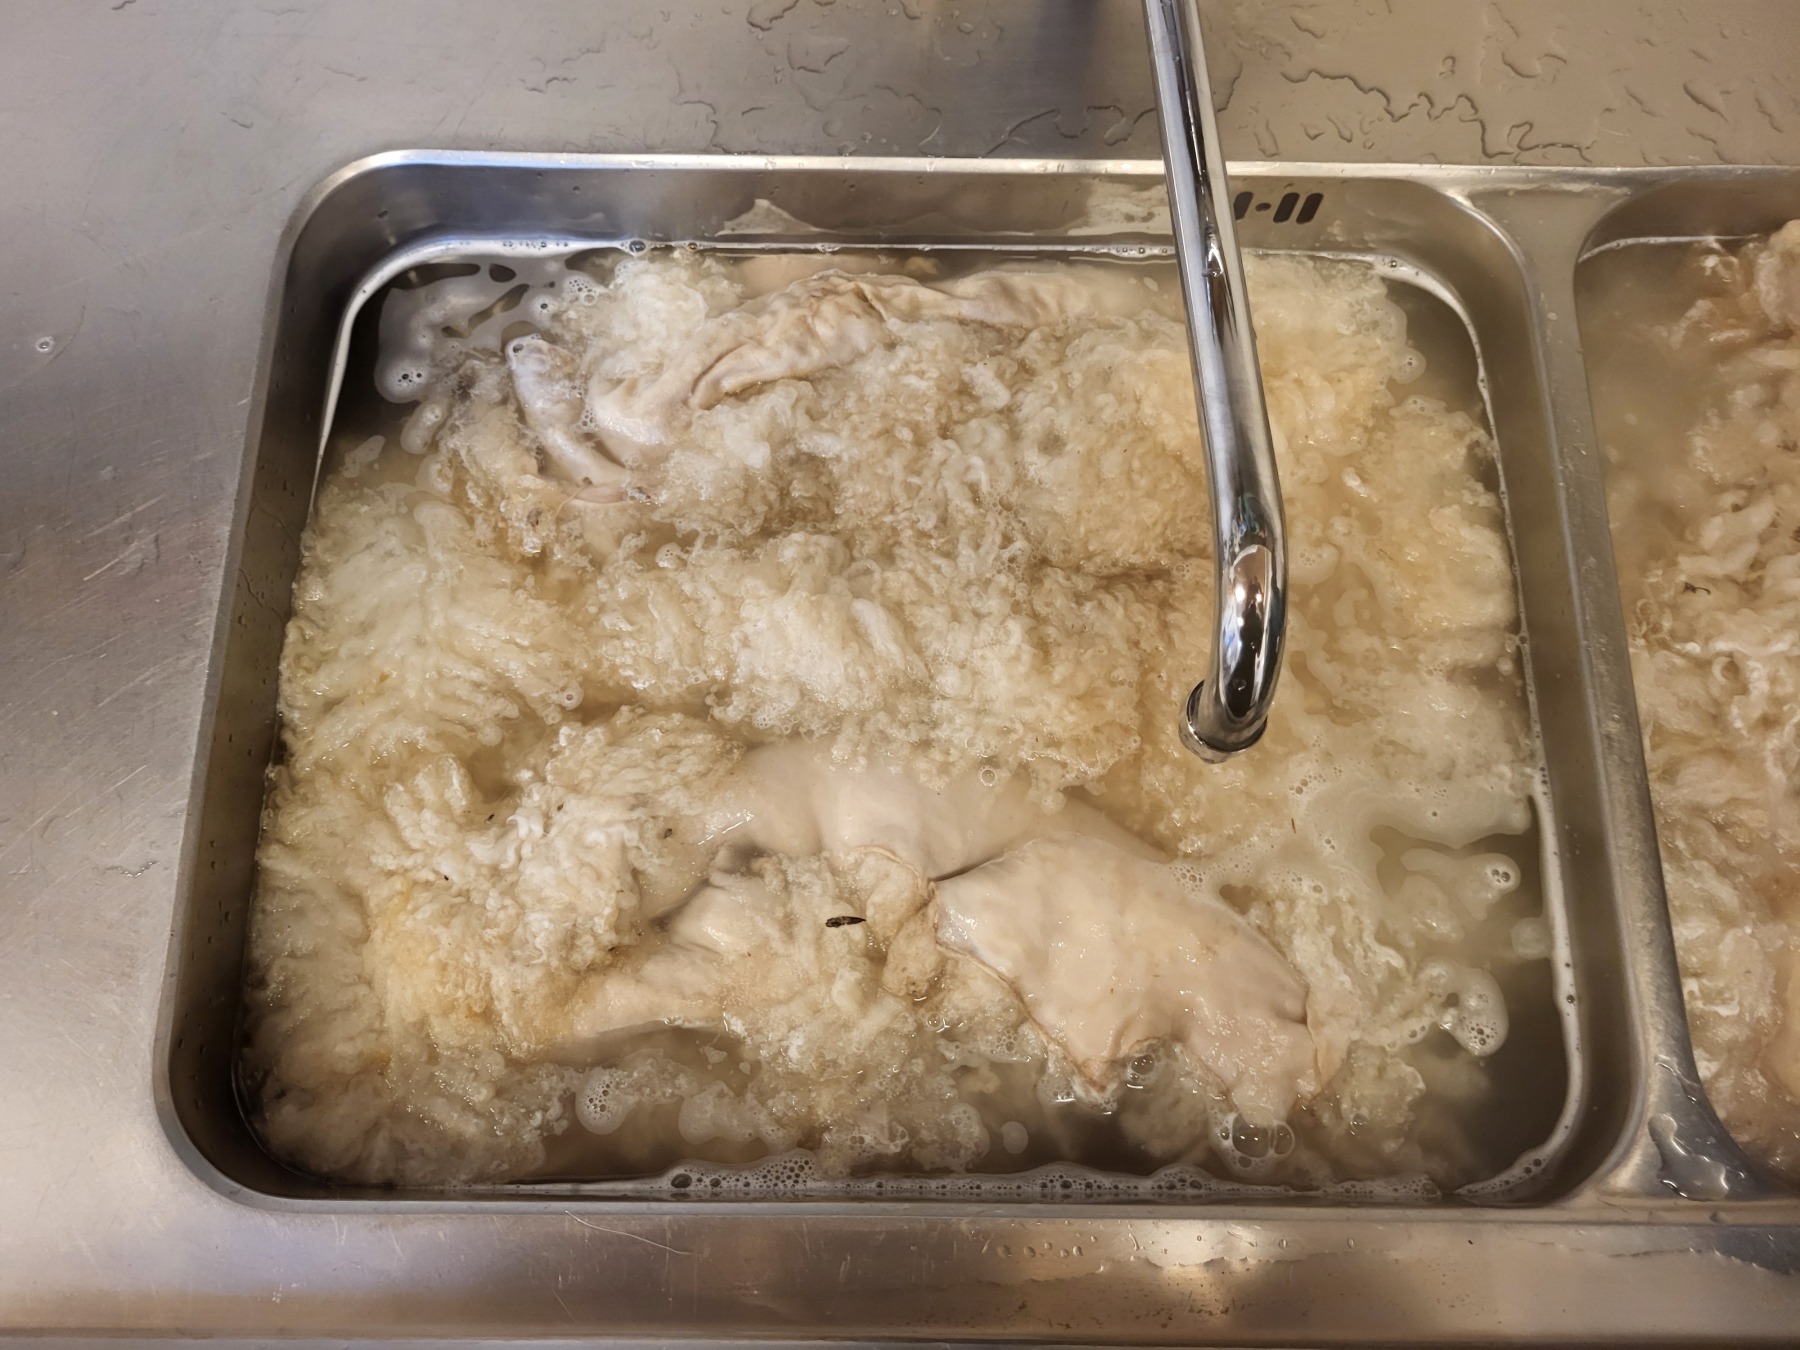
Figure 2: Washing the skin clean from fat, grass, straw, poop
2.4. Get the wool-side dry
Now we want to get most of the water out. I do this by centrifuge. Note: it must be at a single (high) speed, lest it will felt (swe: tova) the wool, which is typically what will happen if using a washing machine.
If there is no centrifuge, you can roll it in towels and stomp/jump on it.
Now we want to dry the woolly side, before it starts loosing its wool. I hang it in a small room with a “construction site” fan. It is ideal to hang two skins against each other (flesh-side to flesh-side), so only the wool dries. Fold in the groin/leg-area where there’s no wool, to protect it from drying too much.
Alternatively: you can put the skin out to dry on a windy sunny day. As long as the wool becomes dry within a day, or it will start to come off. Also: do not lift the skin in the wool when it is wet.
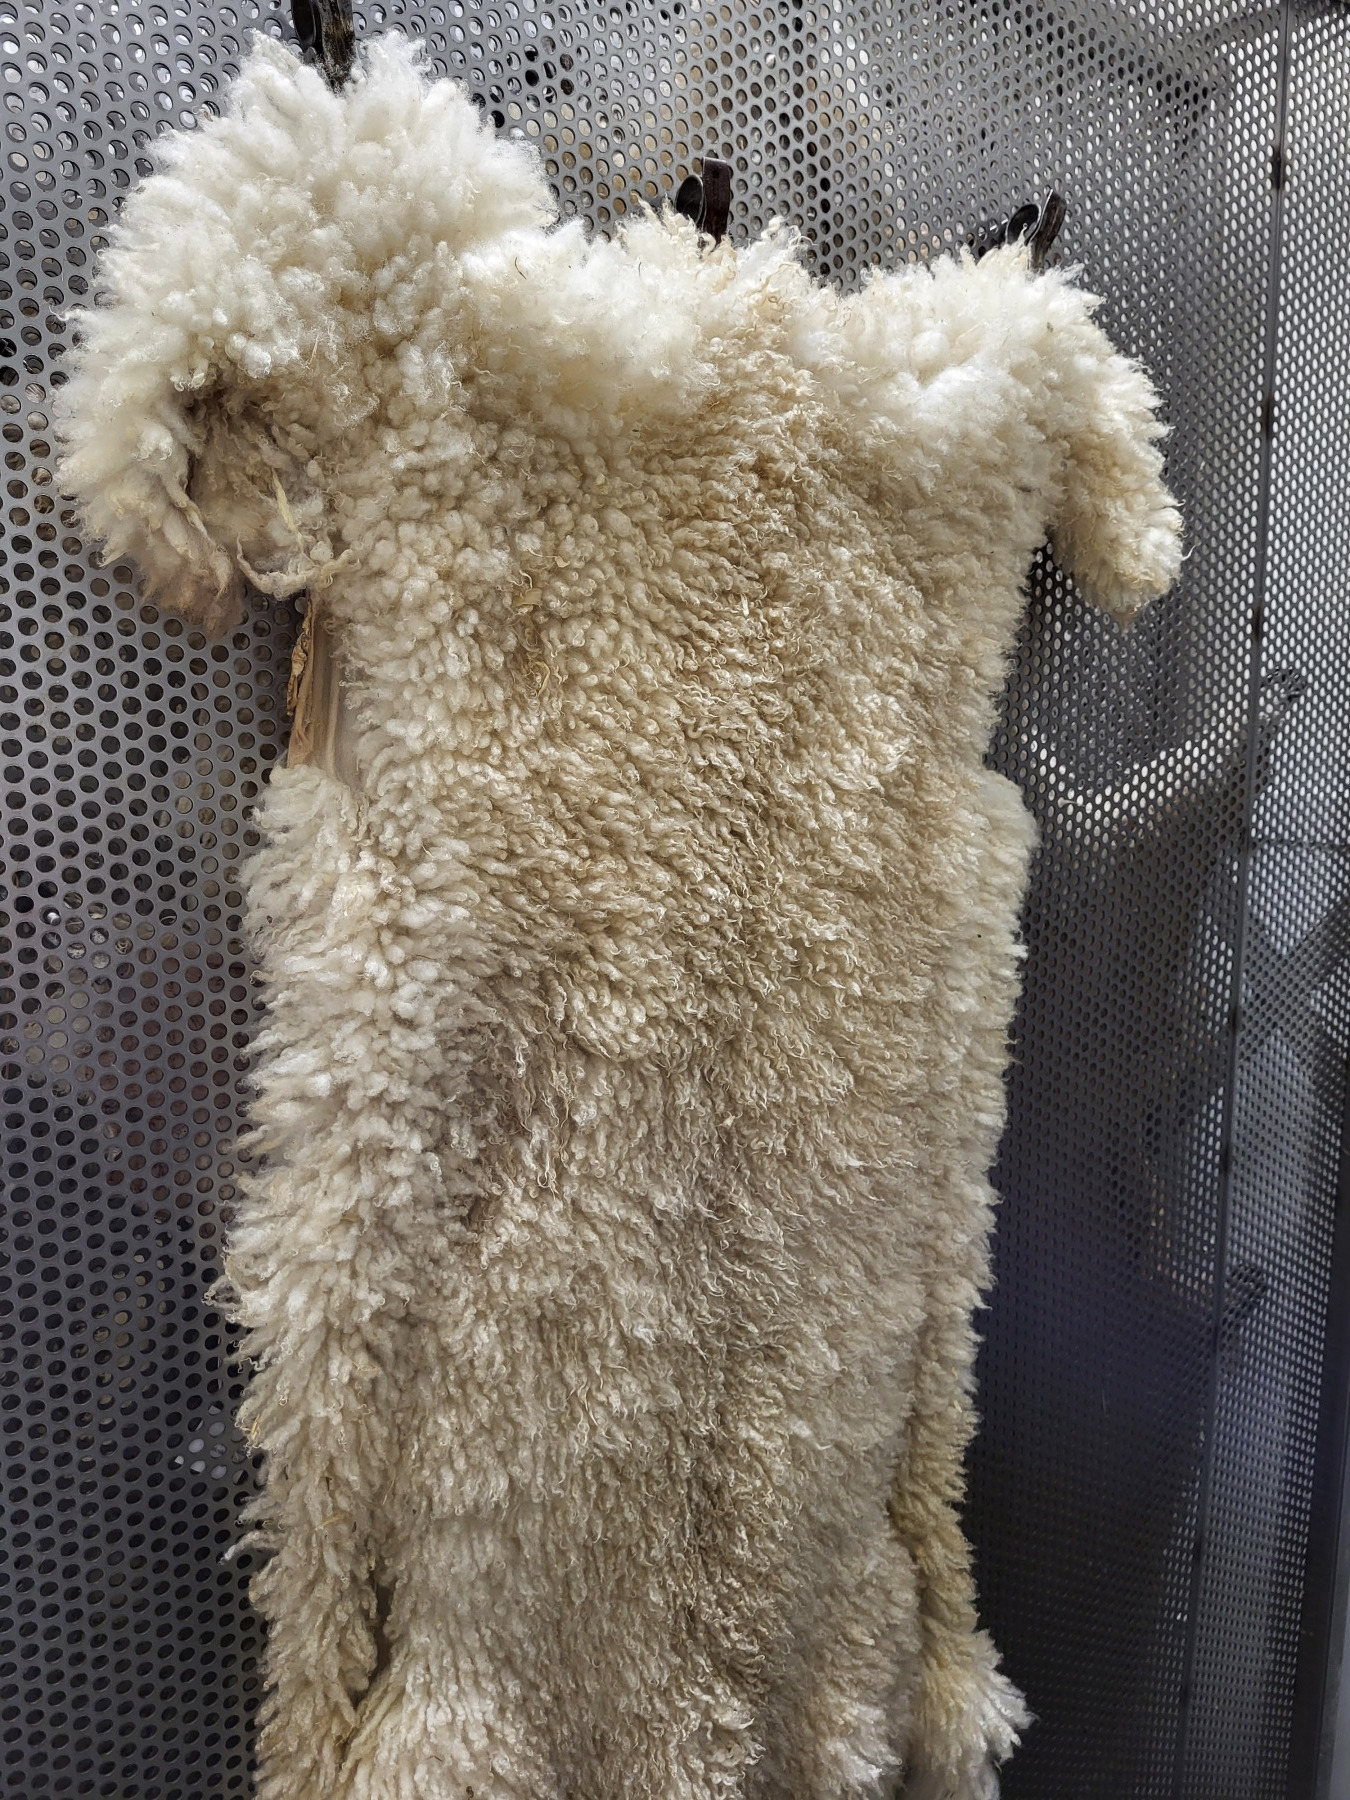
Figure 3: Hang to dry the wool, before it starts falling off. Ideally two skins against each other, to keep the flesh-side from drying.
When I am done for the day, I pause the process by hanging it outside until the next day, folded along the spine, with woolly side outwards, to protect the flesh-side from drying.
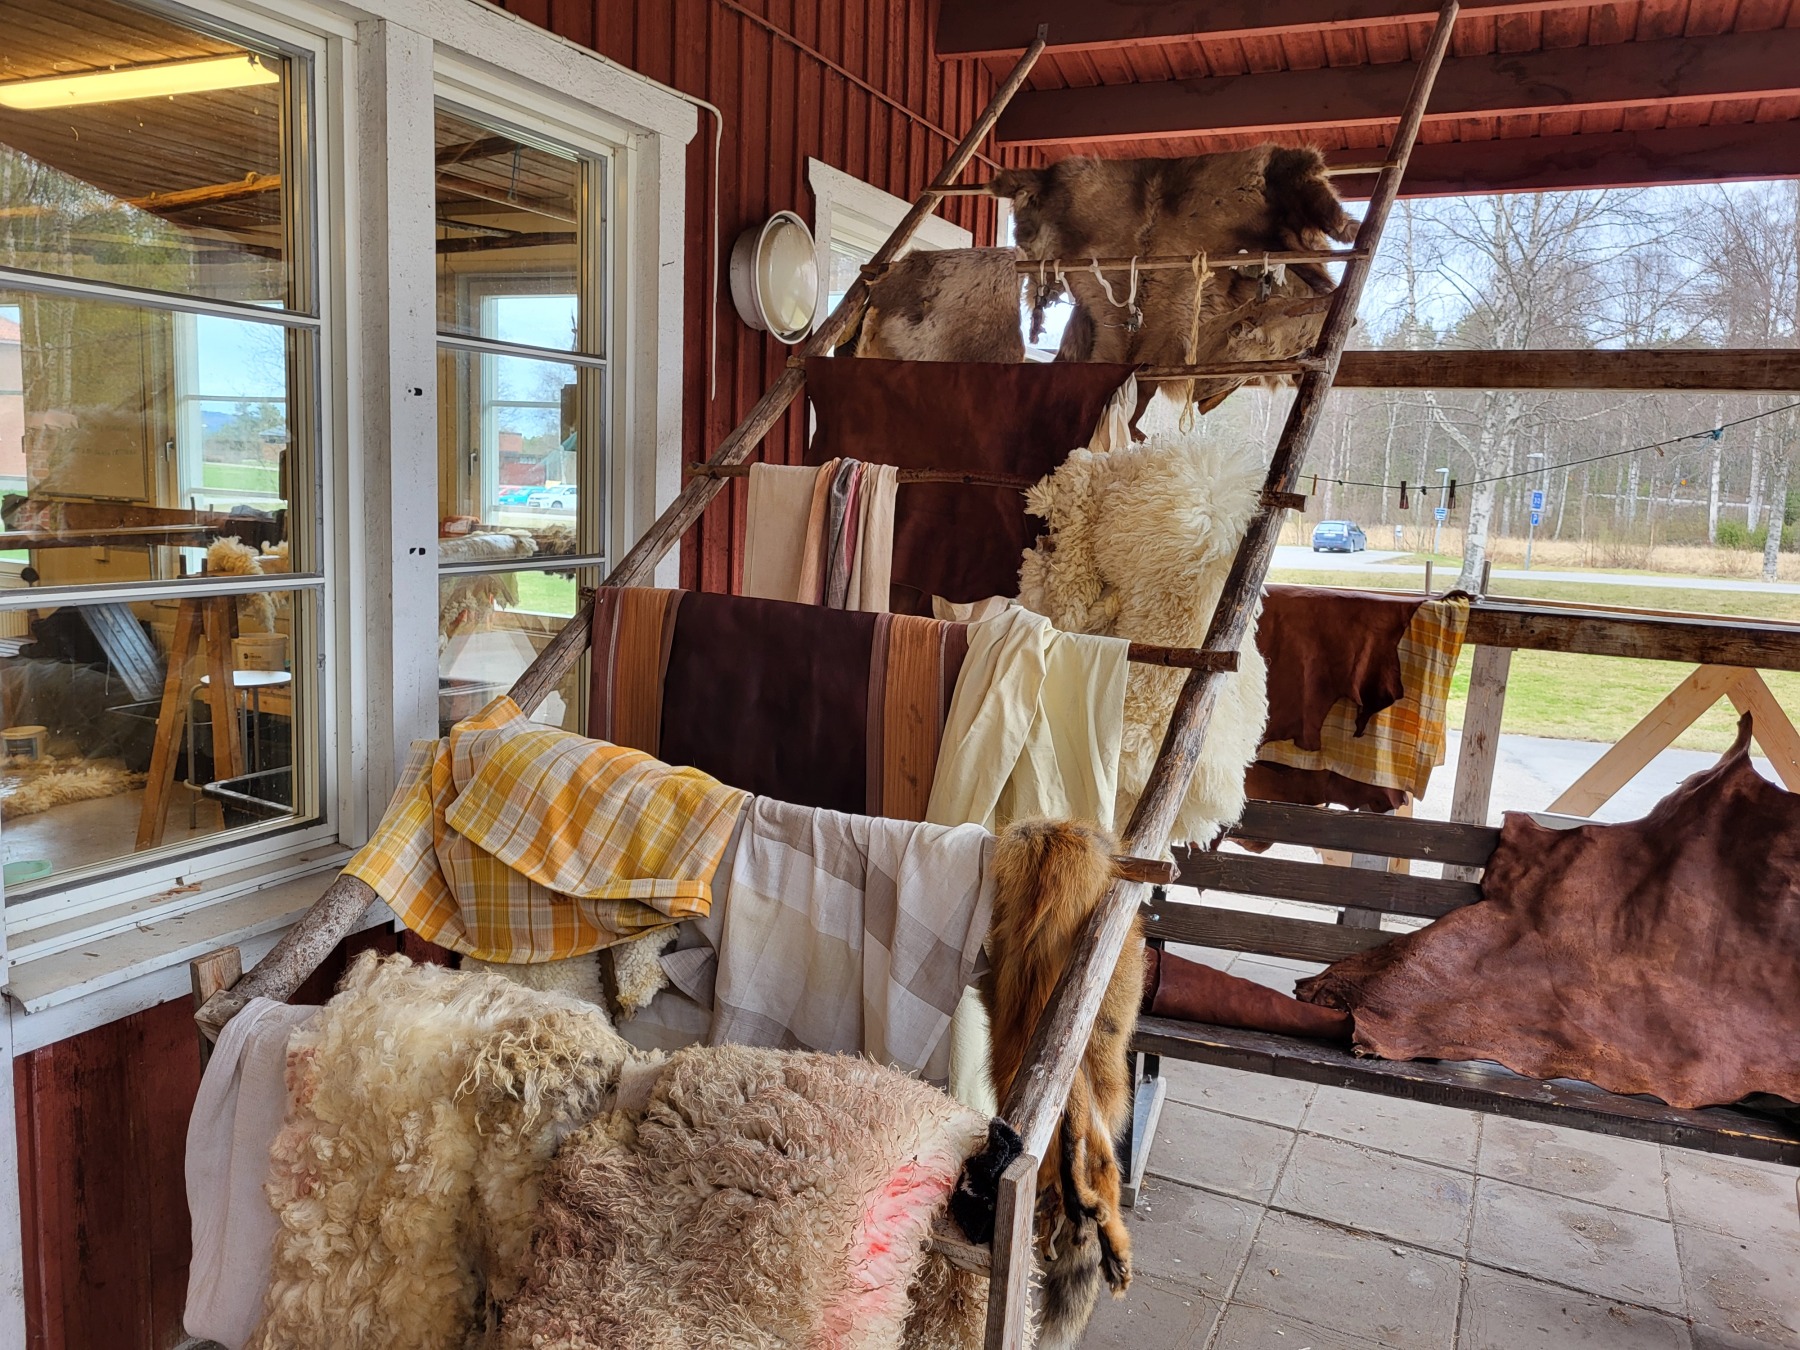
Figure 4: I hang it outside over the night to pause the process (it is May)
3. Day 2
3.1. Get the flesh-side dry-ish
Next day I heat up the skin with flesh side facing outwards, to help the tanning process that is about to commence. (It’s fine if the wool is a bit damp from the night outside).
Next we turn to hang the flesh-side out.
- It should not be wet, only damp (swe: falukorv-blött“), ”sausage-damp“ i.e. feel like a sausage: damp to the touch but without making your fingers wet.
- If the flesh-side has any dry parts, put a wet rag on it to re-dampen it.
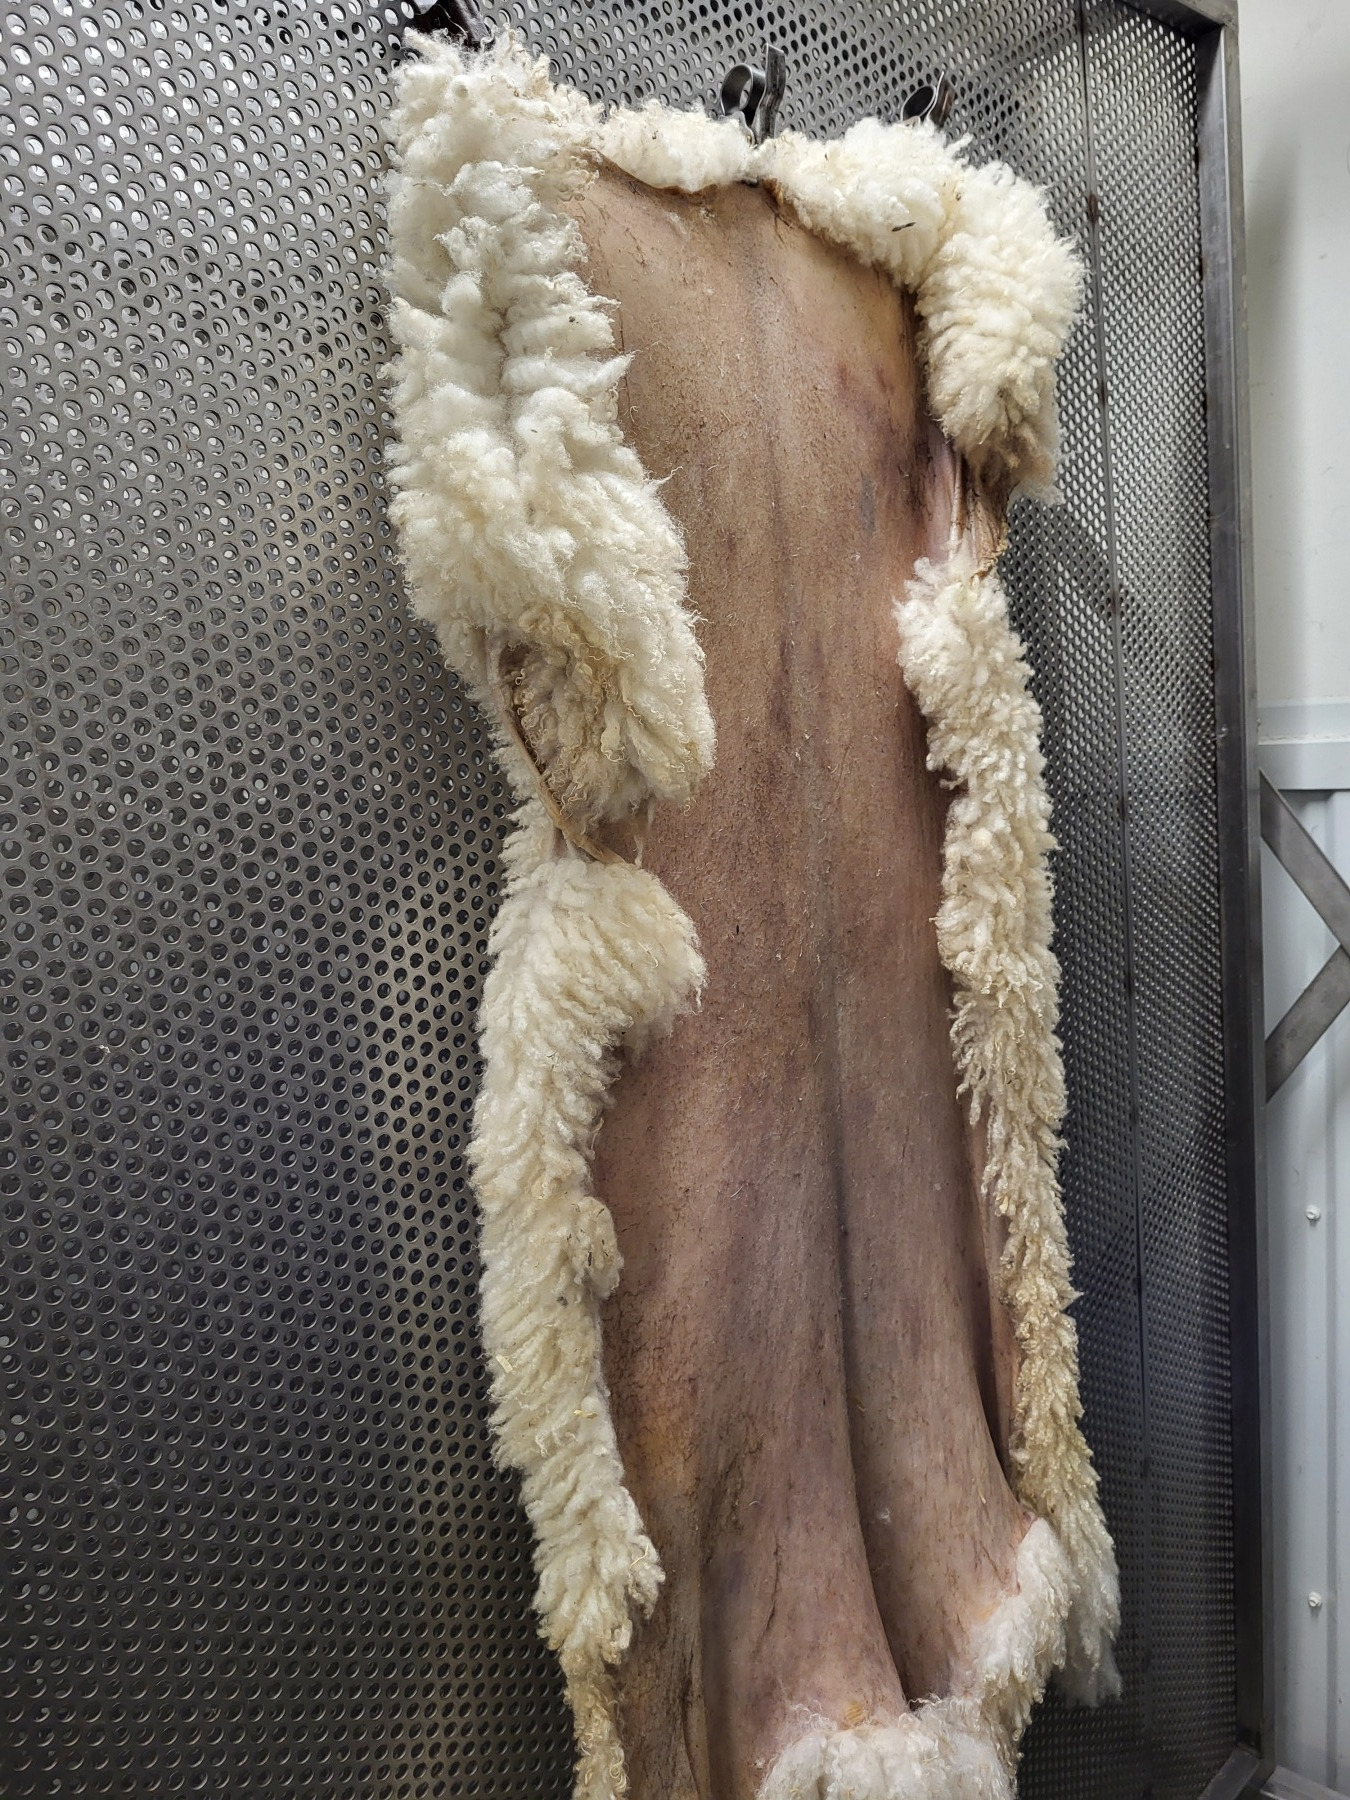
Figure 5: Start the new day by heating it up for a short bit
3.2. Tanning
Tanning the skin is the process to make it stop rotting, so as to preserve it. There are different methods, most leather in the store is chrome-tanned, which is hazard to health and nature around the tannery. There is also veg-tannery using bark from spruce (swe: gran) or willow tree (swe: sälg), or fat-tanning.
We will be doing a “fat-tanning” (swe: fett-garvning), using unsaturated fats, like rapeseed- or olive-oil (swe: raps). The recipe I use is:
- 1.5 dl oil
- 1 egg-yolk (swe: äggula). It is rich in phospholipids, which helps the fat bind to the skin, and surround and encapsulate the fibres of the skin
- less than 5 ml (swe: tesked) soap, to help break the surface tension
We used rapeseed-oil, which is a modern product. Historically one would have used (half as much) fat from seals (swe: sältran), but as I noticed on the one skin that used this process - it will smell like fish, rather than of sheep, even if the oil (tran) itself did not smell.
It is also possible to use the brain when fat tanning, as this is also rich in phospholipids. Typically the brain (cooked) of the animal is enough to tan its hide (at least for creatures smaller than cows).
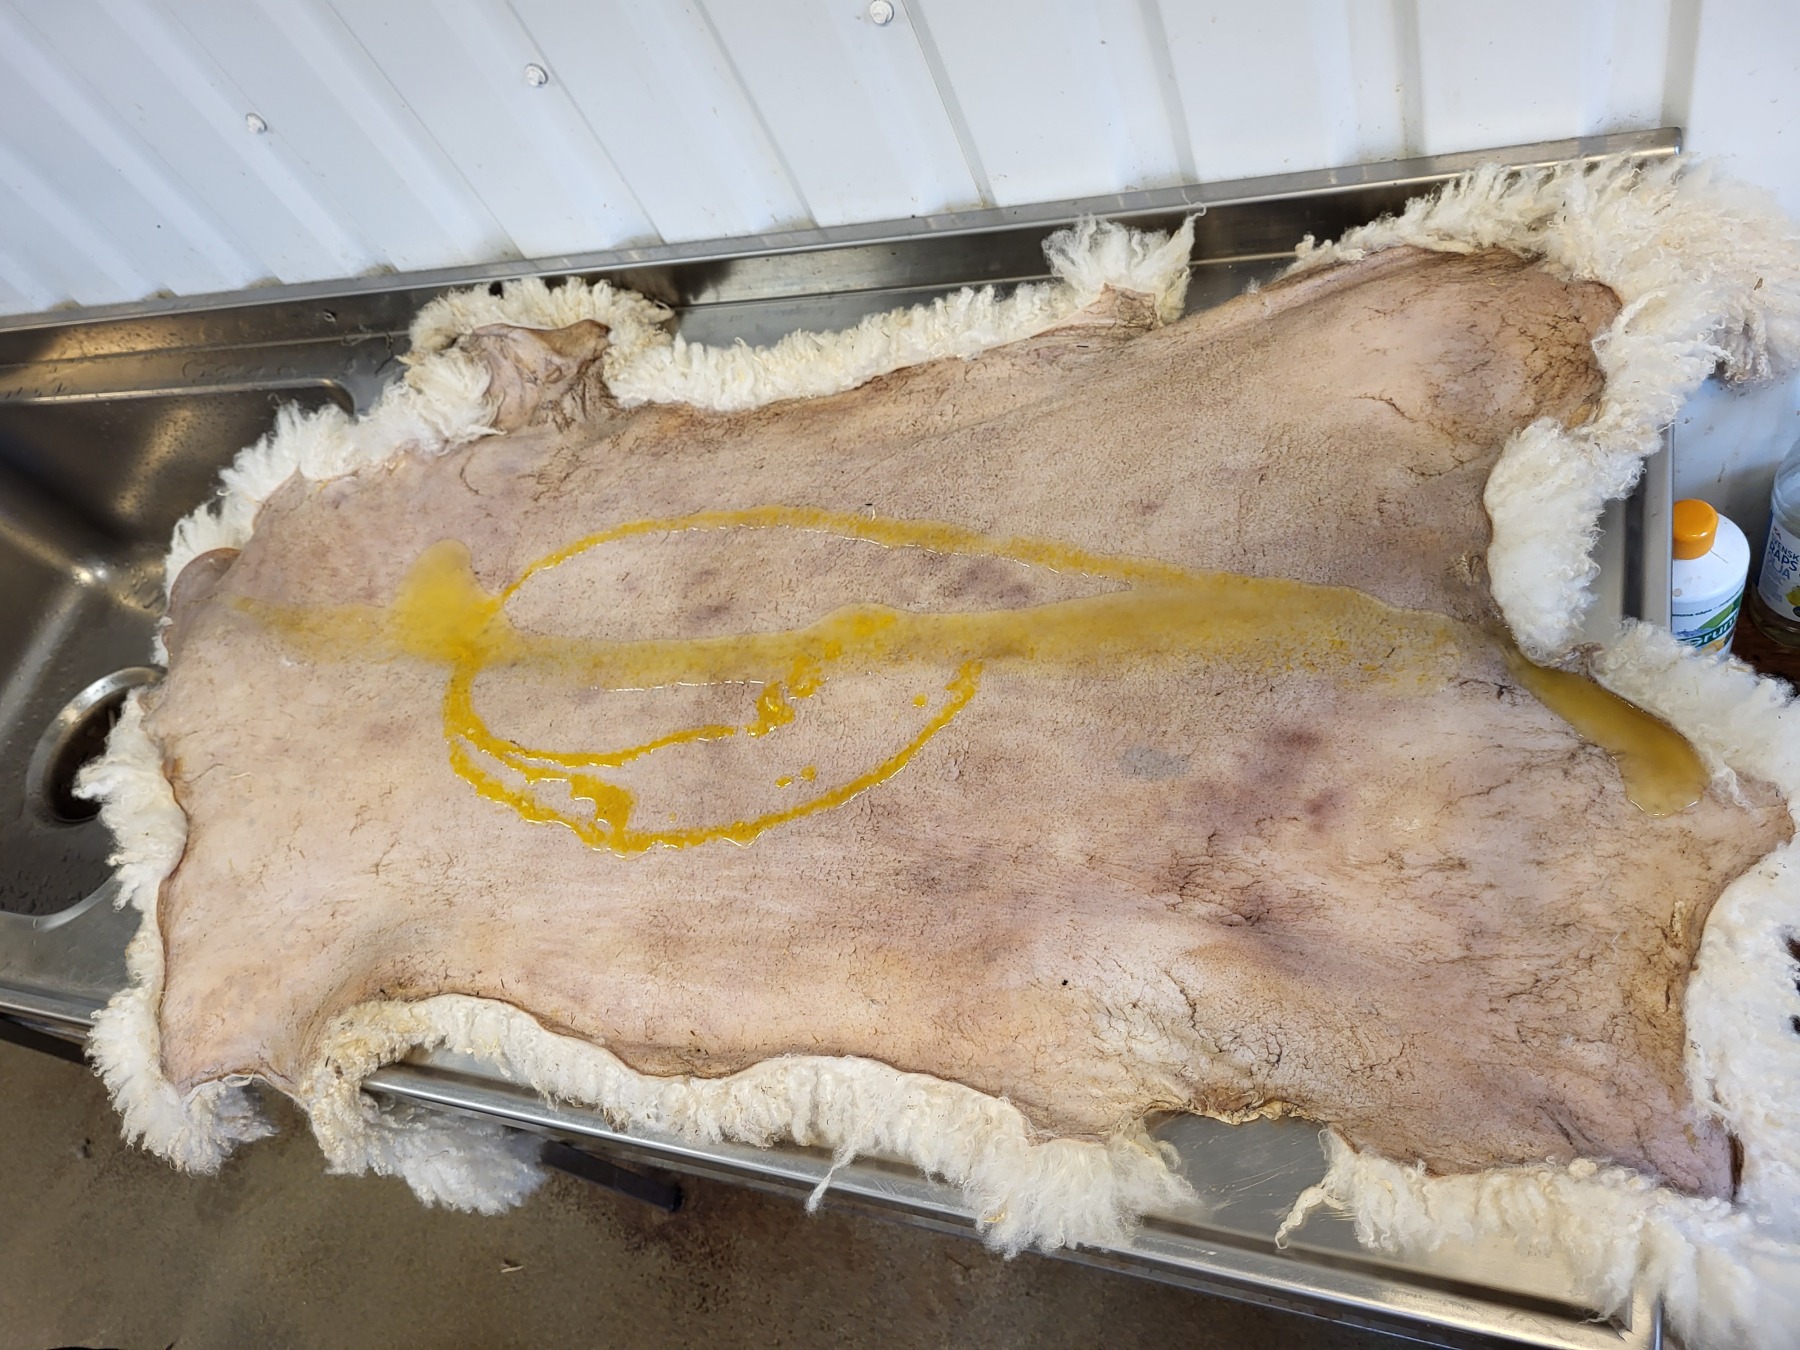
Figure 6: 1.5 dl oil, one egg yolk and a few drops of soap is worked into the flesh side
Laying the fleece flat and stretching it out helps the fibres absorb the fat tanning mix. I work in the fat into the flesh-side, making sure to hit the edges and neck area as well. Stretch the skin along both axis multiple times to help the fat absorption.
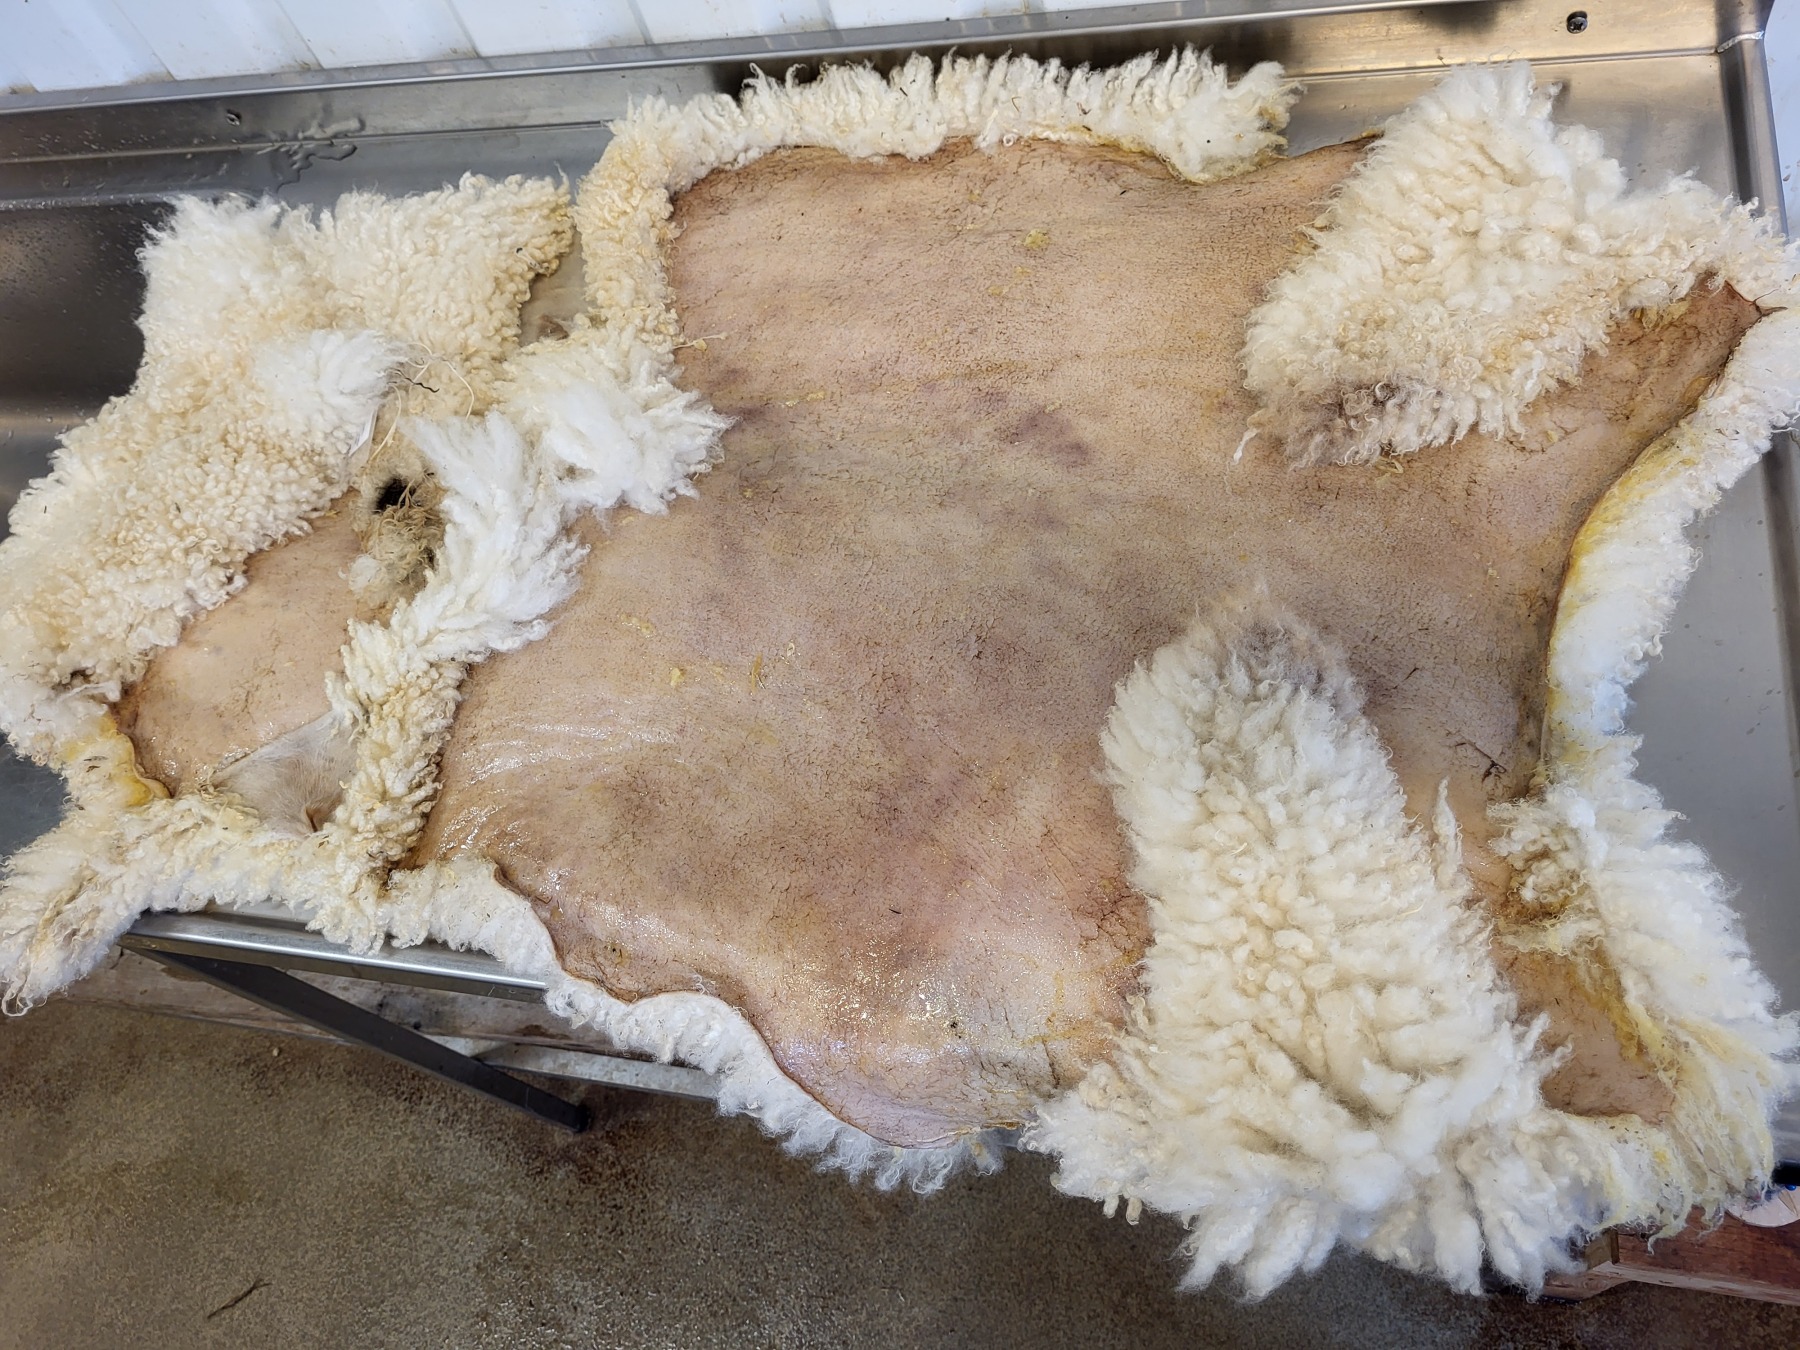
Figure 7: Make sure the edges also get their dose of the batch
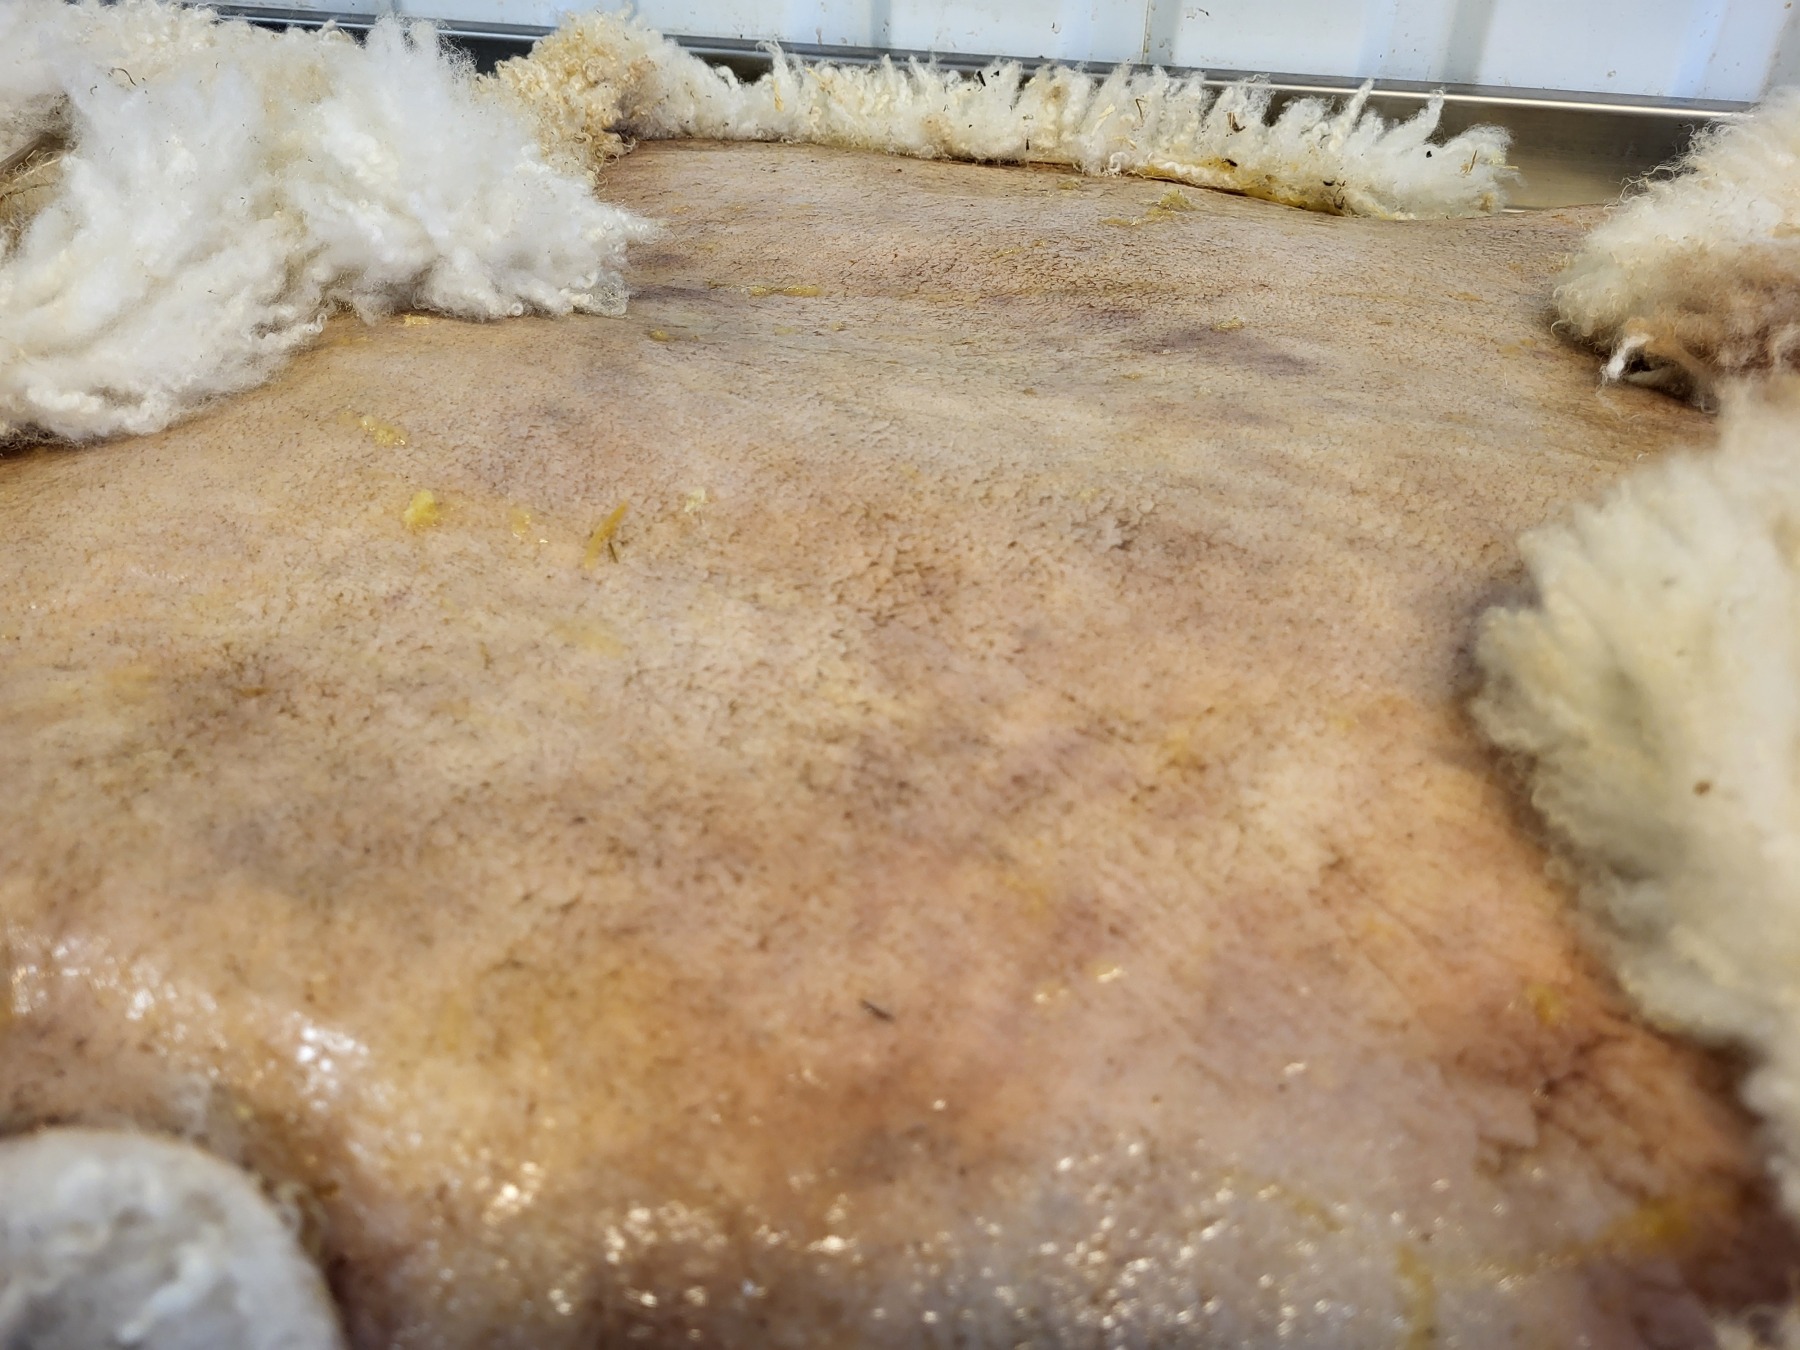
Figure 8: If we run out of our mix, especially around the neck, just add some more oil.
Now we hang it back to dry, with the flesh-side facing out. It helps if all parts dry at the same rate, thus groin may need to be folded in to not become too dry.
3.3. Dry the fat-tanned flesh-side
Every 30-60 minutes I take it down from the rig where it is drying (flesh-side out) and stretch it (in both directions) and use a räckskrapa (Eng: trowel) to move / “massage” all the fibres in the skin and also move the fat out to the edges where it is dryer. The more work we do at this stage, the less we have to work later to make the fleece soft.
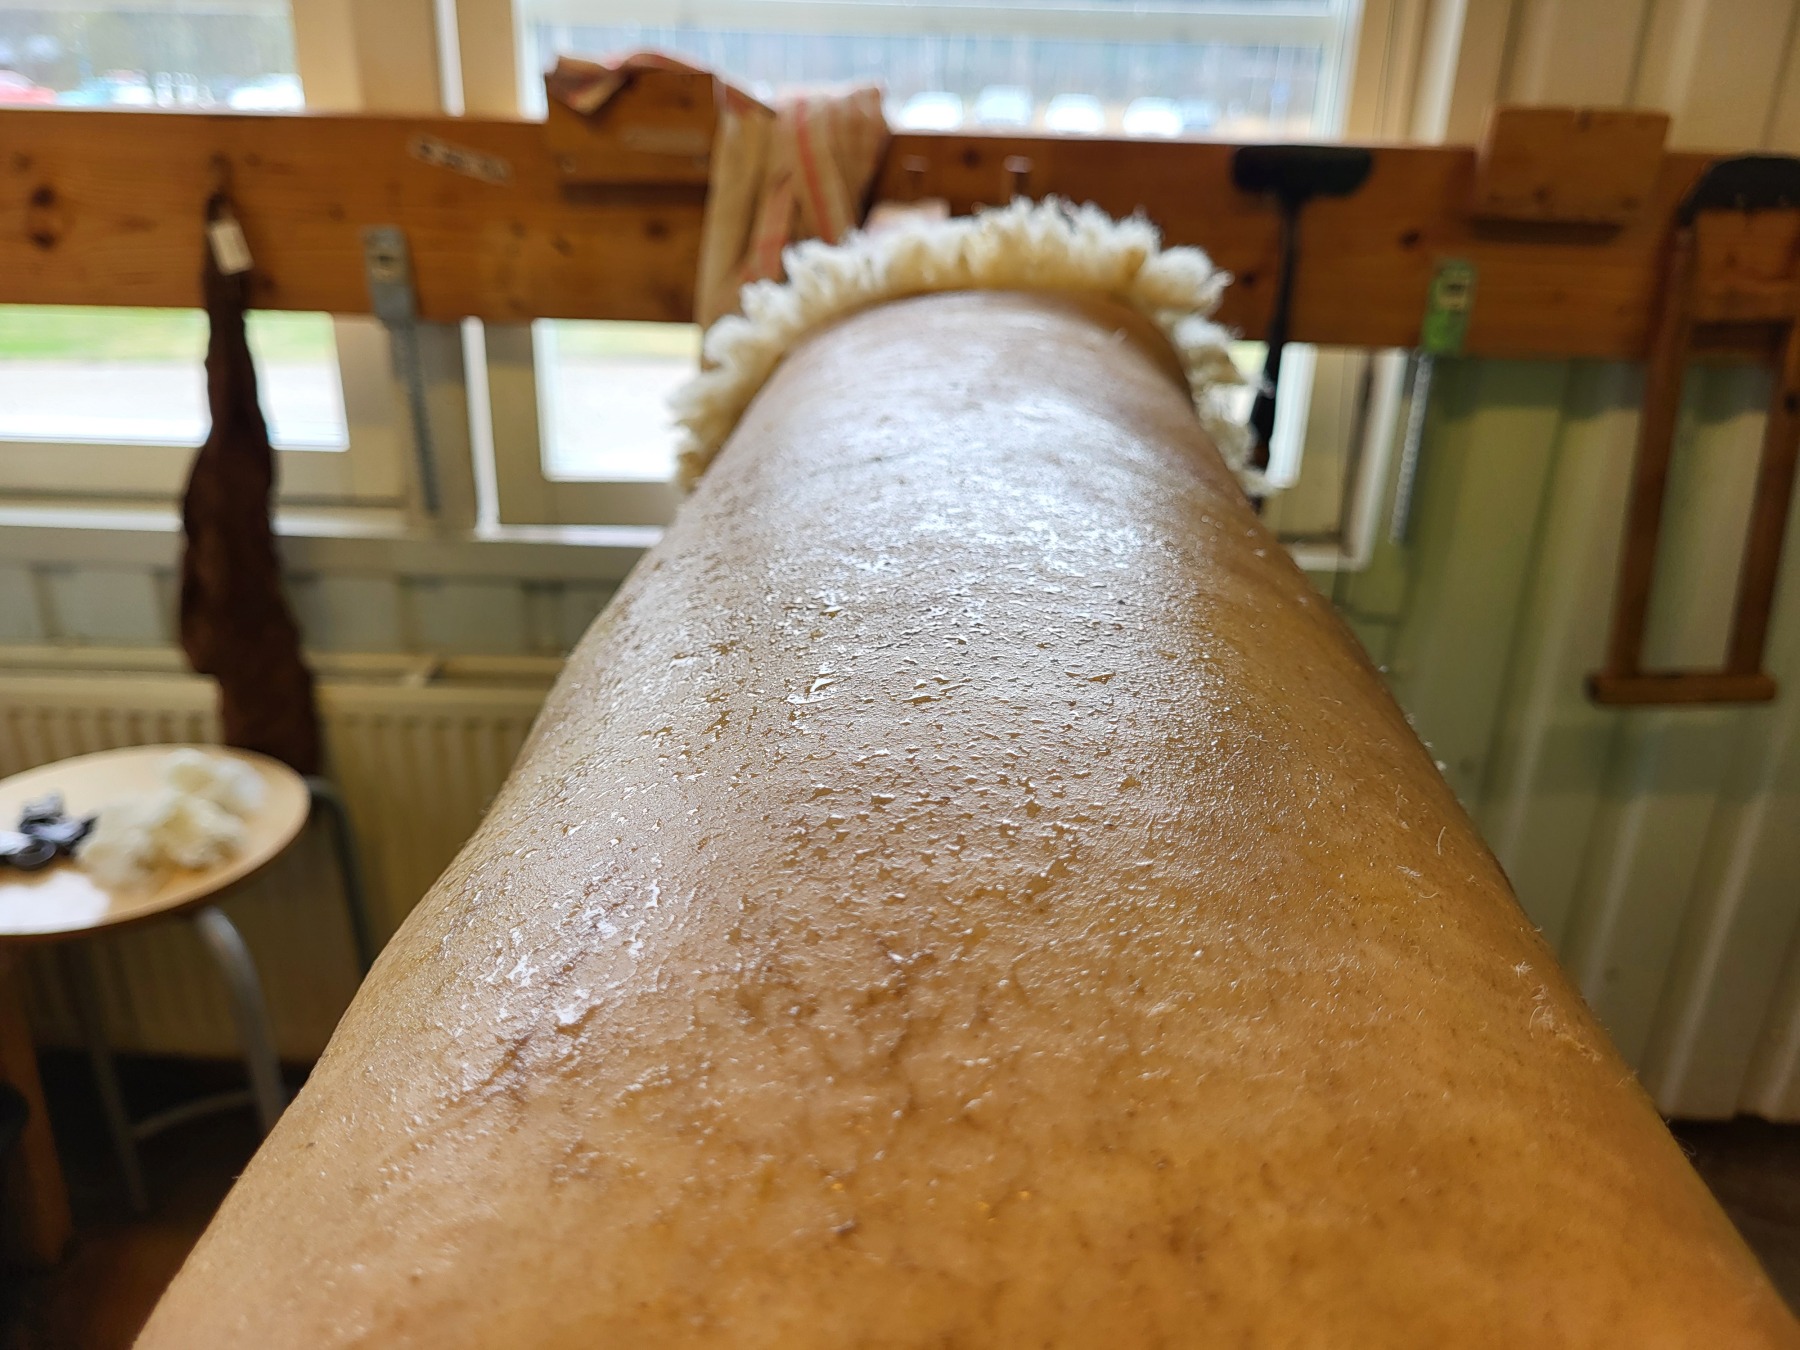
Figure 9: Water and oil start to switch (about 2 h later), causing the former to pearl ontop of it.
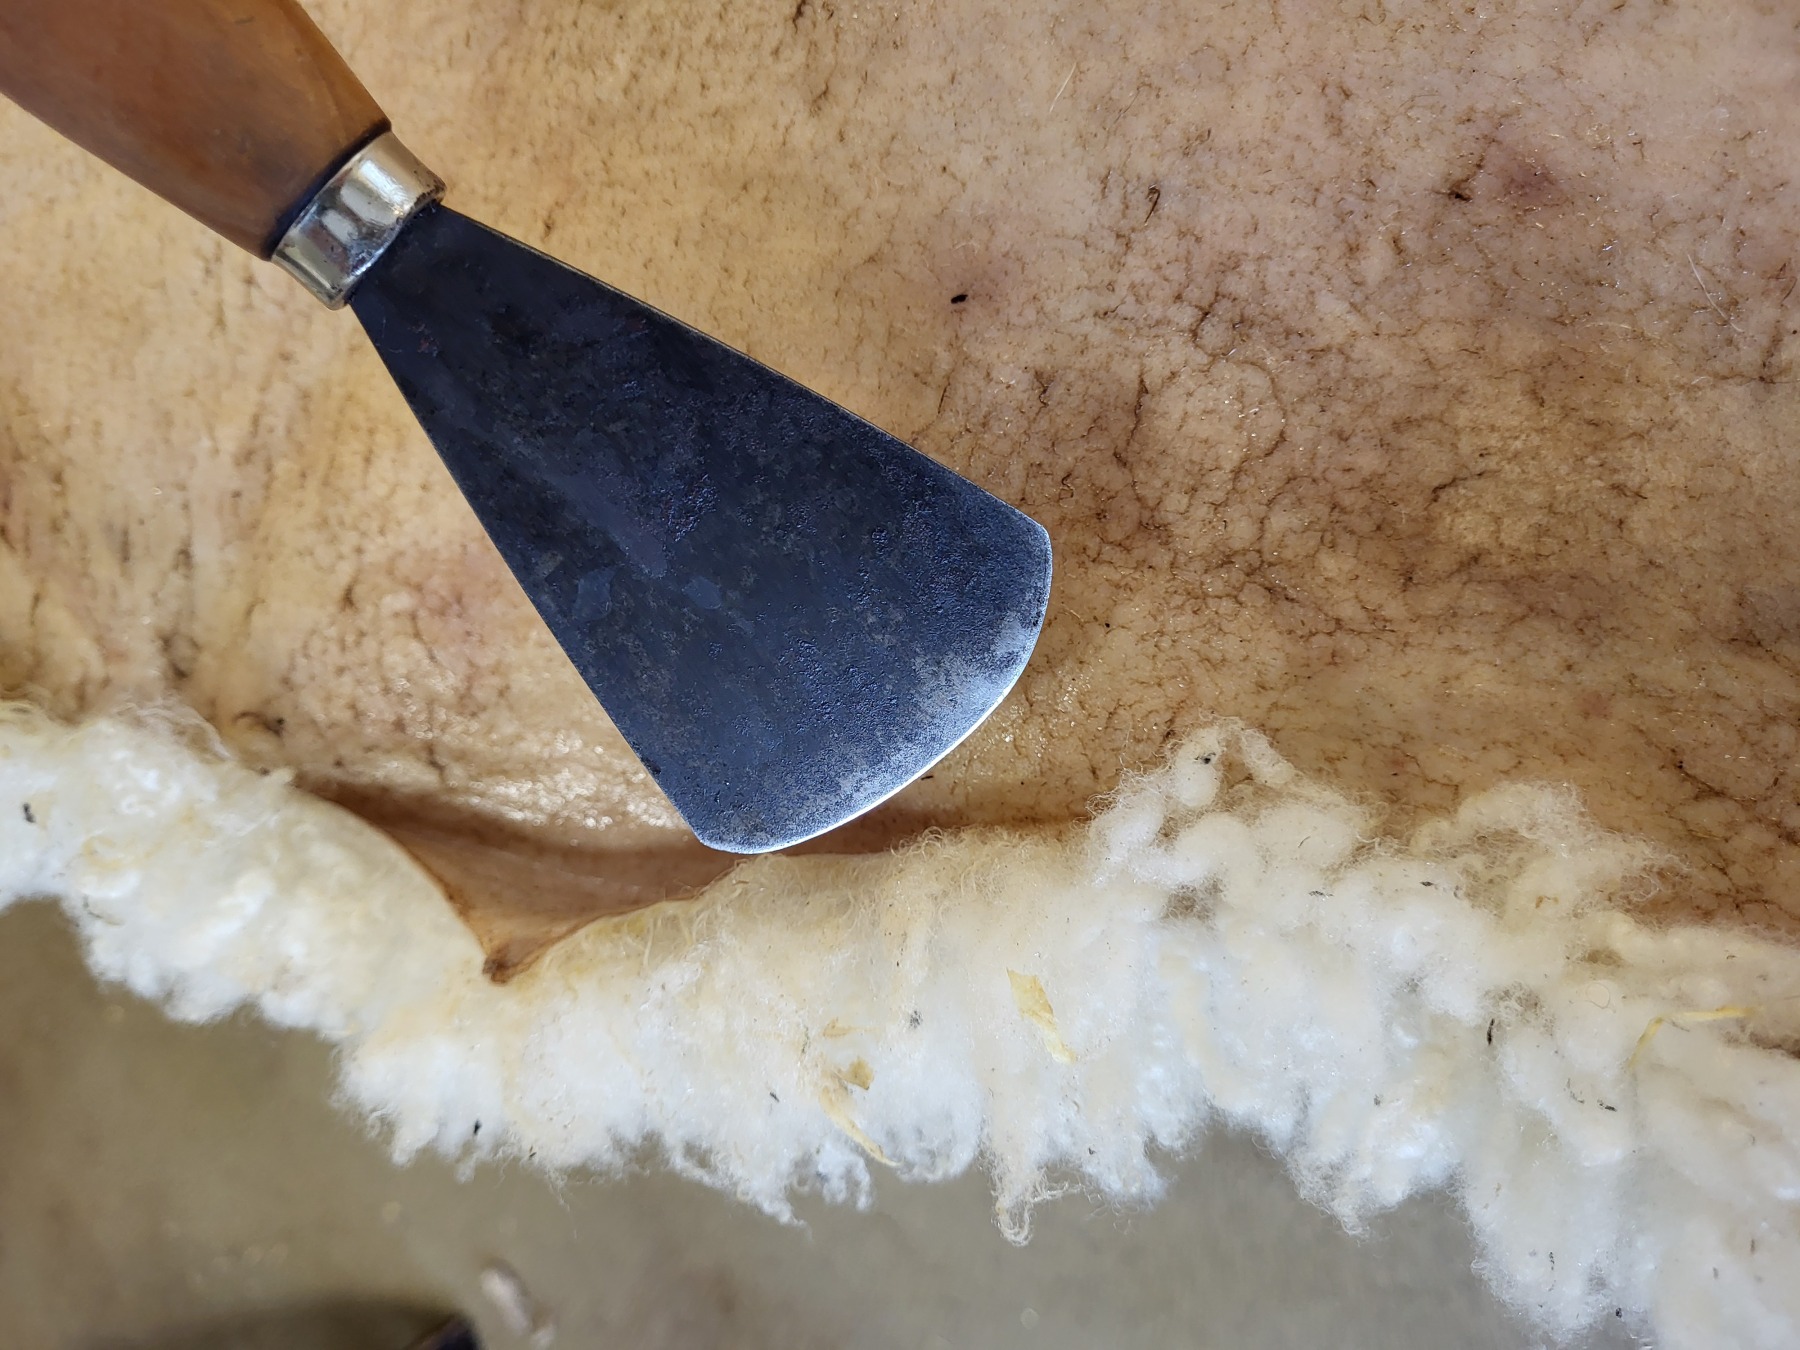
Figure 10: Working with räckskrapa to scrape the skin to work in air between the fibres
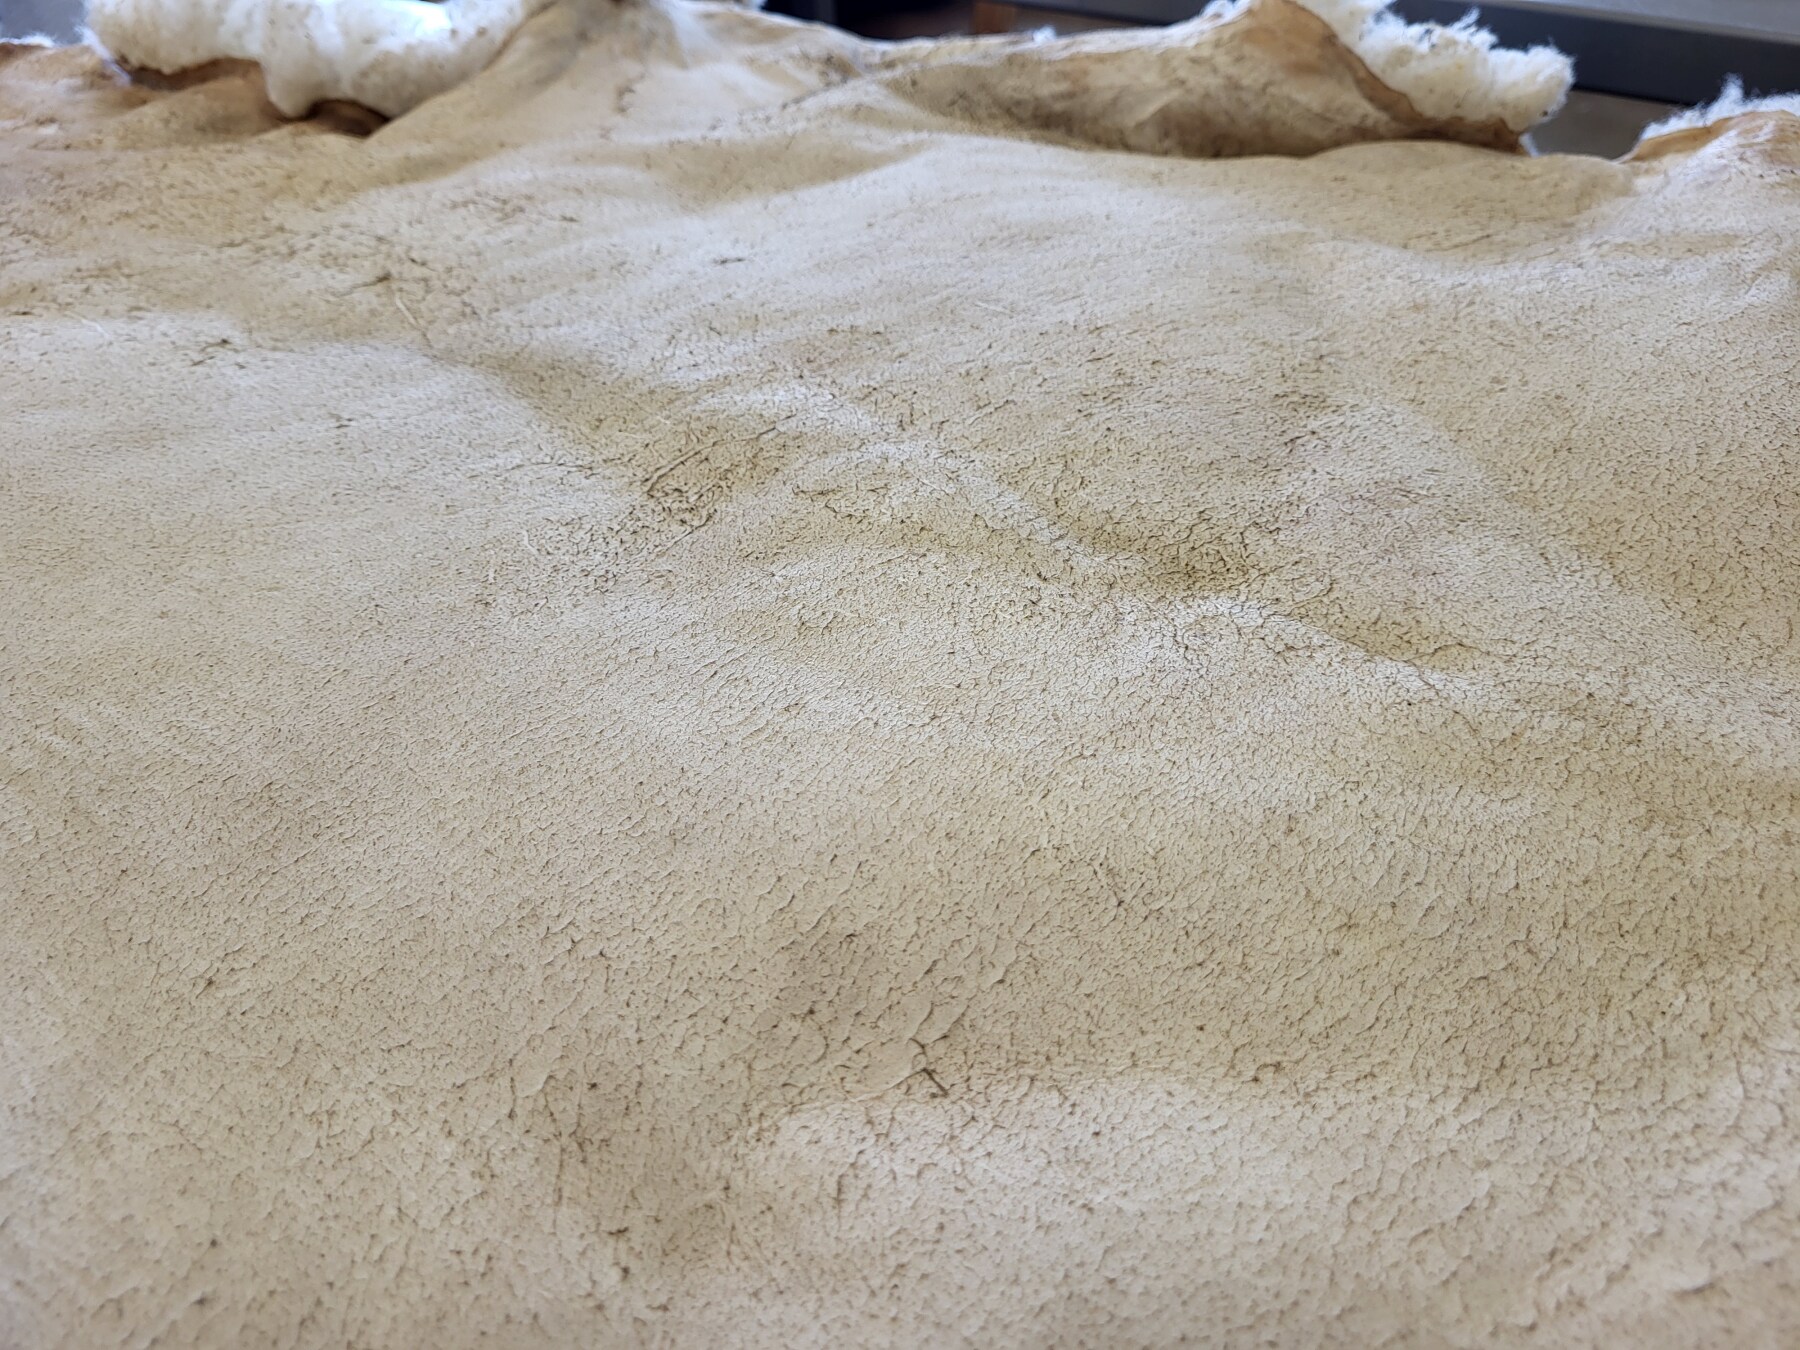
We want the whole skin to dry and whiten, as this is the state when we have air between the fibres, which softens the skin, as it prevents the fibres hooking into each other.
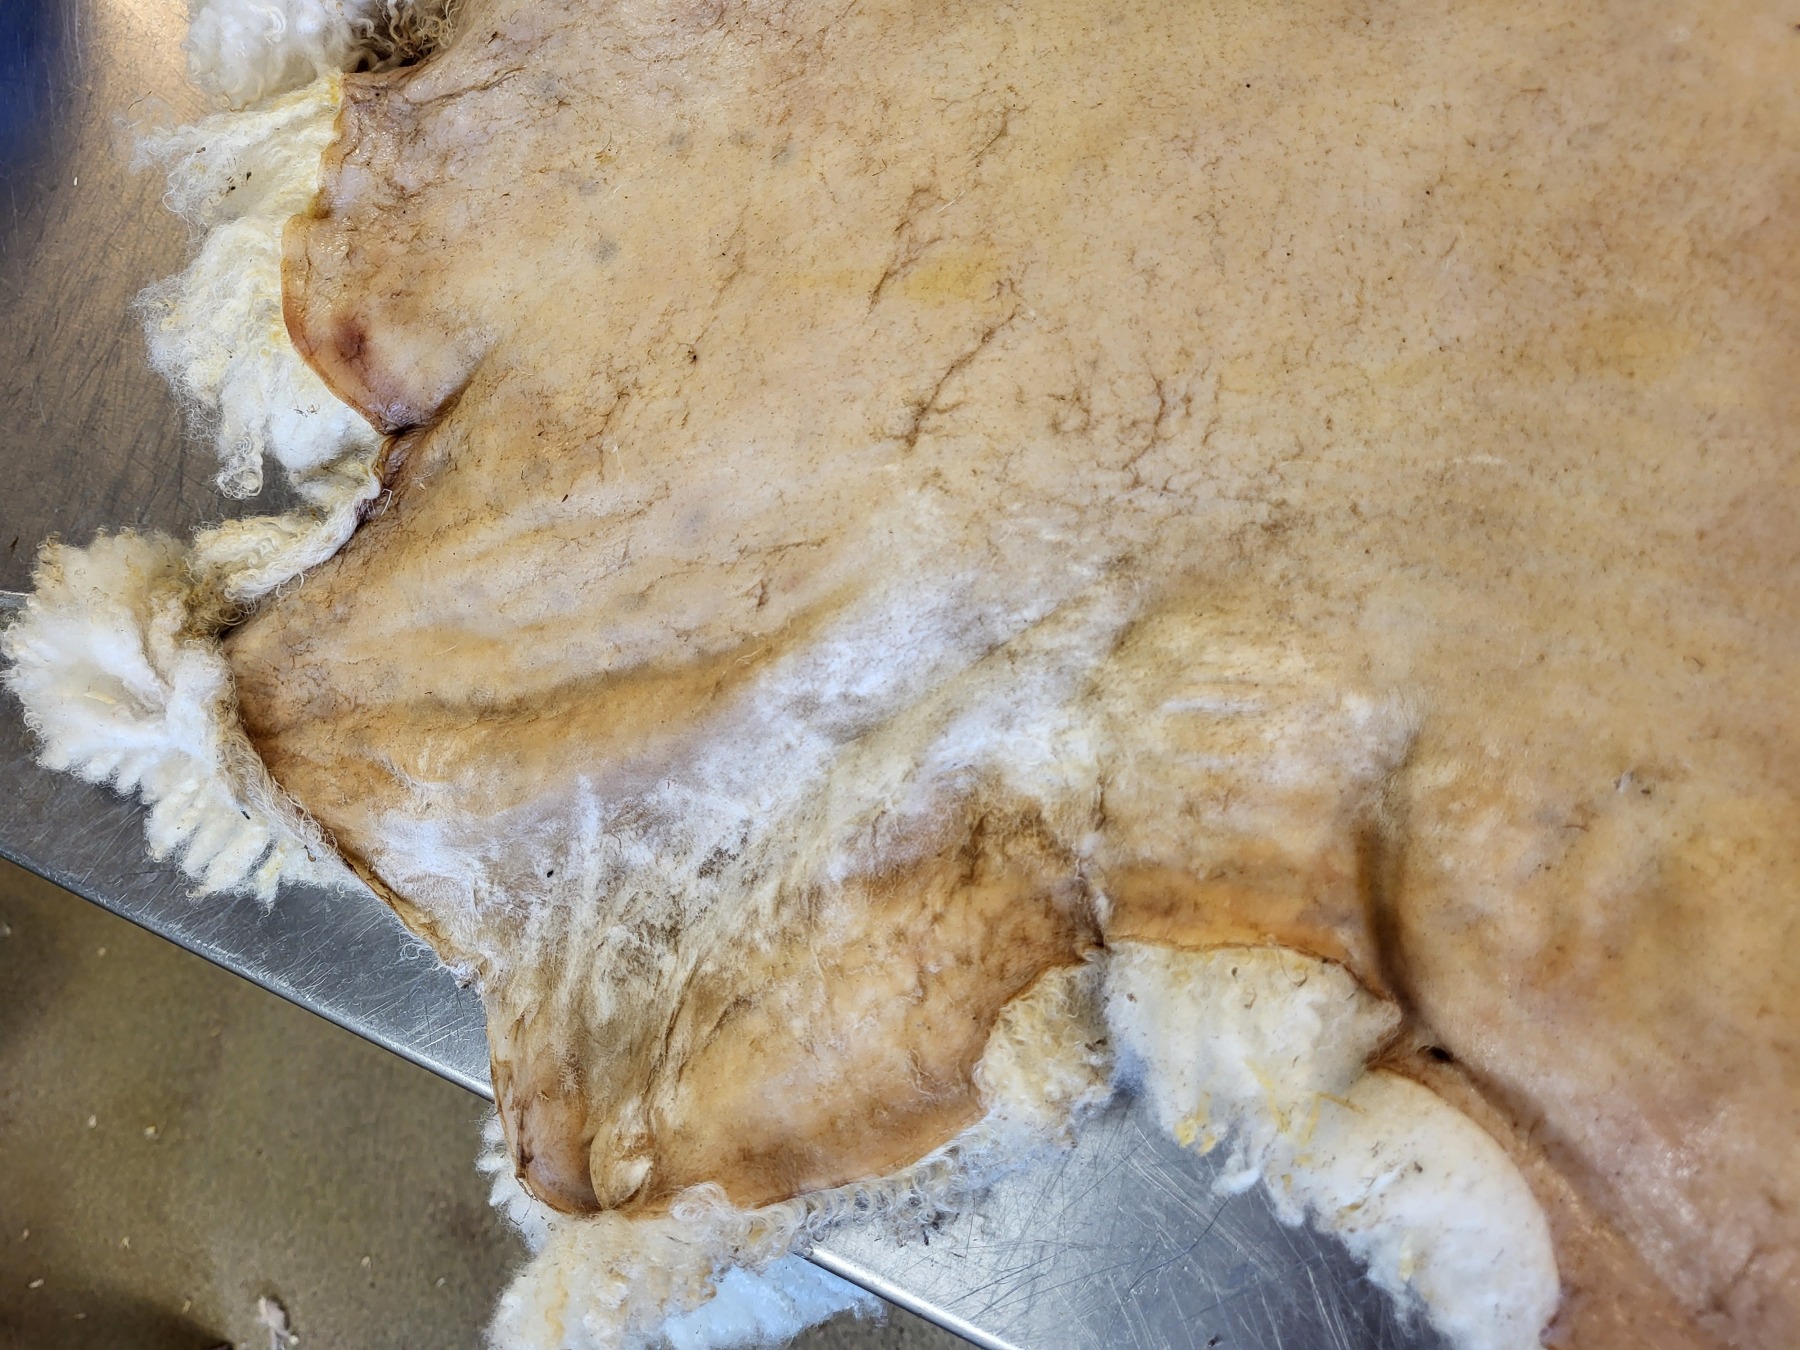
Figure 11: The neck is the fattiest part of the skin, here it is starting to whiten, which is the next state in the process
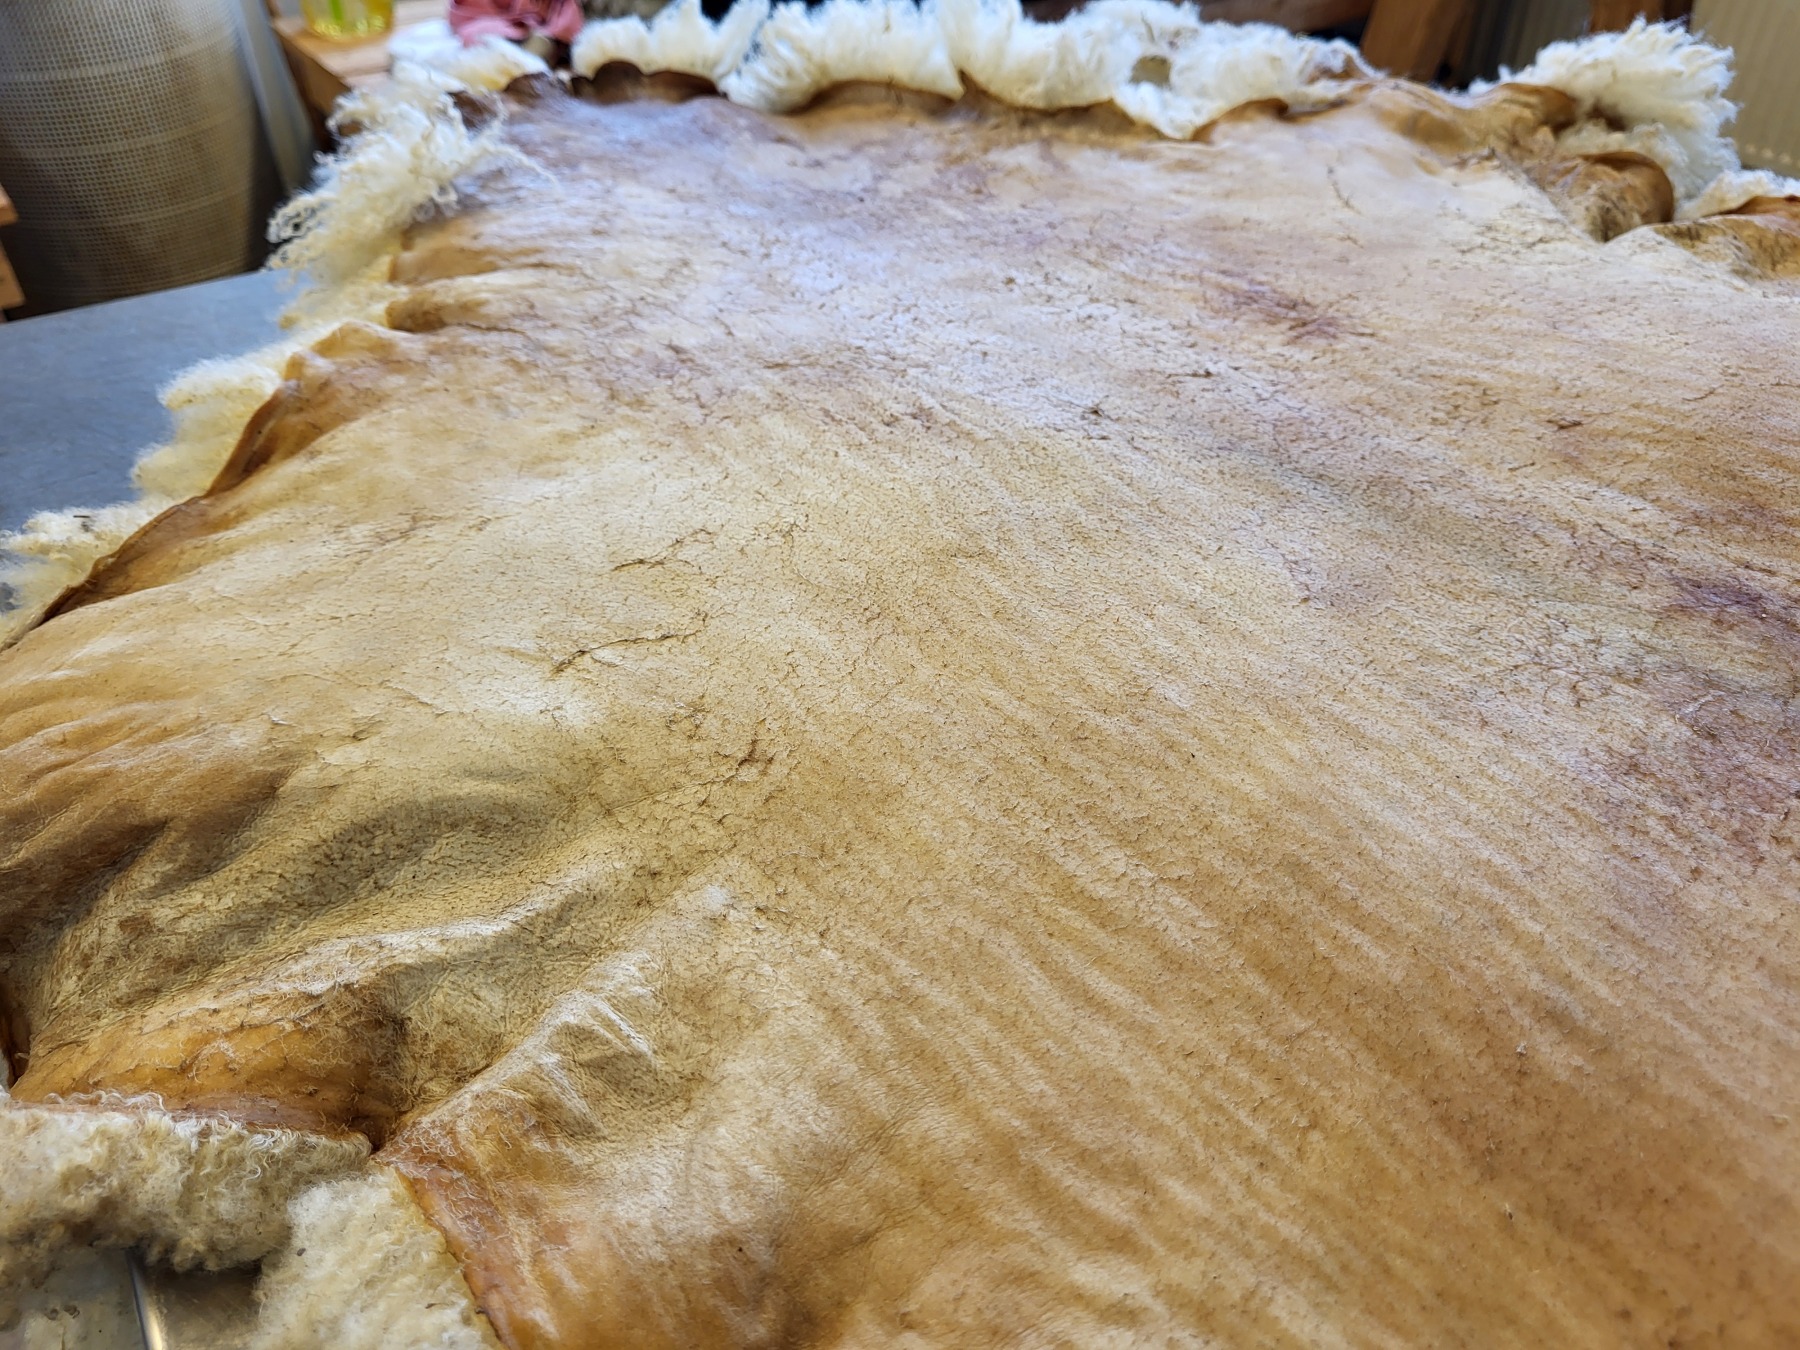
Figure 12: By afternoon most of the fat has entered into the flesh-side
Once the fat has entered into the flesh-side (no longer shiny), such that when working with the trowel (räckskrapa) no fat is squeezed out, we can use the bigger räckspade, when we work with the skin, roughly hourly. It is important to also have it in the dry room such that it dries fast enough.
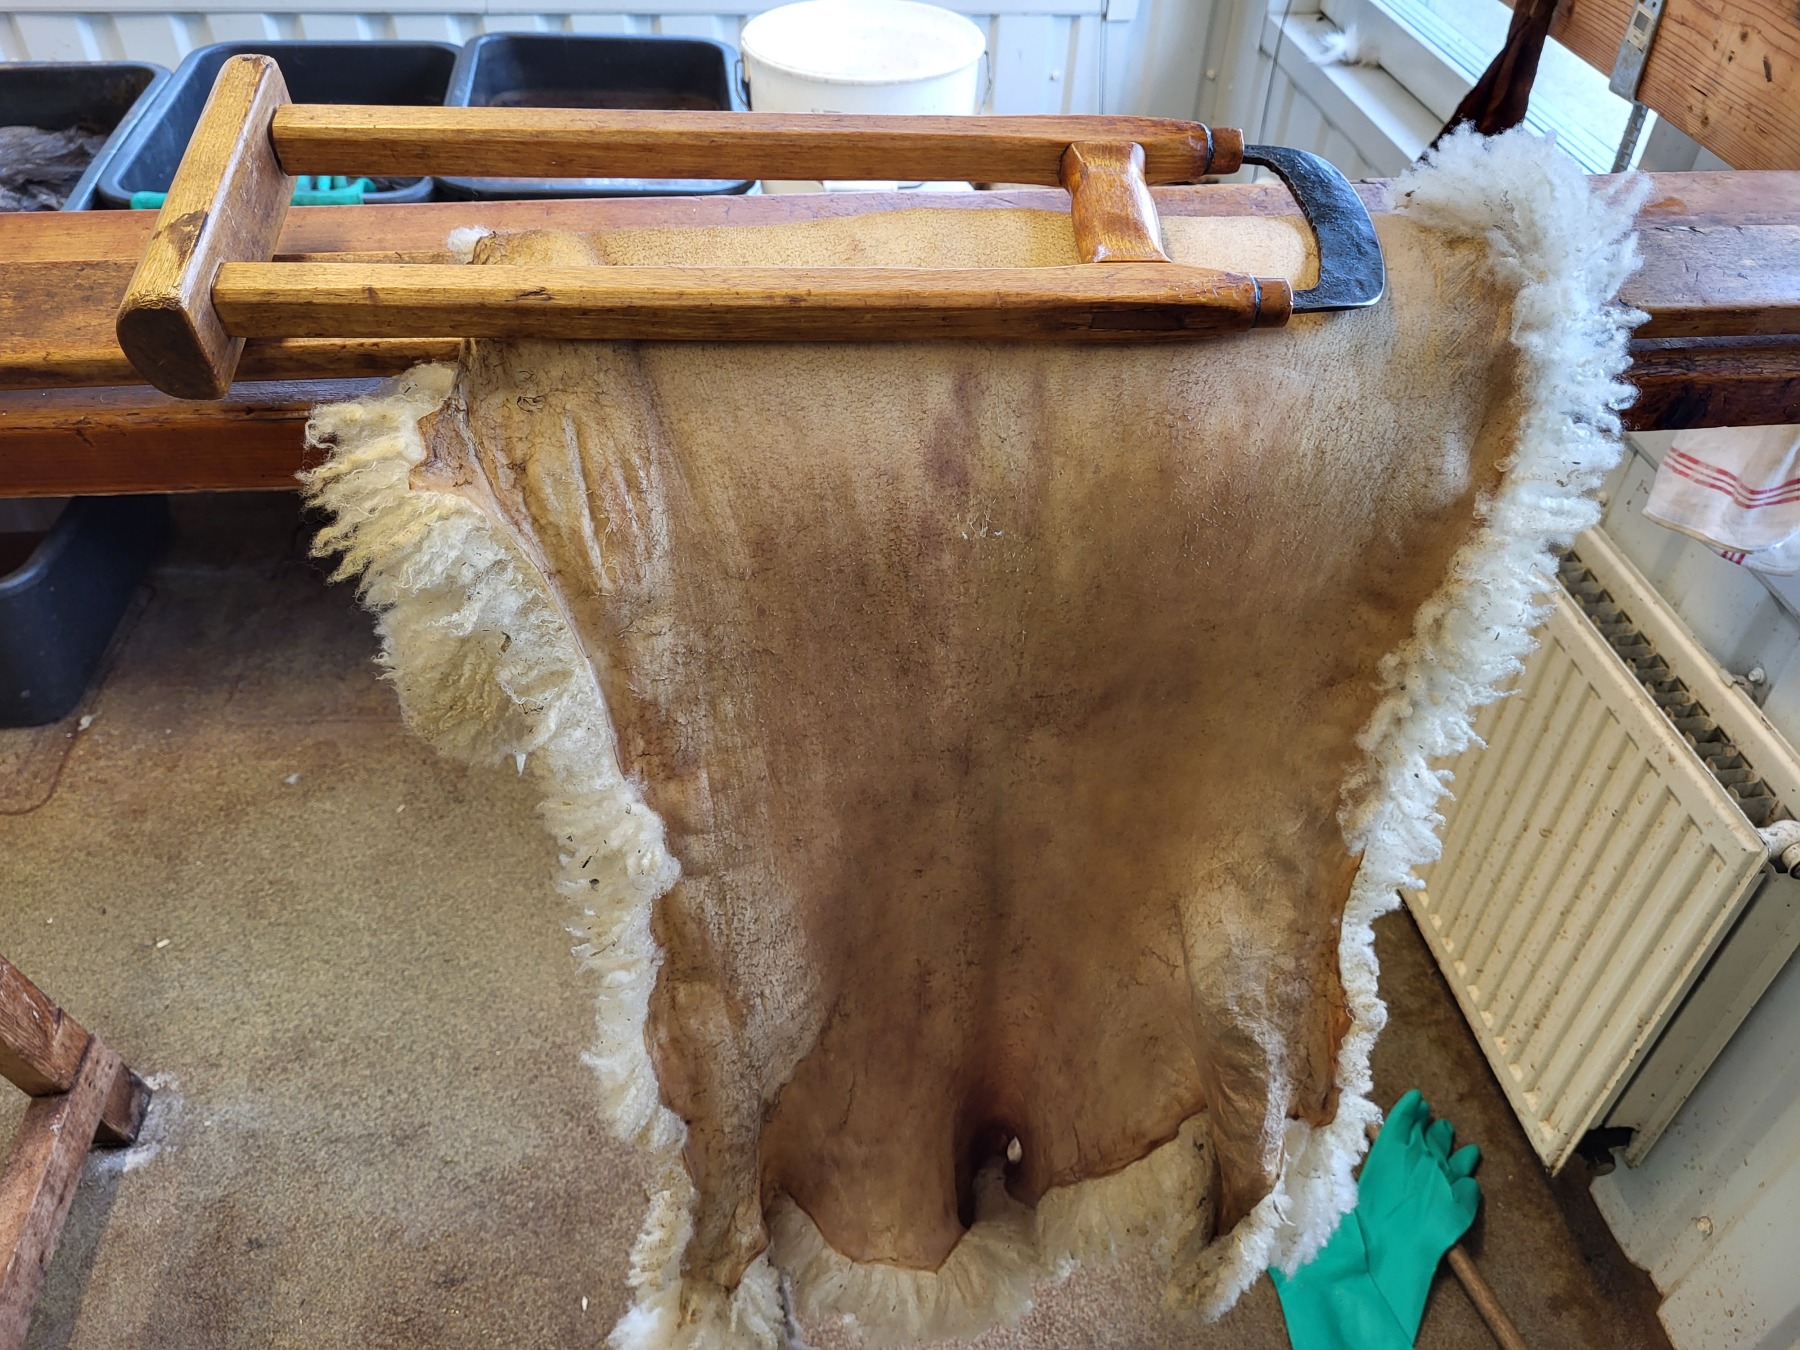
Figure 13: Once the fat is absorbed, we can use the bigger and more efficient räckspade
4. Day 3
4.1. Keep working the fibers
We keep alternating drying the fleece and taking it out to stretch and scrape with trowel, to work in air between the fibers.
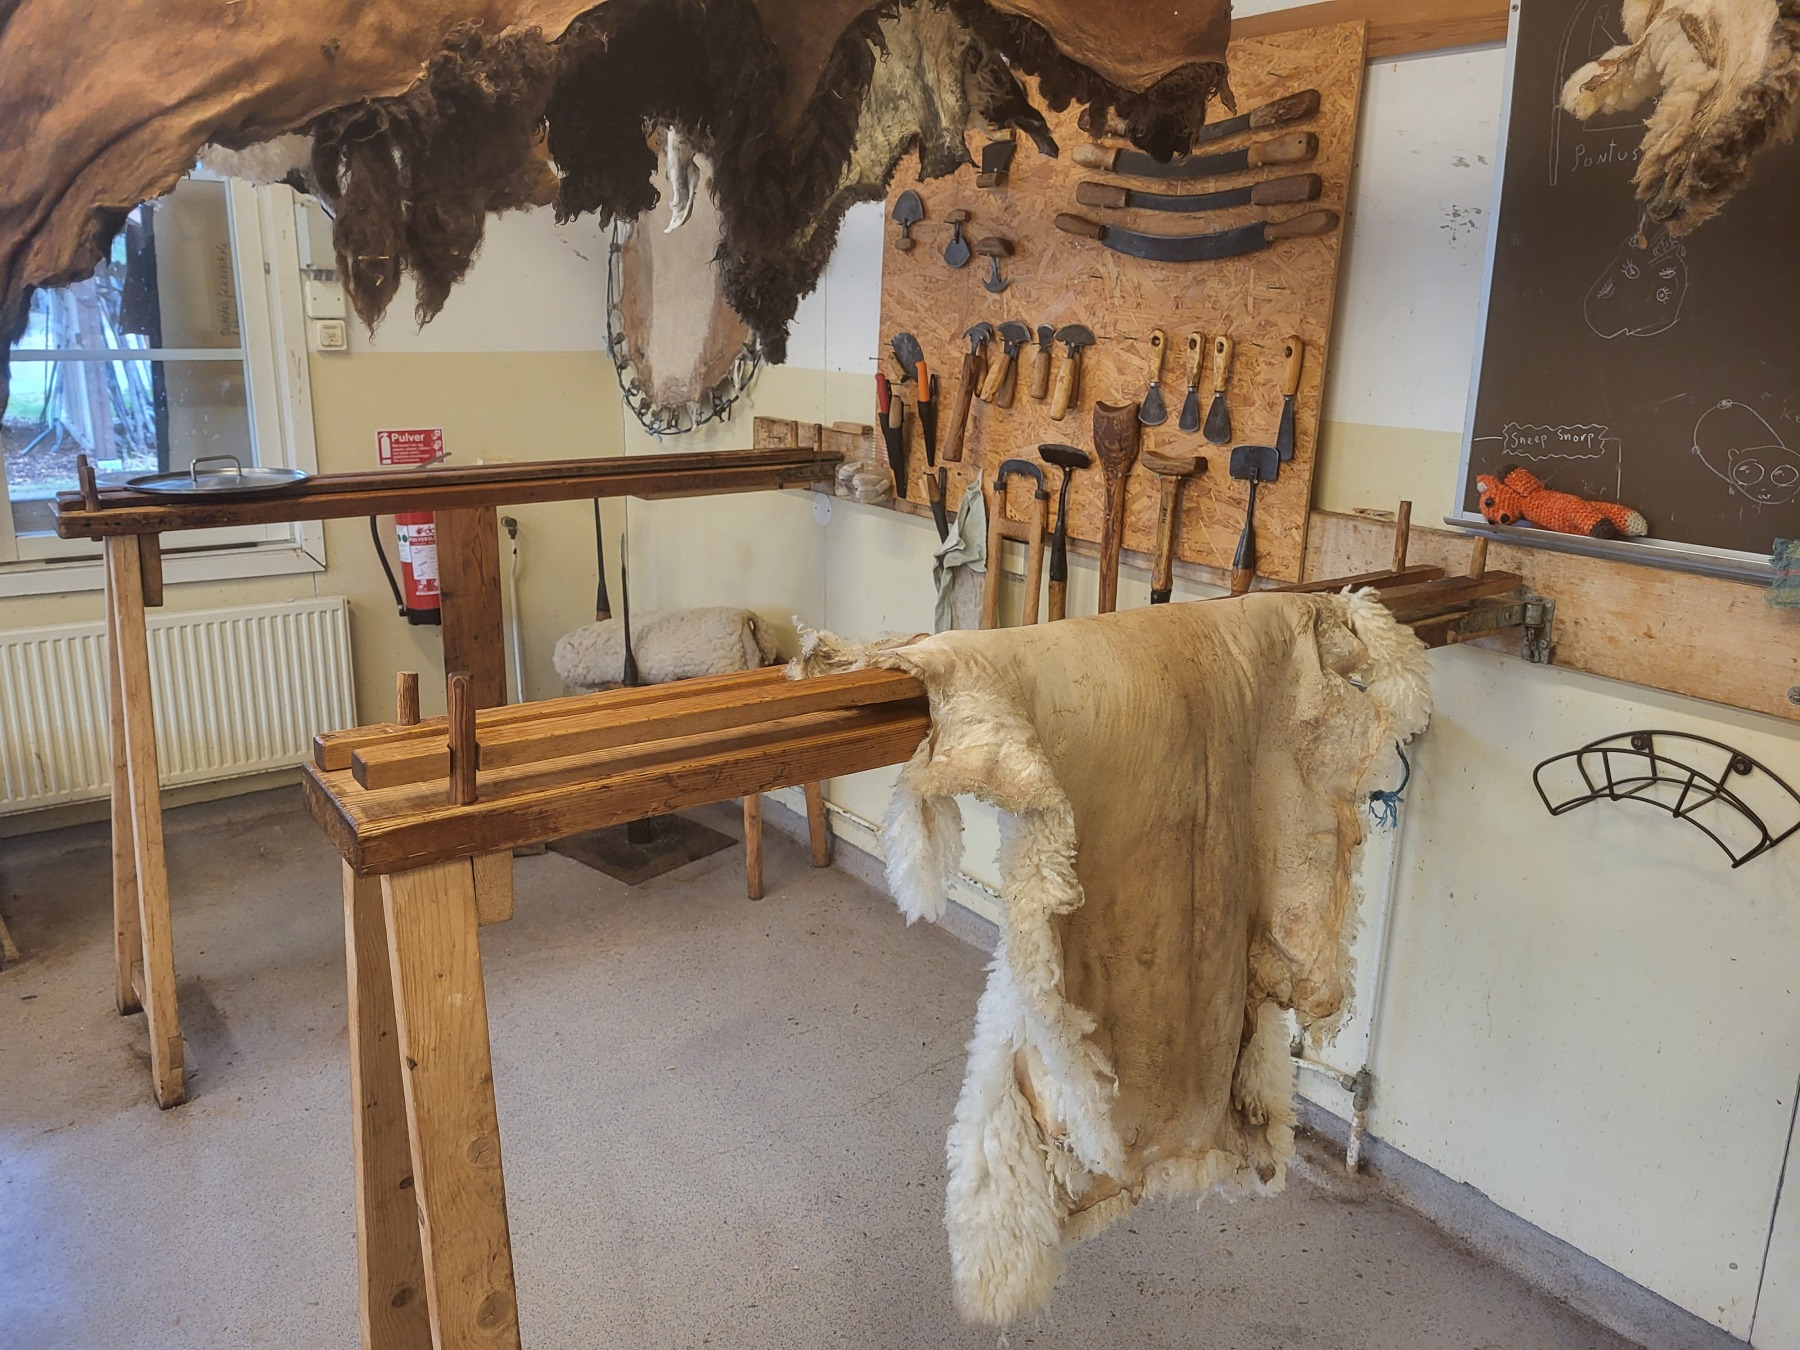
Figure 14: Starting to whiten on day 3
I use räckvidja or räckjärn basically a simple contraption that you rub the flesh-side against to work up friction heat.
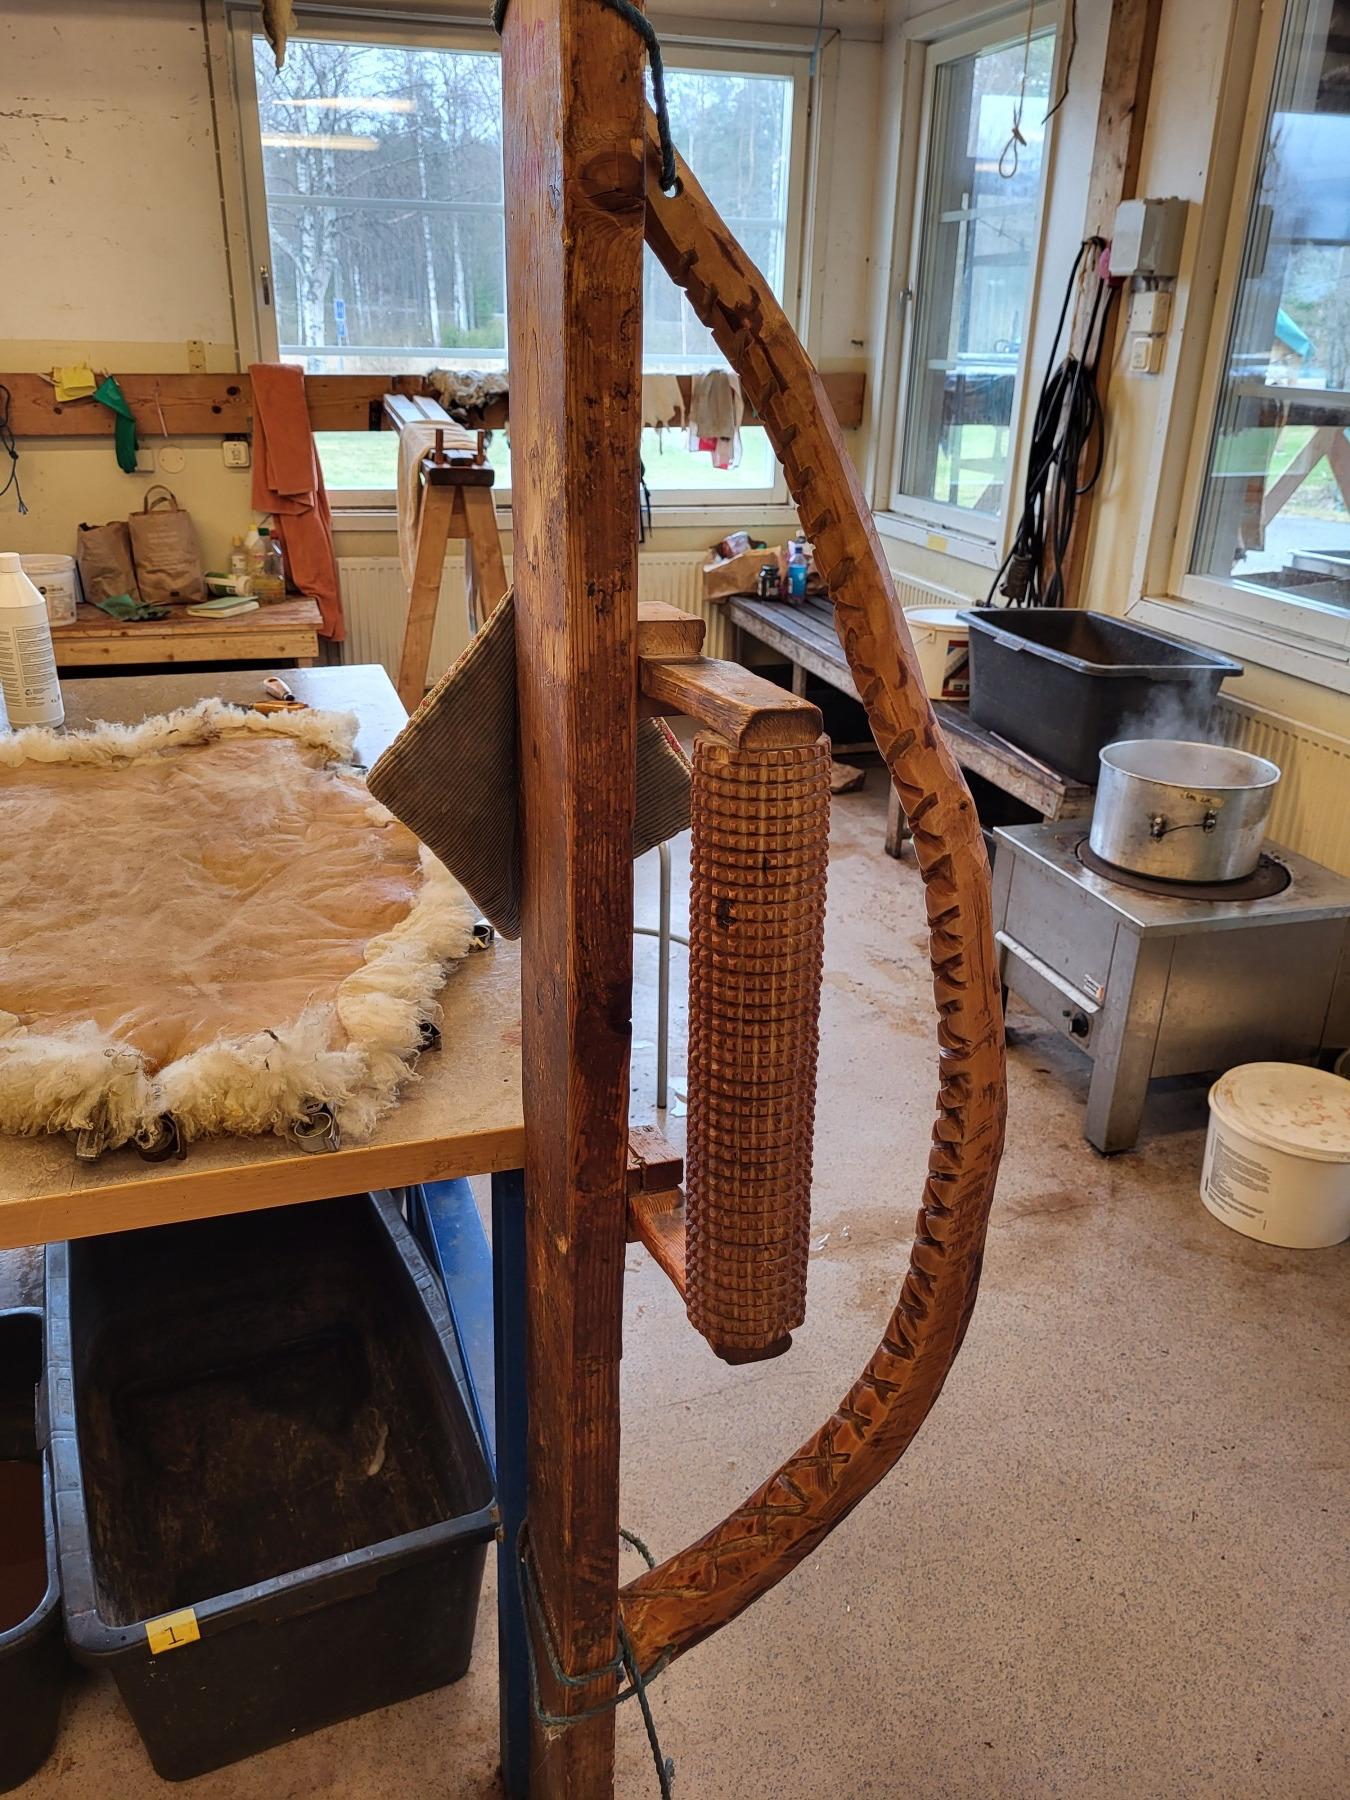
Figure 15: Räckvidja of wood (smaller one is for fish-skins)
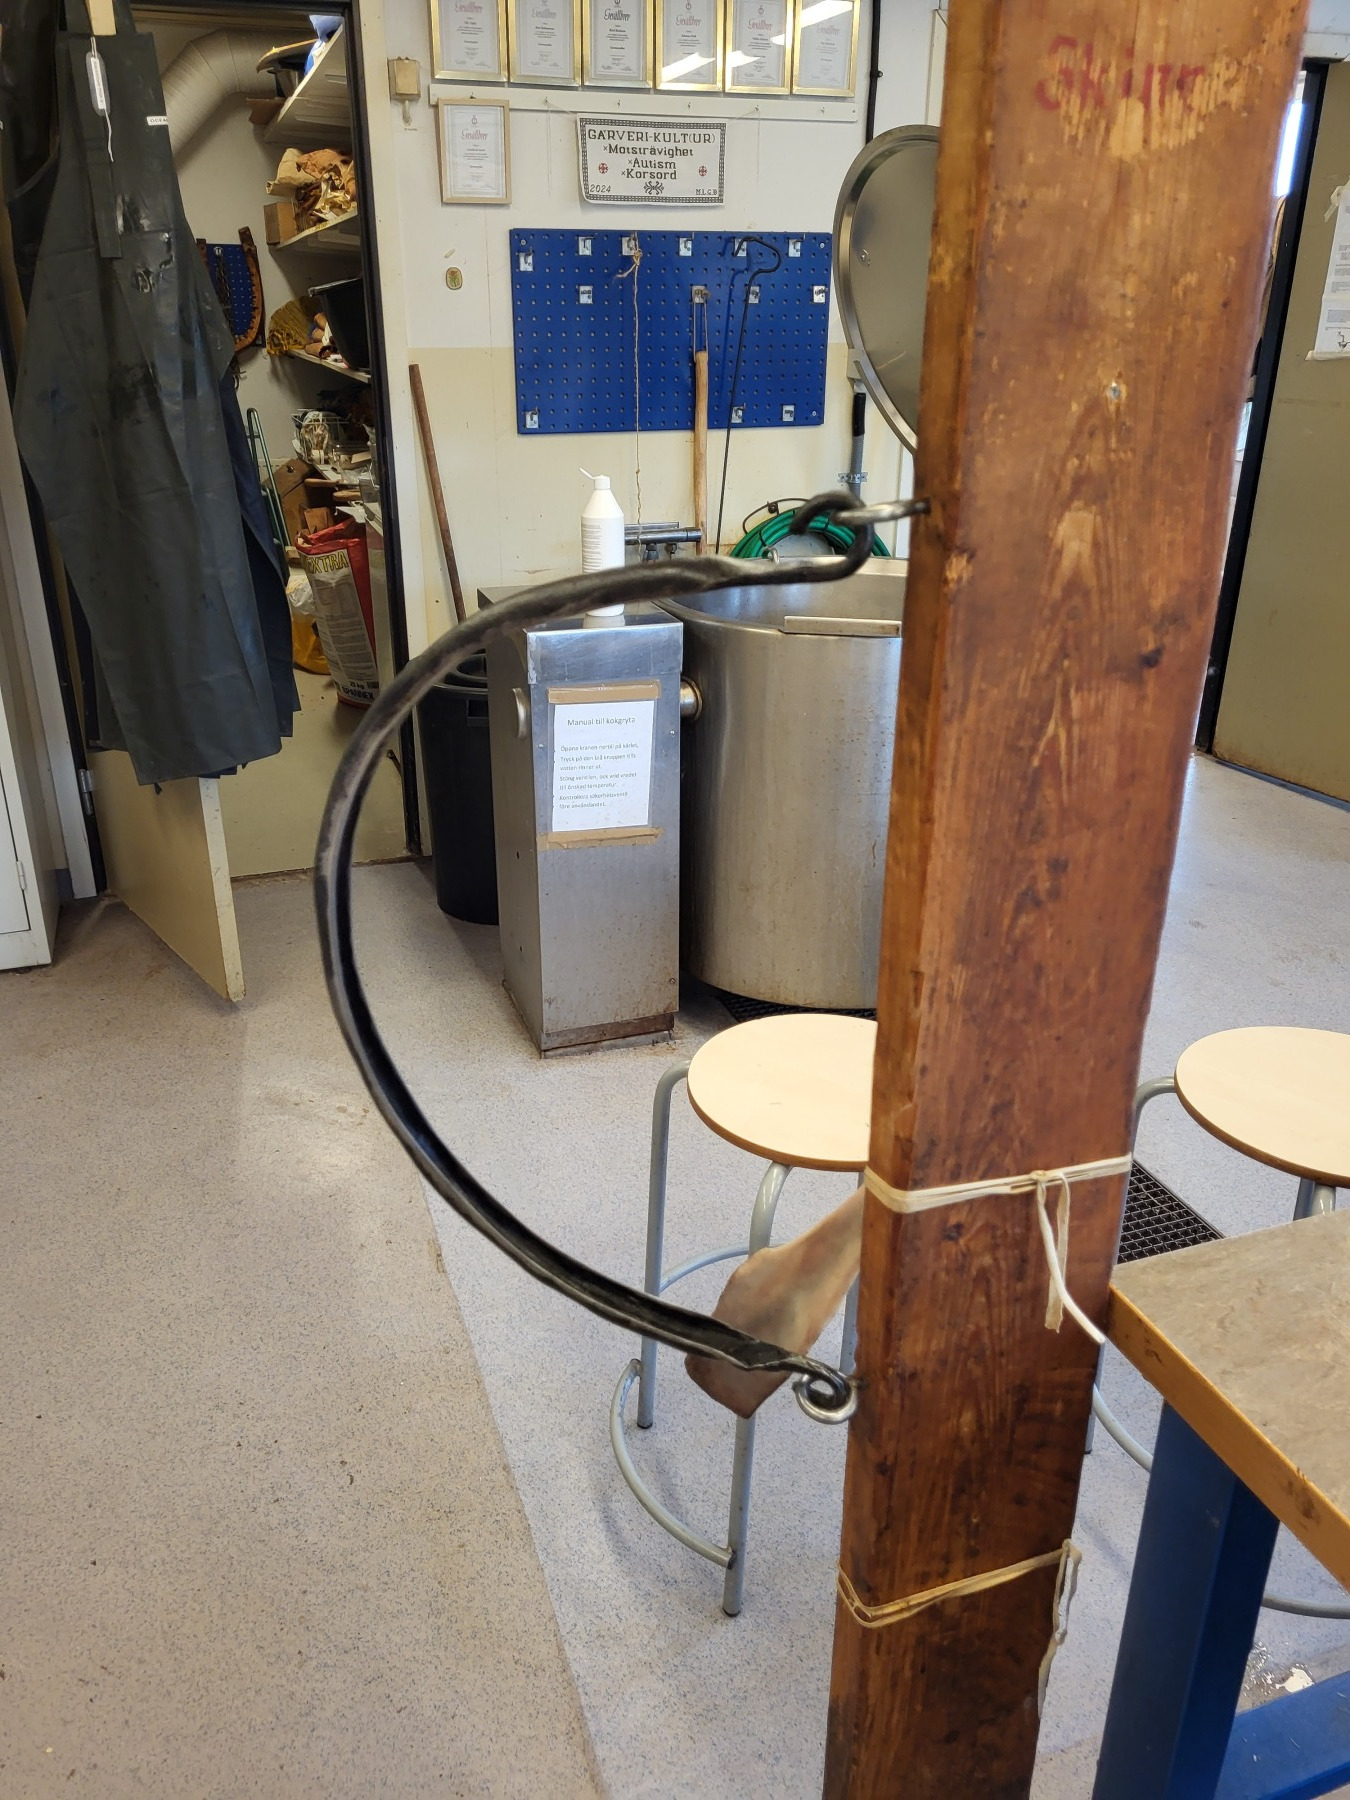
Figure 16: Räckjärn, with fairly sharp edges to help work up friction heat
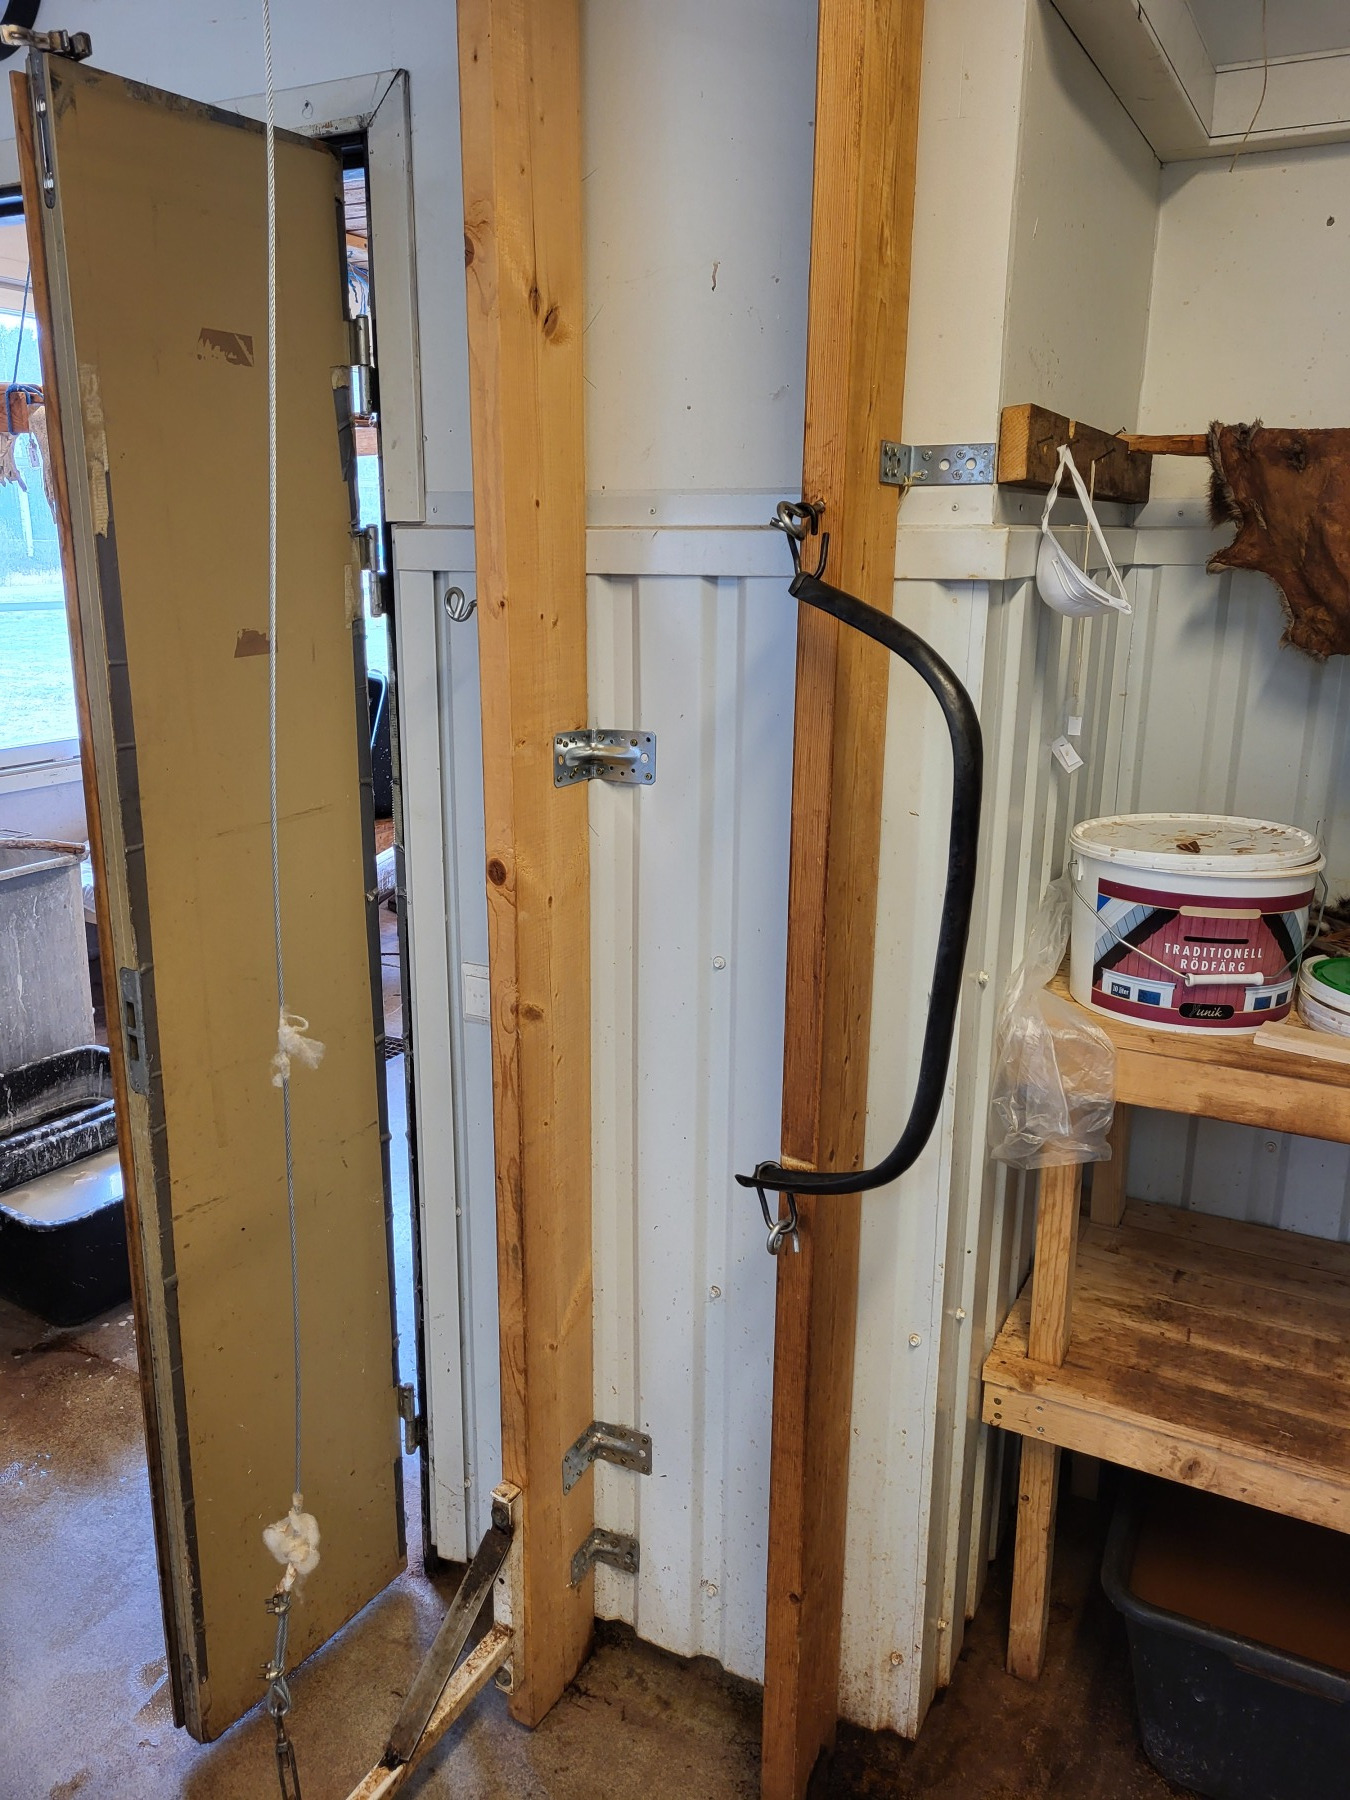
Figure 17: Here two “räckjärn” / “dragjärn” - the left most is simply a steel wire (with some bonus wool stuck to it)
By the afternoon of the third day it is mostly dry (but not particularly soft), and I hang it to mature for 1-2 two weeks.
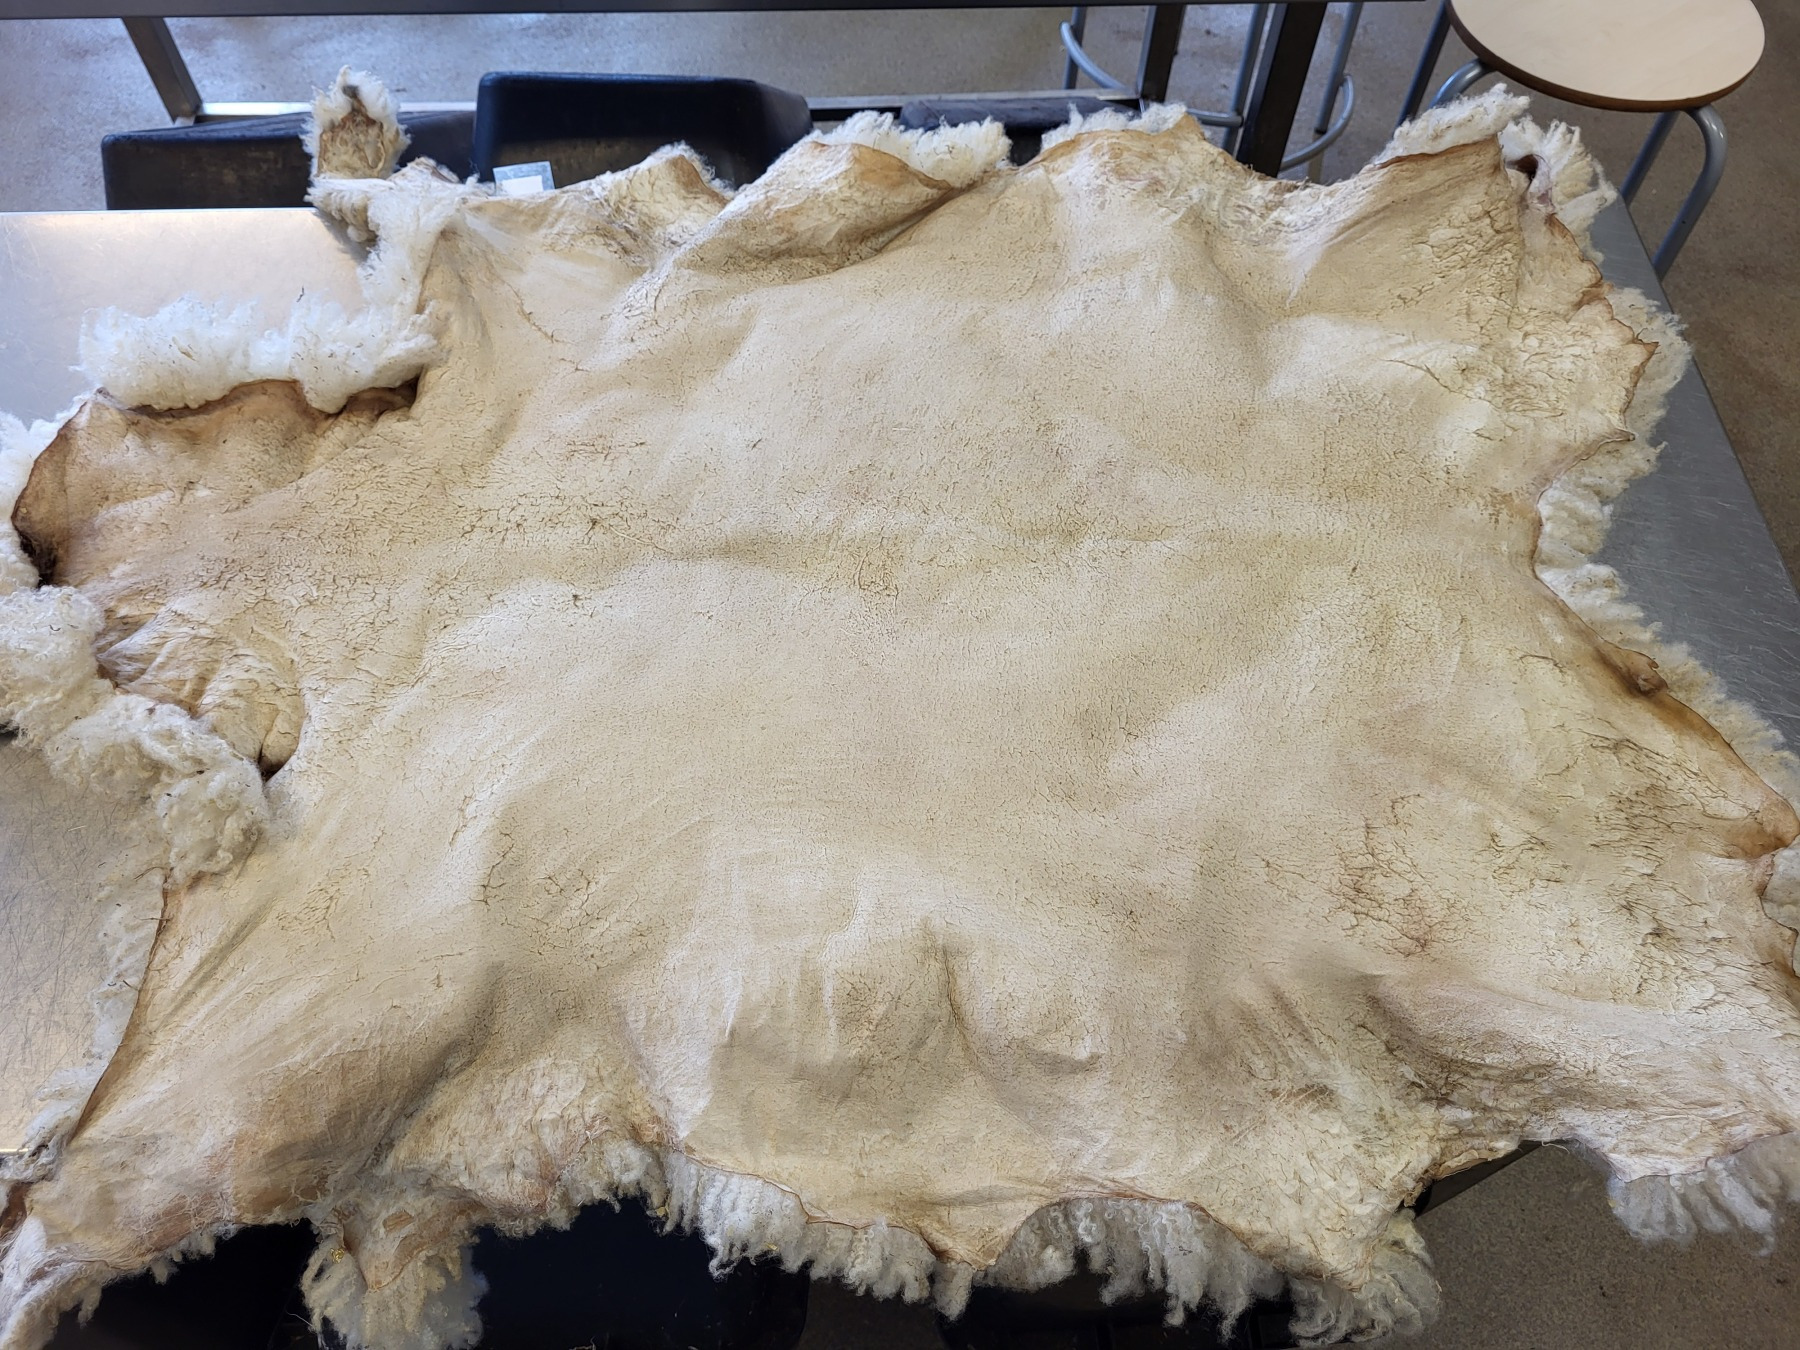
Figure 18: By afternnon on the third day it is basically done
5. Two weeks later
After two weeks I return to the tannery to finish the fleece. The goal now is to wash out any leftover fat, again by soaking it in lukewarm water with some (1 tablespoon) soap for 10 minutes, rinse and repeat. Though now that the fleece is tanned, it can withstand higher temperatures. We want it to feel as soft as when it was fresh and raw on the very first day. The process can be sped up by stretching the skin under water.
We want to wash out both the leftover fat from the tanning, and the fat from the animal itself, the latter can sometimes be near impossible, depending on the individual animal (and its diet).
It can be difficult to determine when it is sufficiently clean, as it feels like a slippery eel when wet, but when there are no hard parts (edges) and the fat is gone we can be happy. The latter can be checked by lifting up a part of the flesh-side from the water and scrap the surface with your fingernail: if it feels a bit rough (swe sträv) it is clean. In my case I rinsed 2-3 times with soap, and 2-3 times more to rinse out any leftover soap.
Note: for all tannery processes it is important to keep pH and temperature constant, especially fish skins are very sensitive to changes.
Generally we could have left the fleece in the water for hours, but preferably not more than half a day.
5.1. Get the wool side dry
I centrifuge it as before, and hang it to dry. First with wool side out, as this holds most of the water, and getting the flesh side dry first will be hard as a wet wool side will keep feeding water into the flesh side.
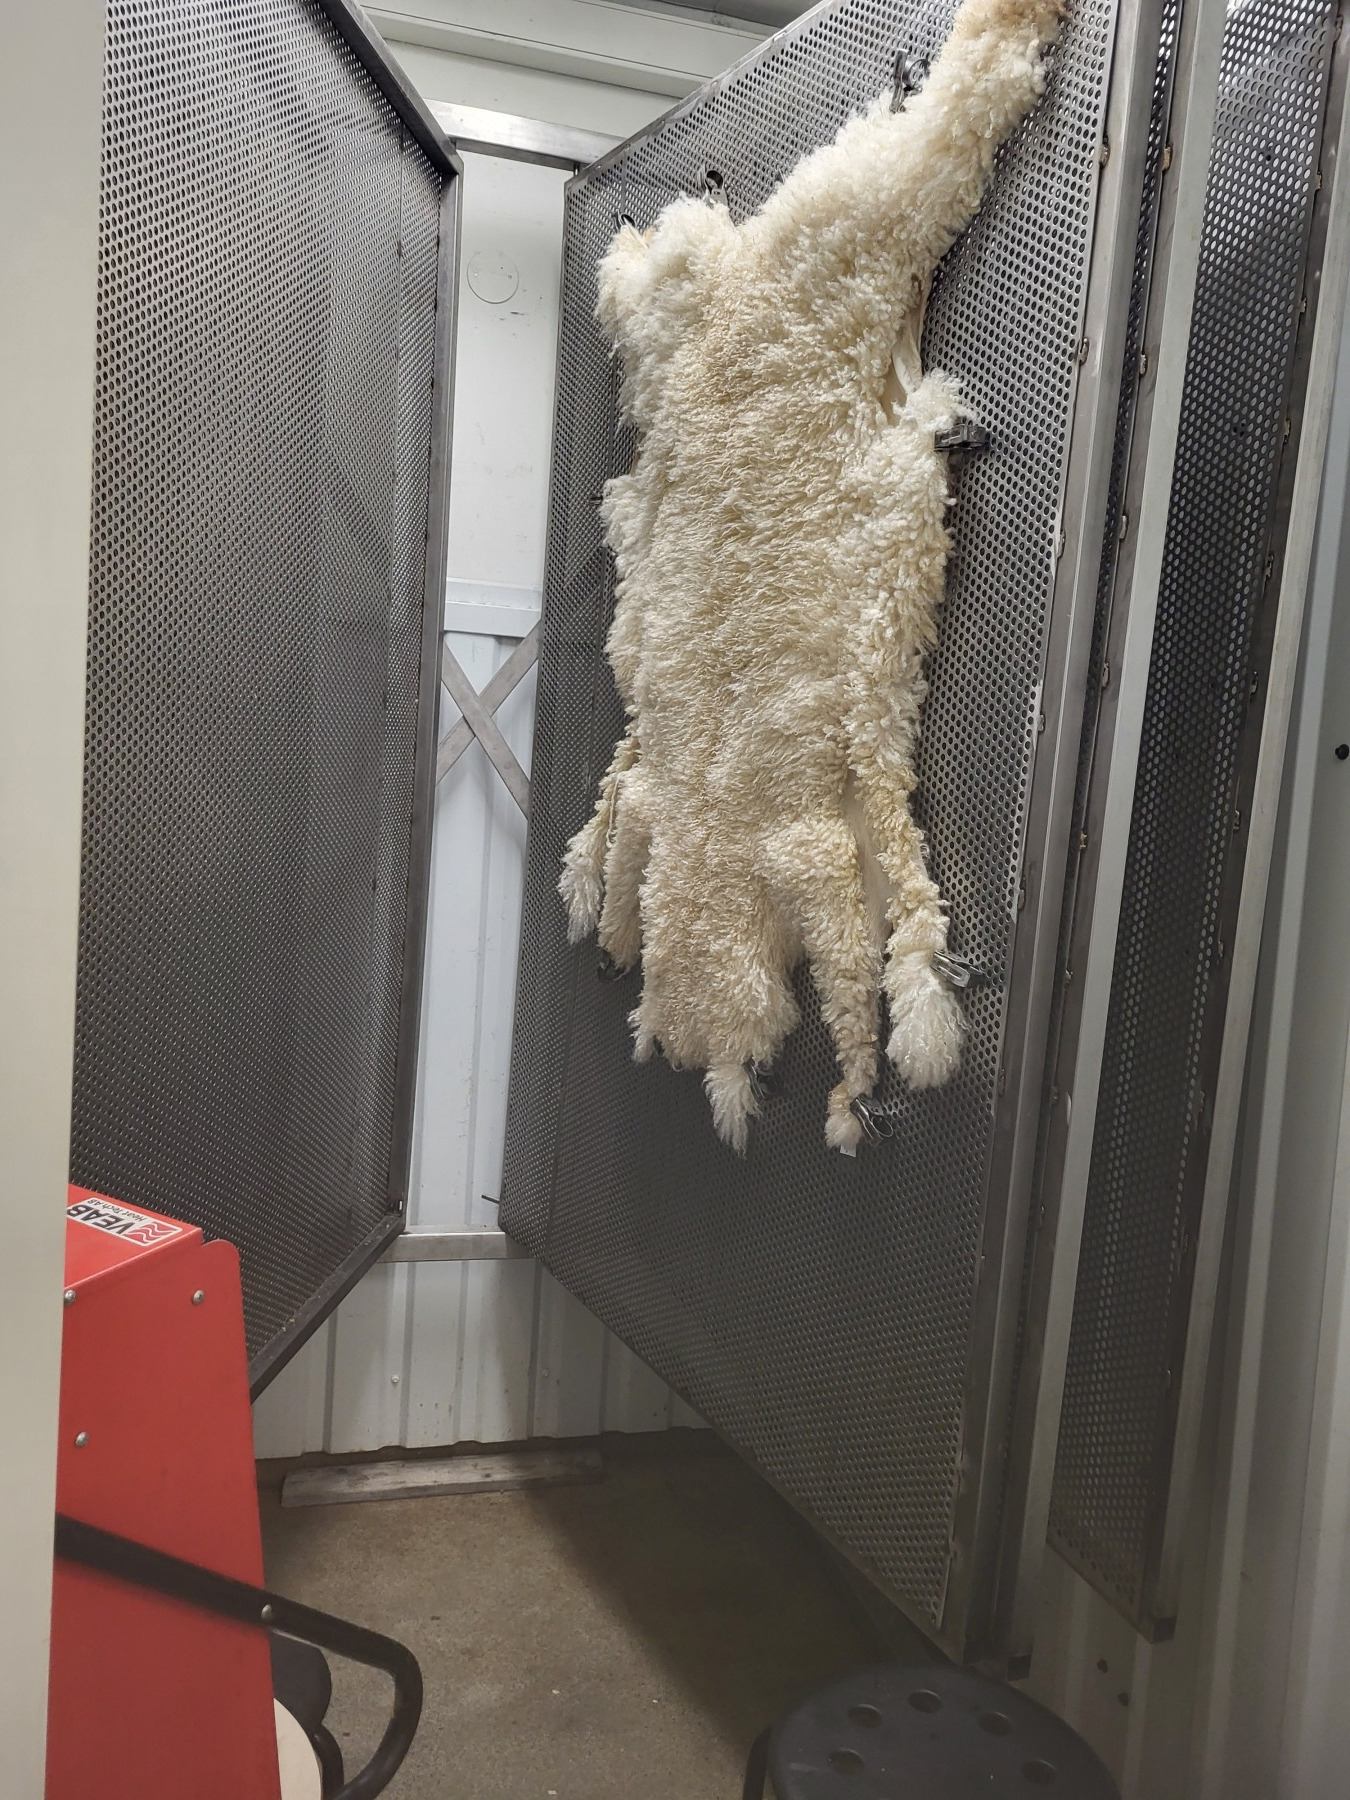
Figure 20: Hanging it wool side out to dry
By lunch time I fold the groin / leg parts in, as these are becoming “papery”, and I rub them against each other to work in air between the fibers and soften it.
Once the wool side has become dry (feel in the bottom of the wool), I start drying the flesh side, and can now start the iterative process (as before):
- Hang flesh side out to dry
- Take it down, stretch it and work in air between the fibers using räckspade, and rub the flesh side in the räckvidja or dragjärn (see figure 15 above).
Do this from when the flesh side is damp until it is half-dry and no longer feels cold to the touch. I find the räckvidja especially good for working the edges that are starting to dry and harden first.
According to conventional wisdom of many tanners past, is to first work with räckspade along the abdomen-axis, then work along the spine-axis, to get a flat “Euclidean” fleece without any space-curvature.
There is a significant difference in how stretchy the skin is in its two dimensions. The abdomen will vary in size, however, the spine will be of fixed length, thus much less stretch along this dimension.
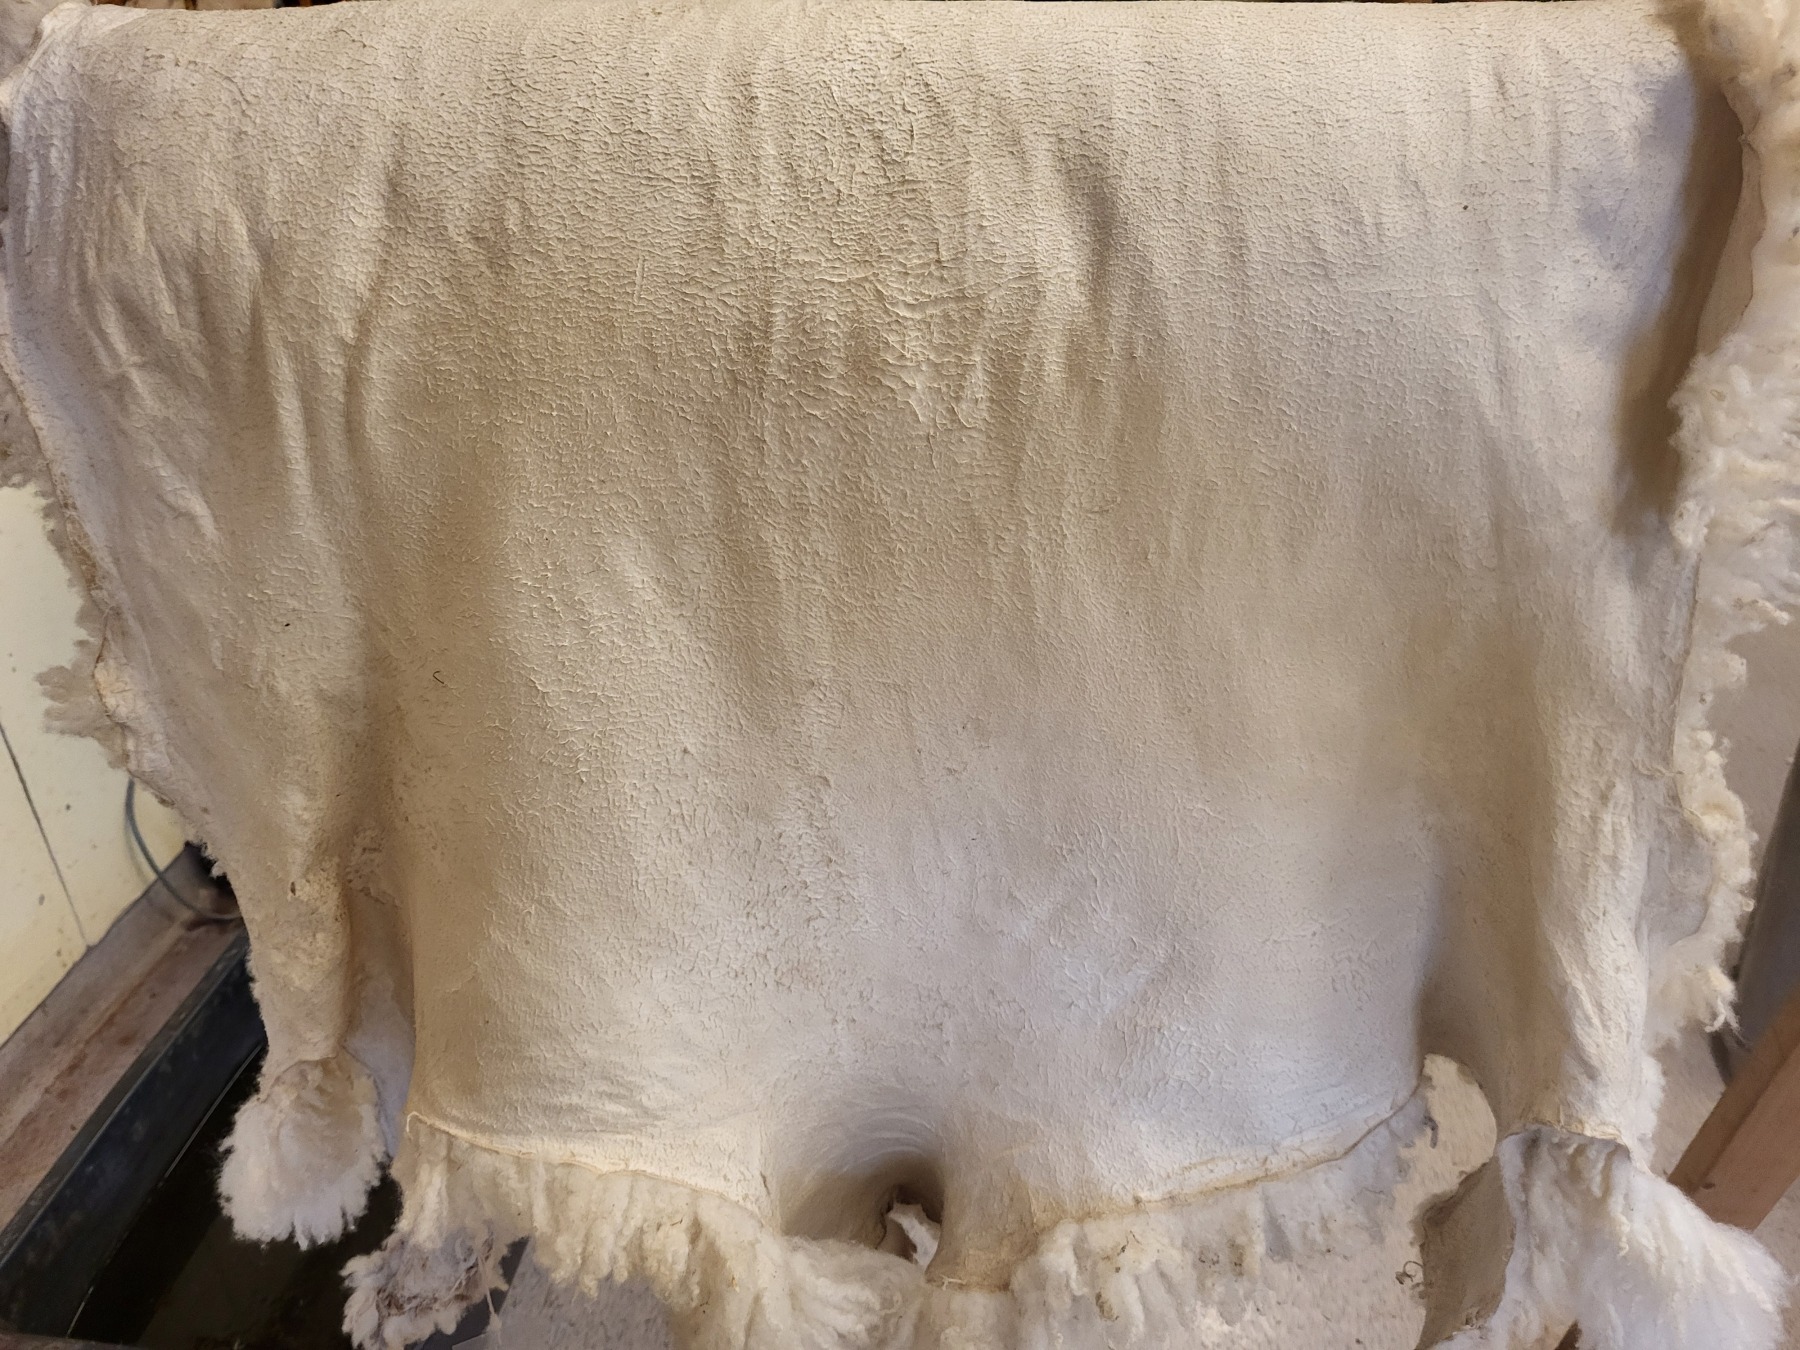
Figure 21: Result after three days, it is dry and soft
5.2. Post processing: polish
The flesh side is now “linty” (swe fnasig) which can be polished using a pumice stone (swe: pimpsten).
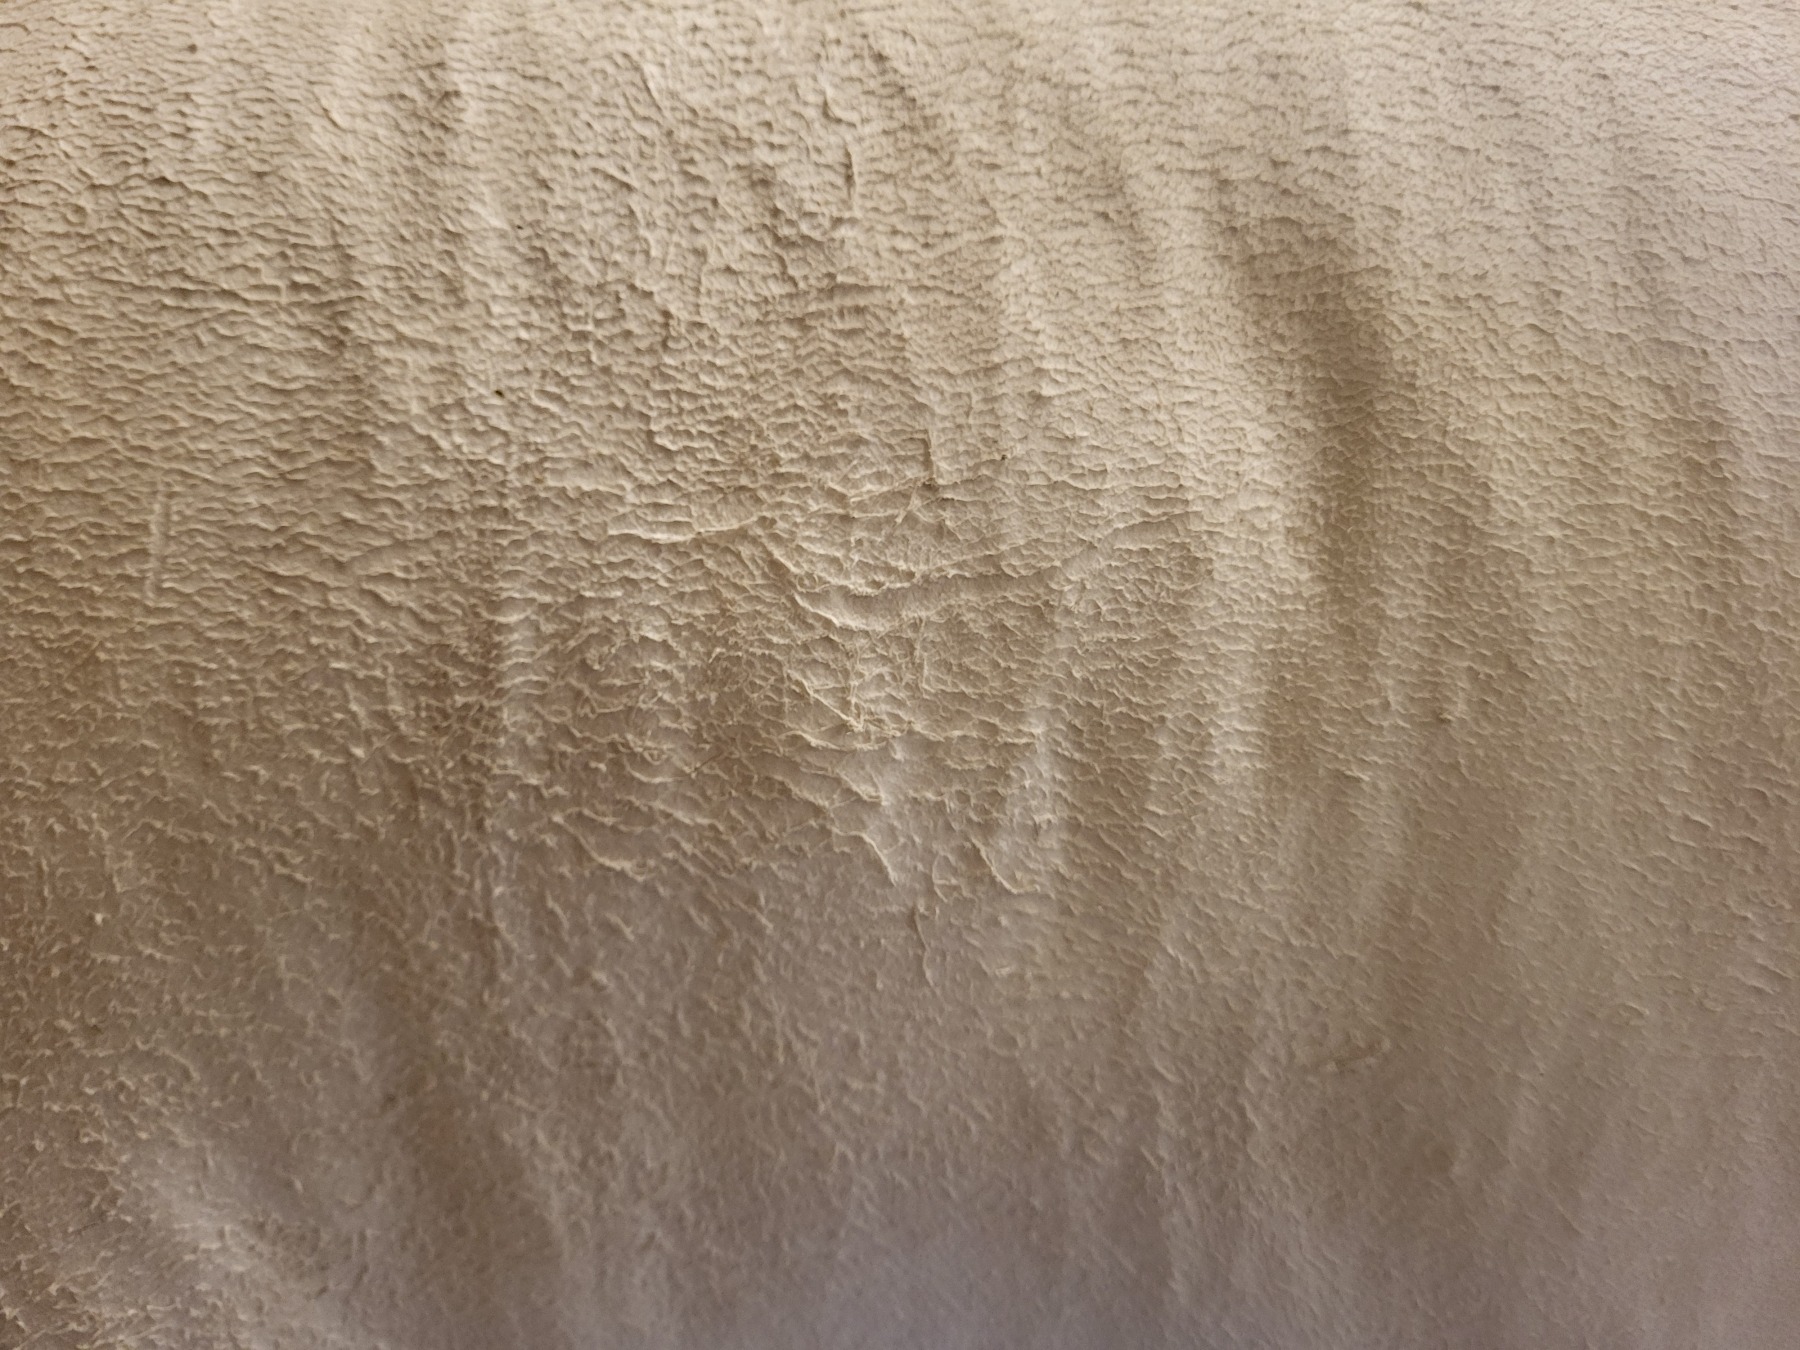
Figure 22: Flesh-side is now quite rough, which can be alleviated by polishing it
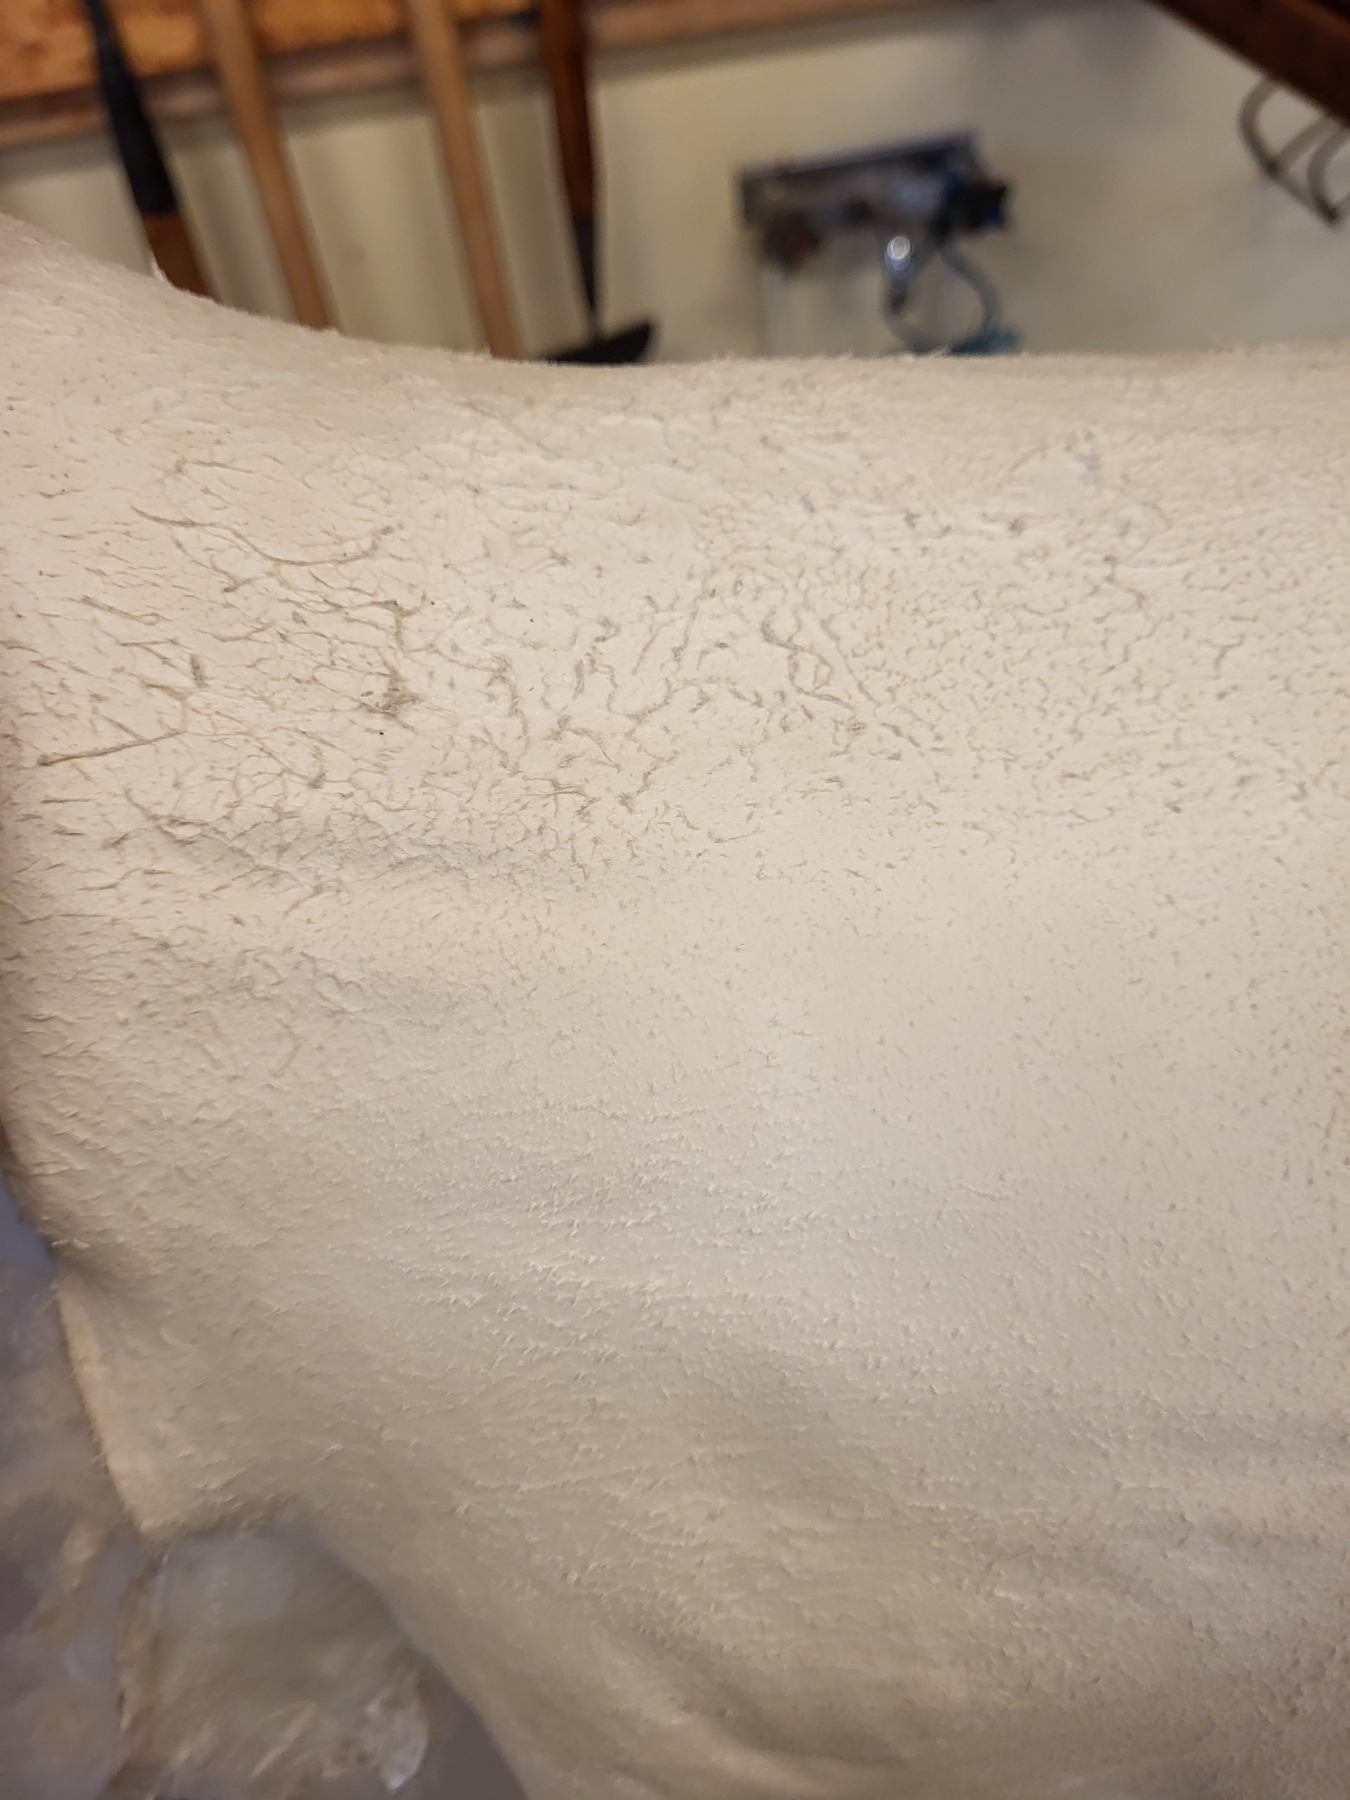
Figure 23: Polished (lower part)…
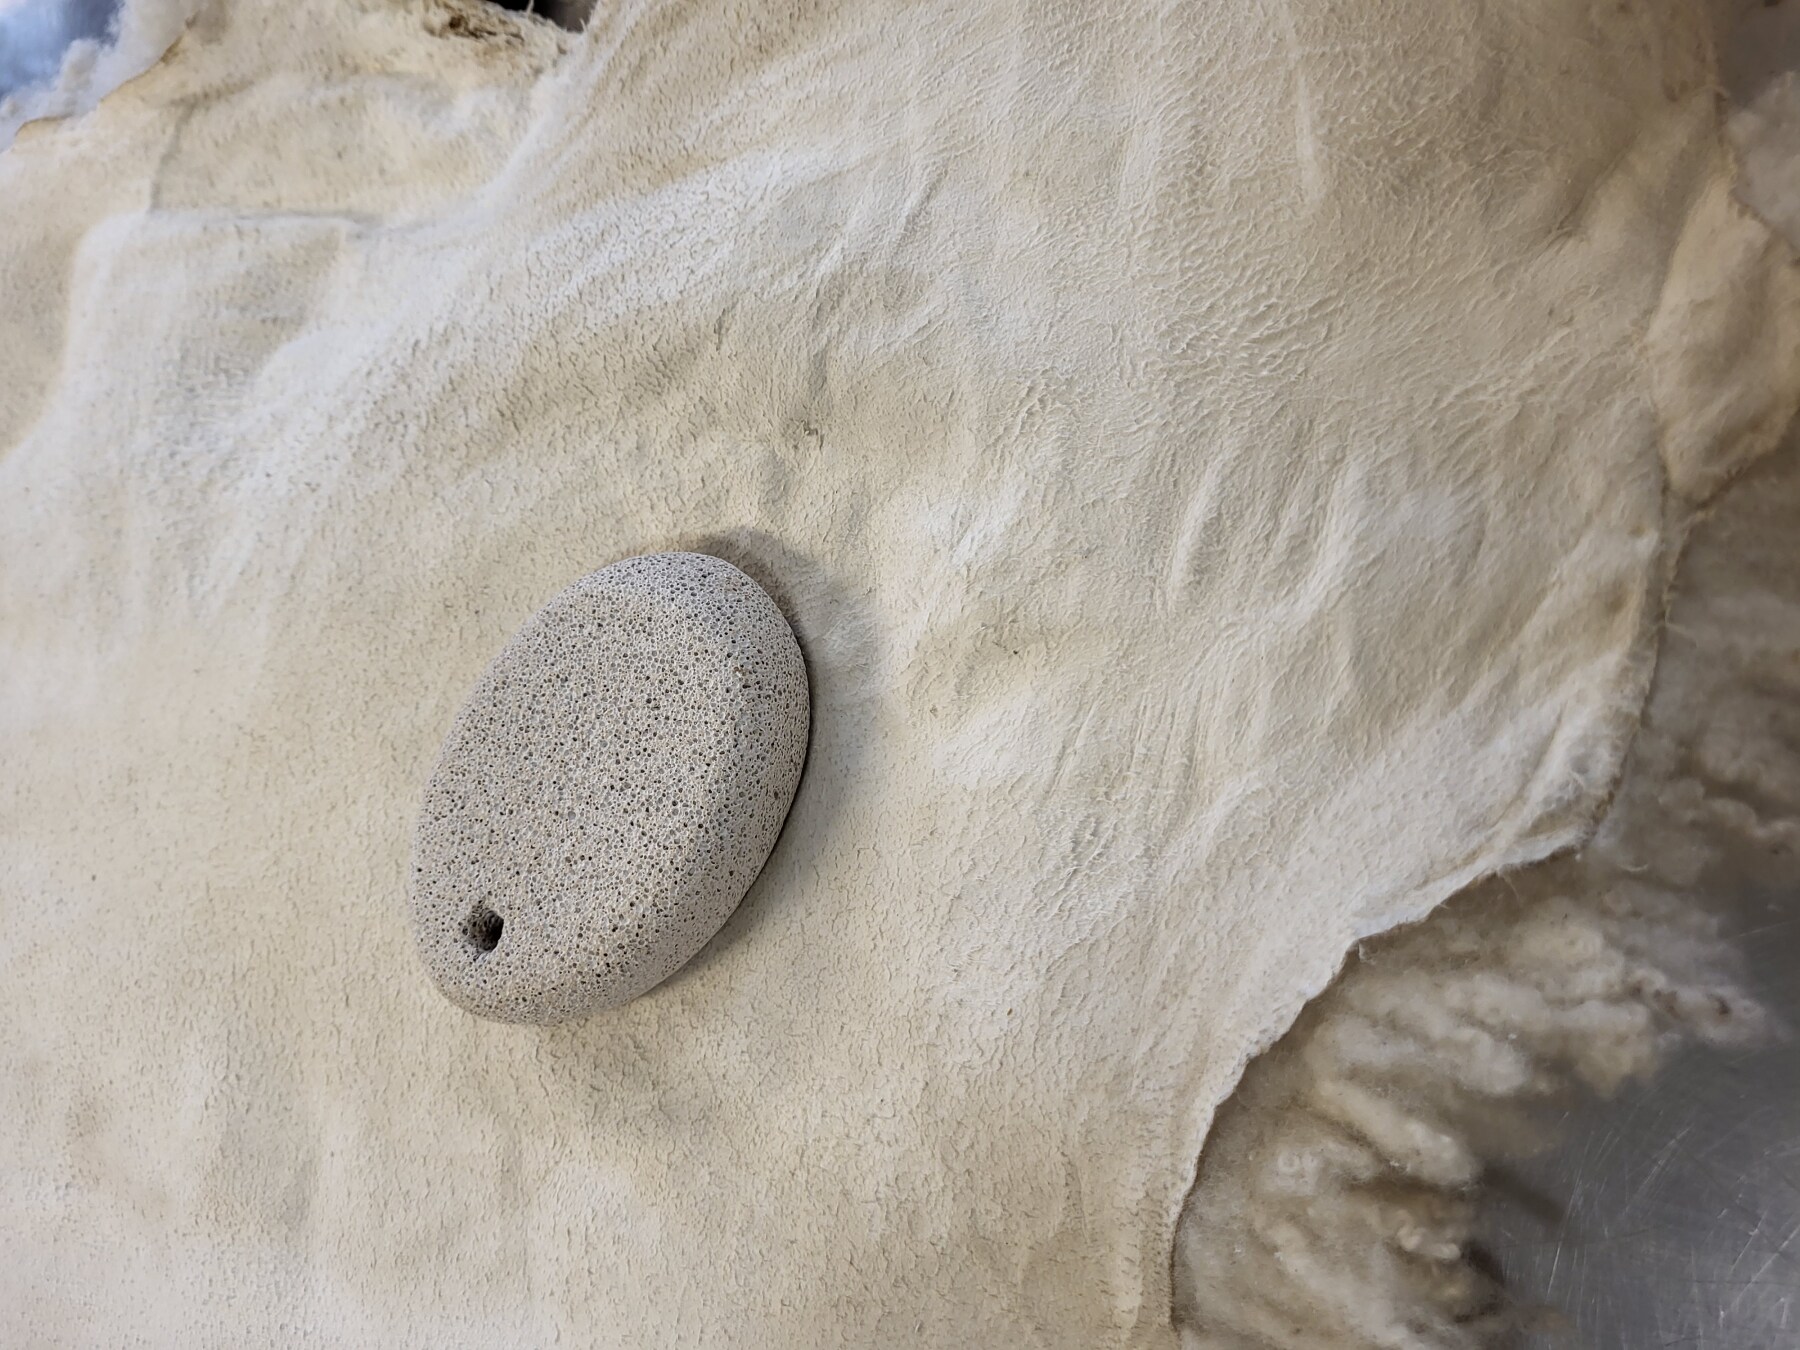
Figure 24: …using a pumice stone (swe: pimpsten)
5.3. Post processing: edges
I remove the outer 1 cm of rough & hard edge using a razor-sharp knife, which helps to make the overall fleece feel soft.
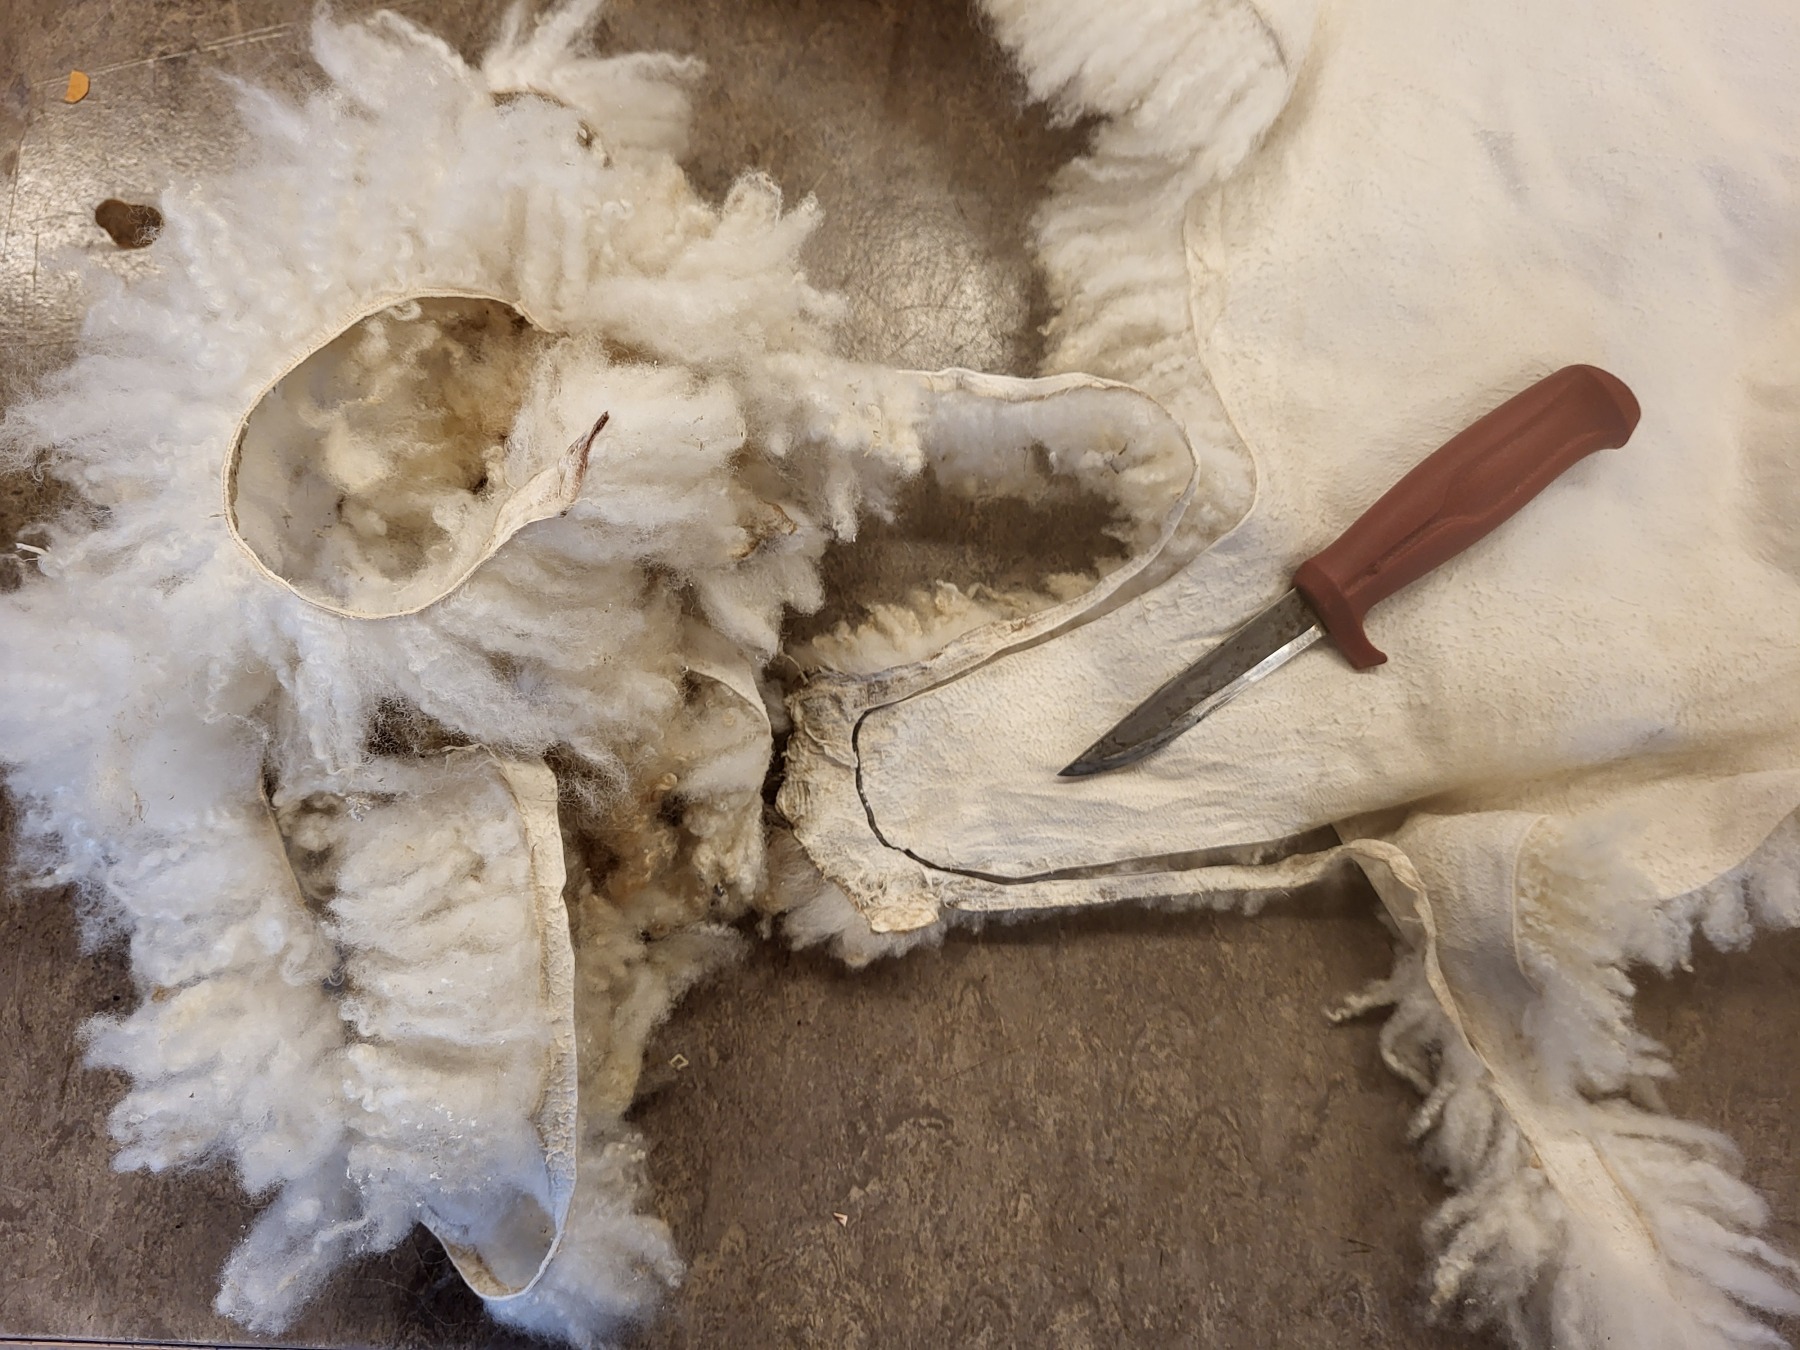
Figure 25: Removing the hard edges makes a big difference on the impression of overall softness
5.4. Post processing: repair
Skin in the groin area is thinner and papery and fragile when it starts to dry. I had a small hole, which I stitched together, mostly to practice stitching.
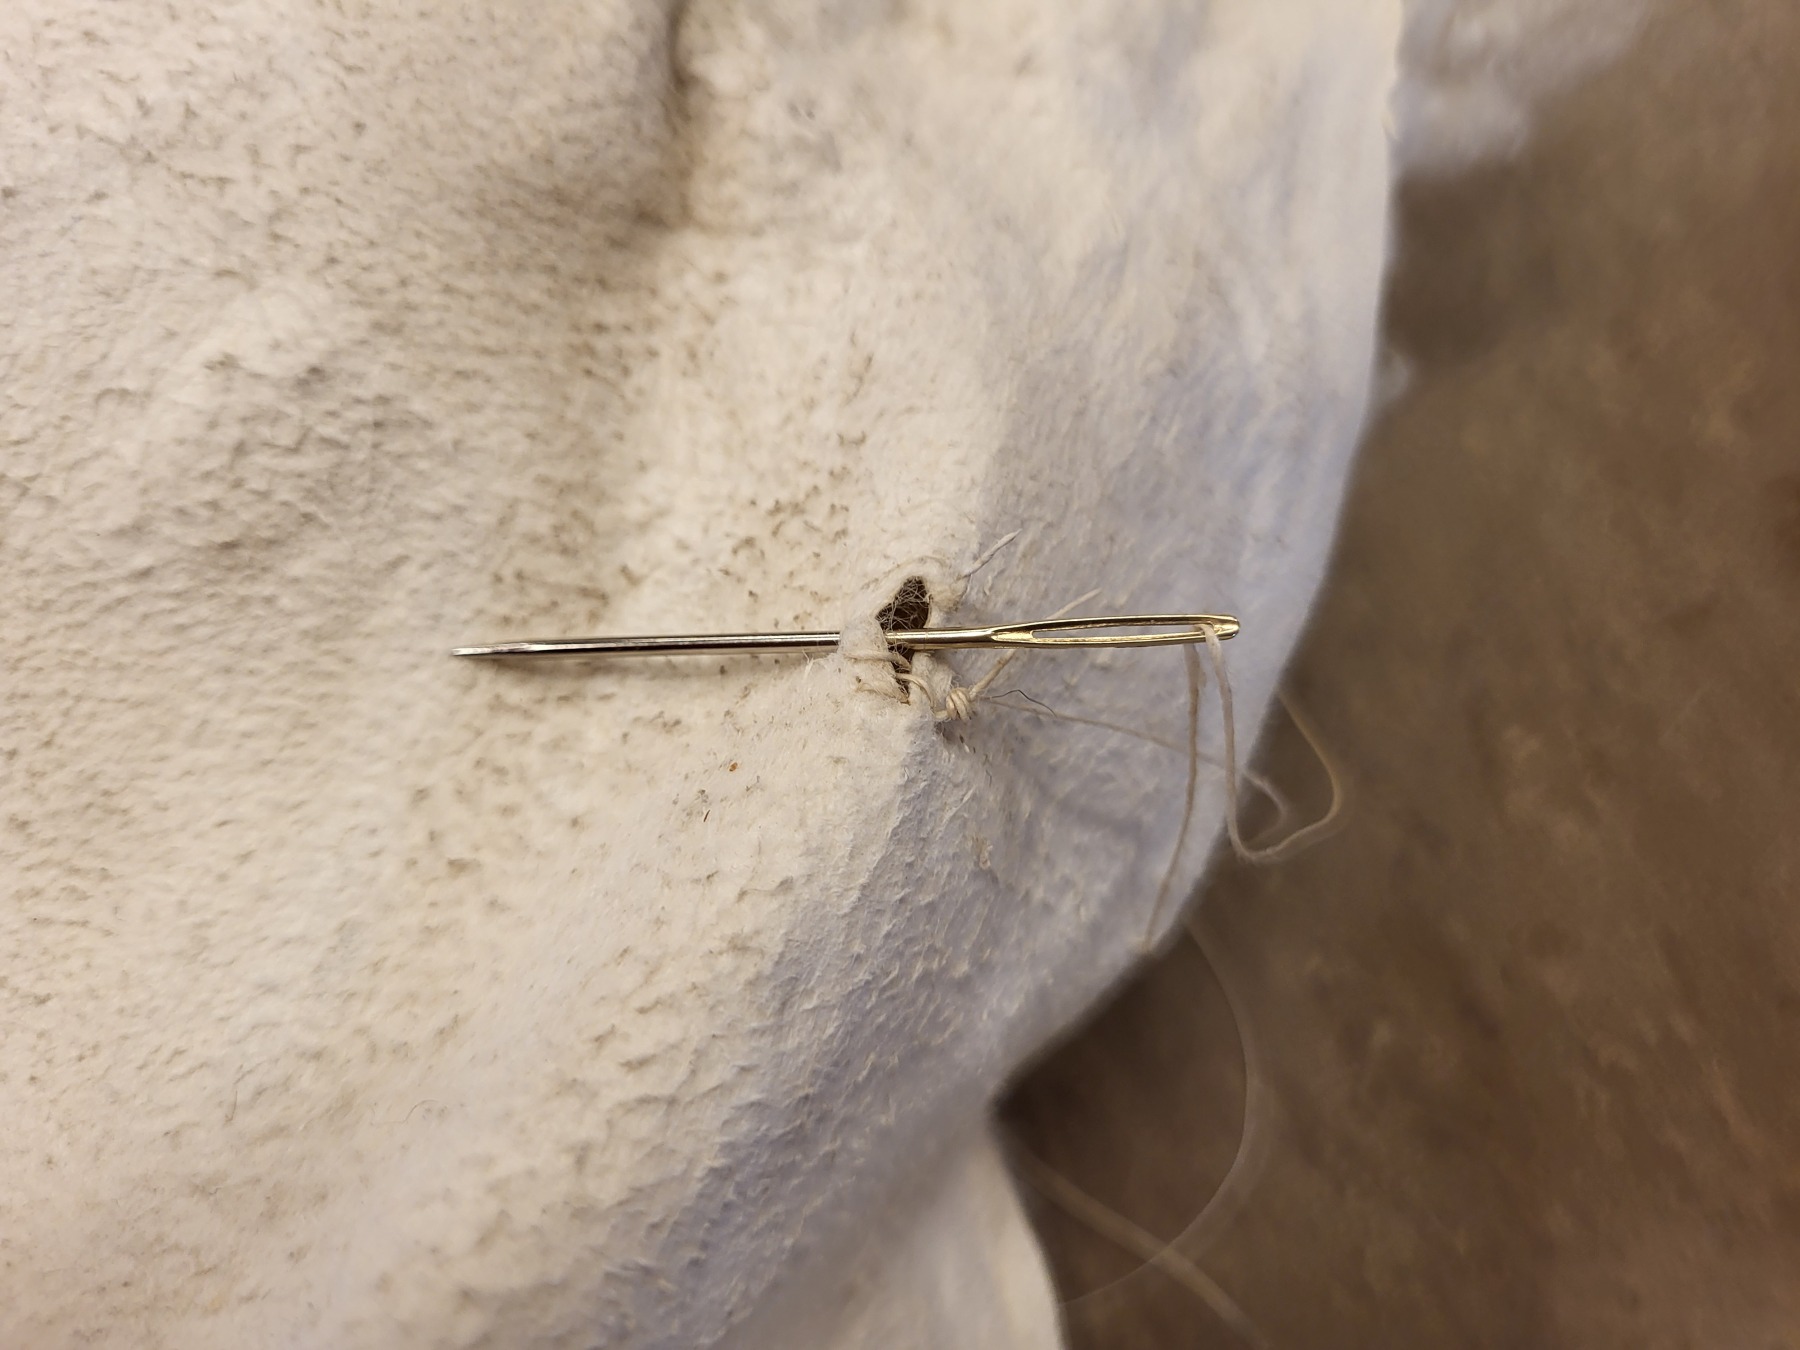
Figure 26: Fix small hole
6. Finished
The finished fleece is soft and nice. It even has a nice homely smell of sheep, and still some straws stuck in the wool, which I have neglected to inspect or clean beyond the +6 water baths.
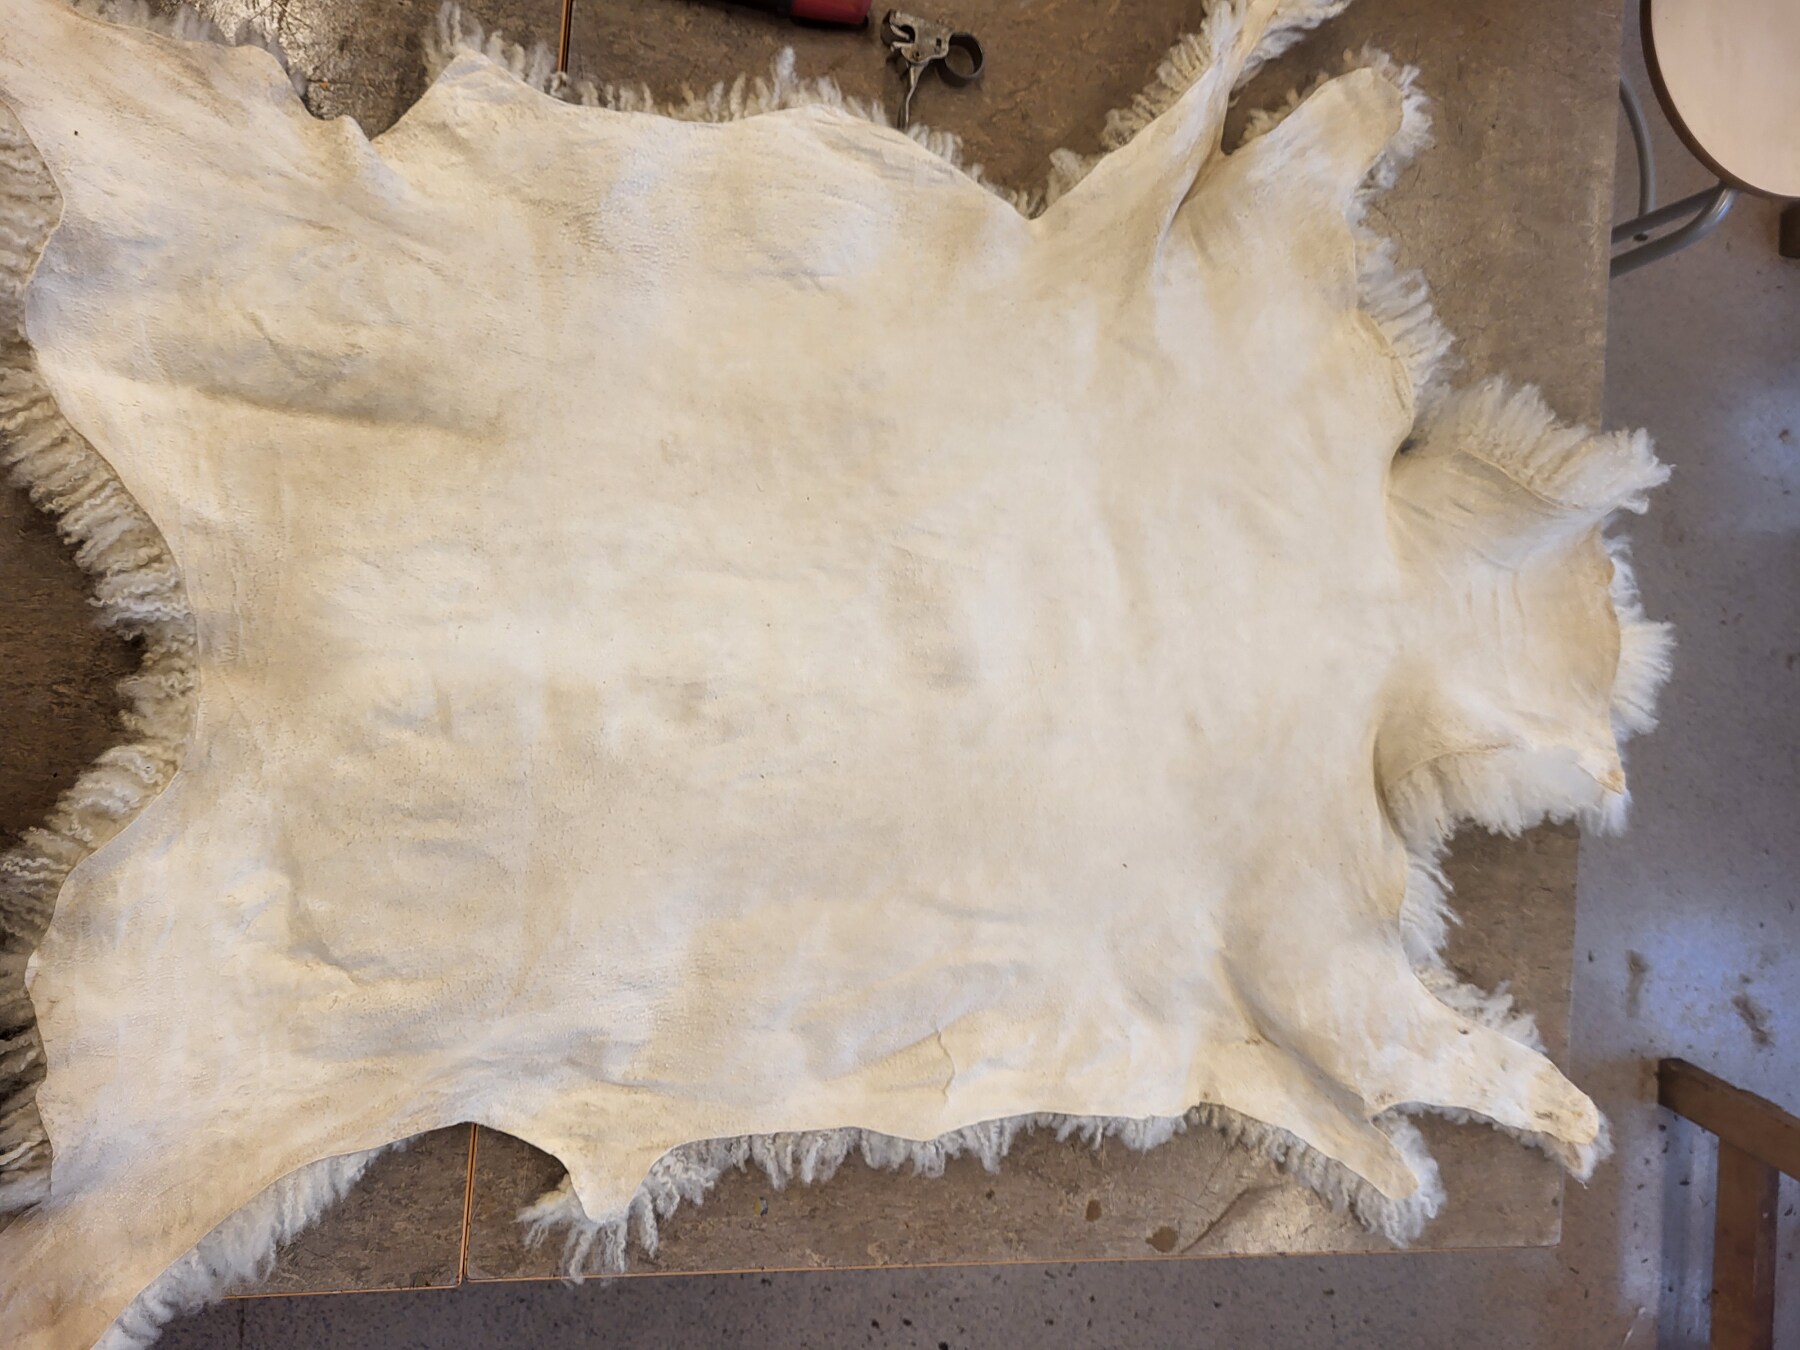
Figure 27: Finished result flesh side

Figure 28: Finished result wool side
Do note that it can be used outdoors on non-rainy days, as it can withstand some dampness, but if it gets wet, the process to soften it must be repeated.
7. Appendix
7.1. Problem solving
Problems that can arise are:
- If the skin becomes too dry and hard, use dragvidja (figure 15), else re-dampen the skin
- If the fleece drys slowly, starts to smell sour, and loose large chunks of wool, then all is lost. If only a little wool falls out, then drying the skin might stop the rest from coming undone.
- Once finished, there are areas still fatty. Try to wash again - softening it the second time is faster. Also try to press the fat out using a trowel. Put dry potato flour (swe: potatismjlöl and/or vetekli) on it over night. However, it can be very difficult to get rid of excess fat that is from the animal itself.
7.2. Maintenance
Do not wash or soak in water - lest you want to repeat the softening procedure described above. Wind and rubbing it in fresh snow is the best way to clean it.
If the curls uncurl when combing out dirt, then dampen it slightly and the wool will curl again.
7.3. Books
- Læder, pergament og skind: fremstilling, historie og nedbrydning (1999) René Larsen, Lotta Rahme, ISBN: 87-89730-22-4
- Traditionell skingarvning, ISBN: 978-91-89232-45-7 (pdf)
7.4. Equipment
The tools we use are hand made by the blacksmiths. One of the previous blacksmith teachers have a webshop:
7.5. Tannery idioms:

Figure 29: 1. It depends, 2. Lagom (just the right amount) 3. Try it 4. what could go wrong? It’ll be fun