
Making a wooden meat fork
Published on May 01, 2025 by Impaktor.
Det är aldrig försent att ge upp
Anders Persson – Assyl hopplösheten
Table of Contents
1. Introduction
I was given 3 days to work on my own project. This post is my project-report.
I had some initial ideas, for instance, from when I worked in the forge making cast copper alloy tools and trinkets, I noticed some would crack during deformation hardening. My hypothesis was the copper-tin alloy was off, and I would like to try different ratios to find which ratio is least prone to cracking under deformation hardening.
However, during my initial research, I did find several good investigations on this topic, which I deemed I could not match in mere three days.
I did enjoy wood working and making my own skies, and I have my aim set at making another pair, in birch - alas no birch is currently at hand, thus I settled on making a wooden meat fork to hold down the Christmas ham (or any other steak / piece of meat)
2. Plan - Template
I have a template (pdf), traced from an original wooden meat fork, that is meant to resemble a goat (e.g. swe: stenbock) with curled horns, looking towards the sky.
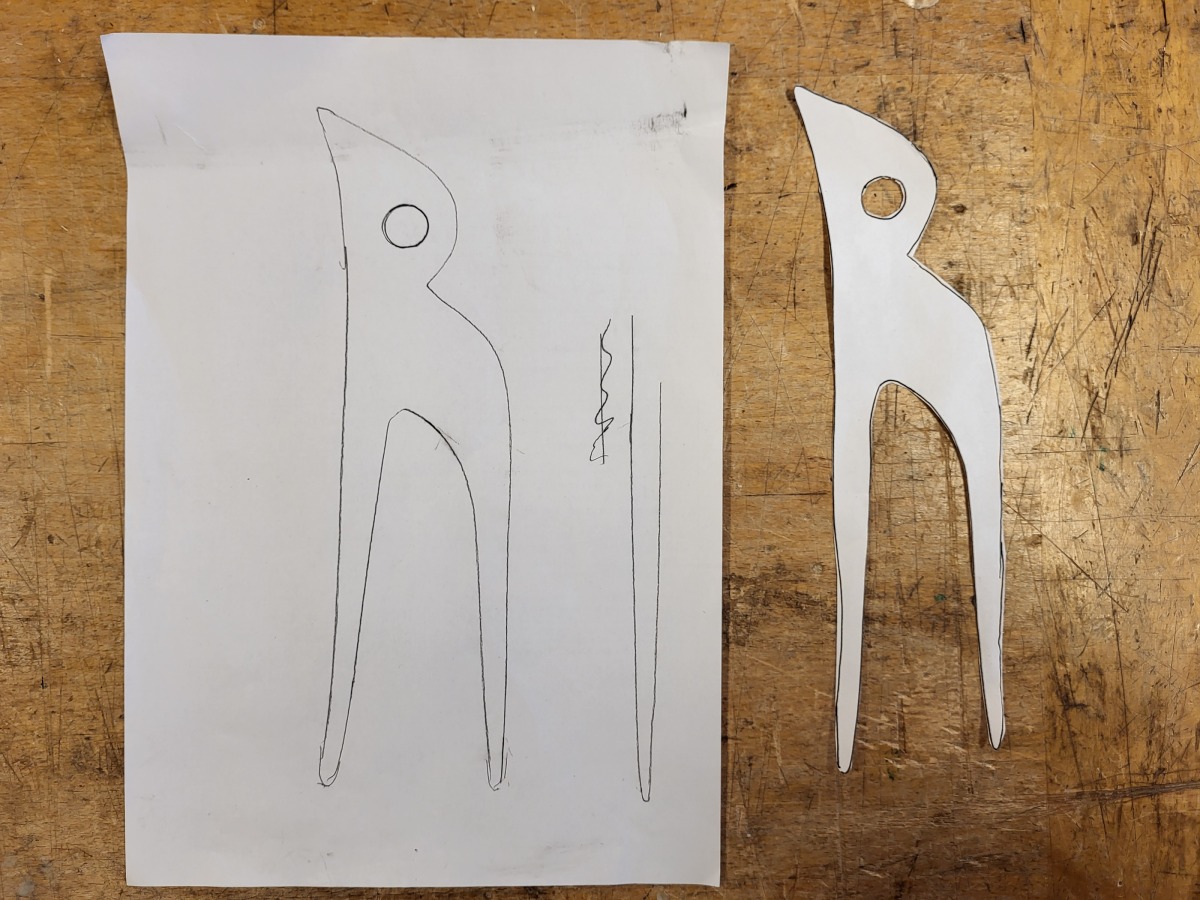
Figure 1: Template, of goat from the side, facing left, looking up
3. In the carpentry
3.1. Try 1: Scrap wood
I found a piece of discarded birch that possibly might fit my purpose. I started shaping it to
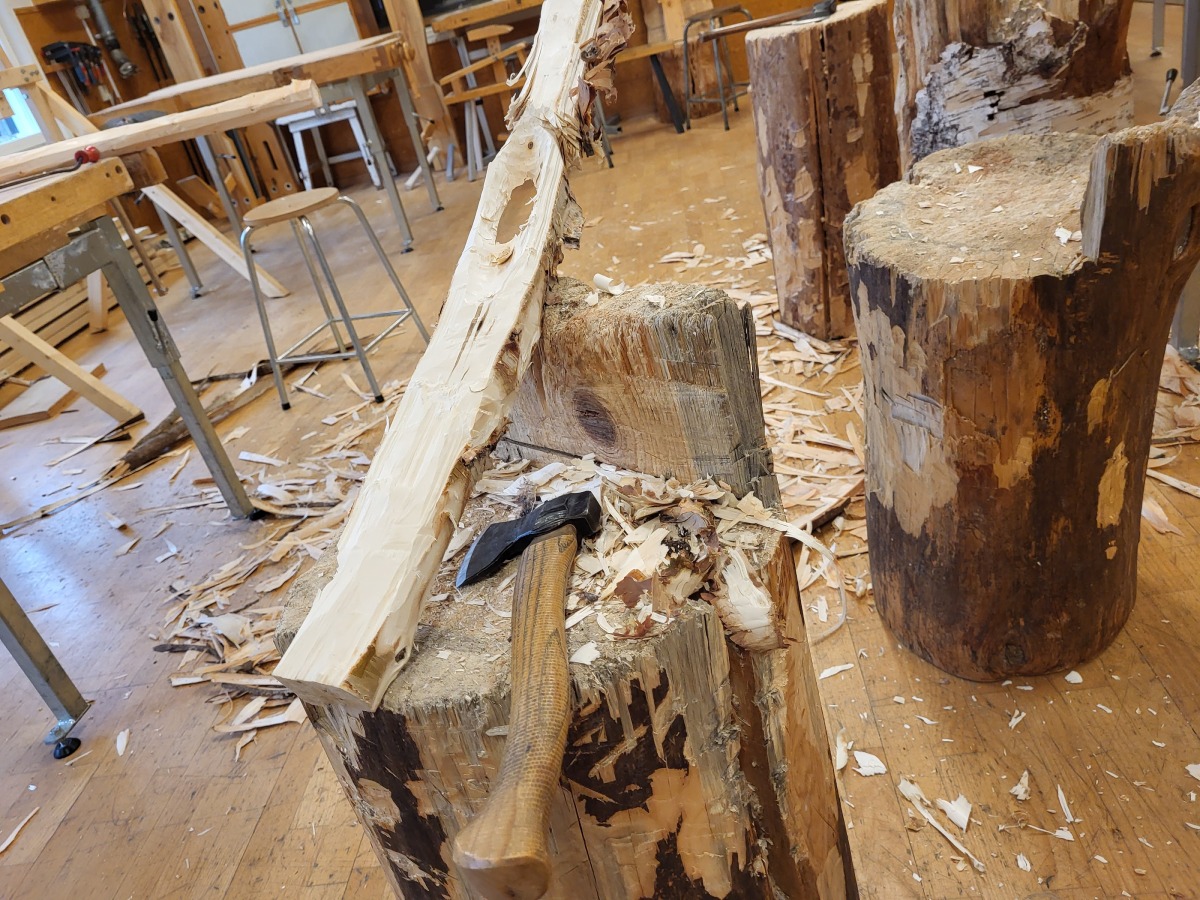
Figure 2: Axe down the roughest parts
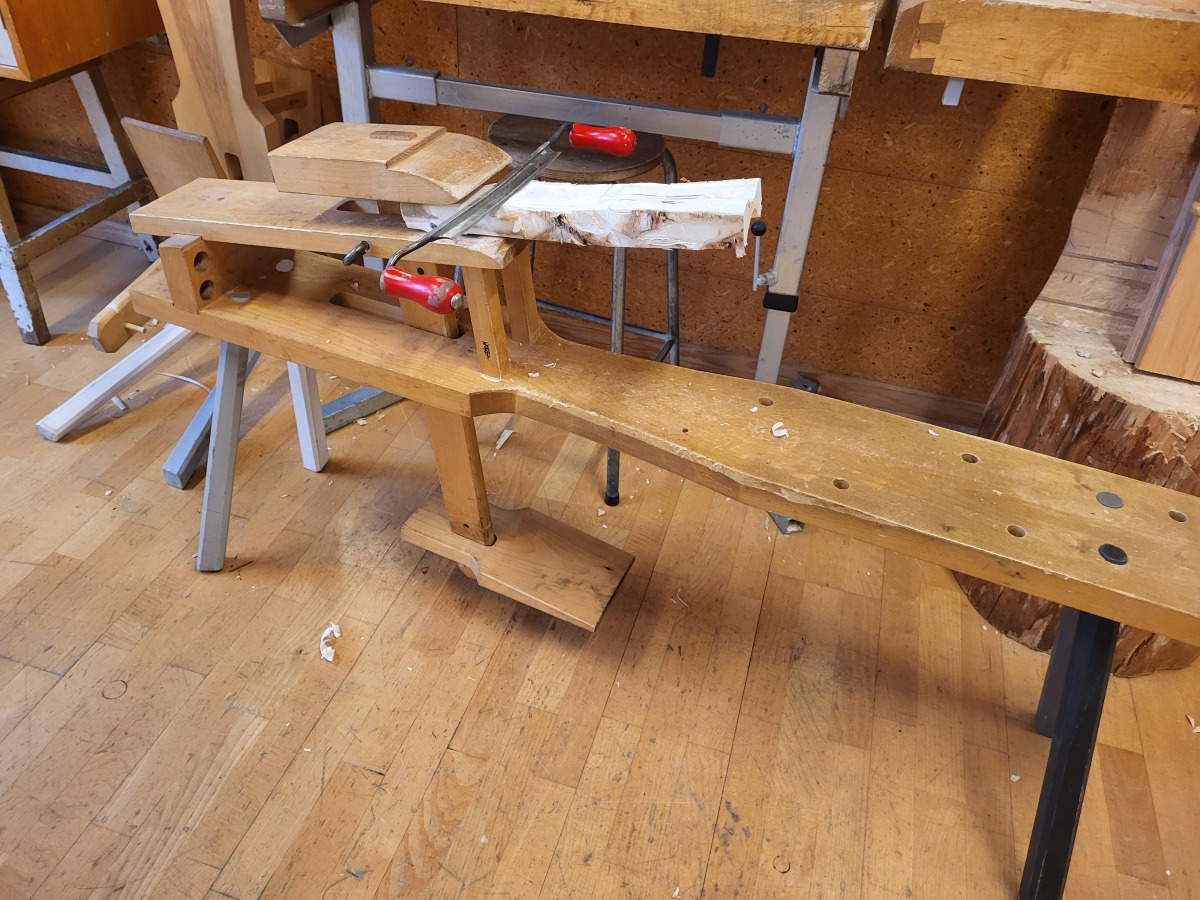
Figure 3: Then move on to working with drawknife
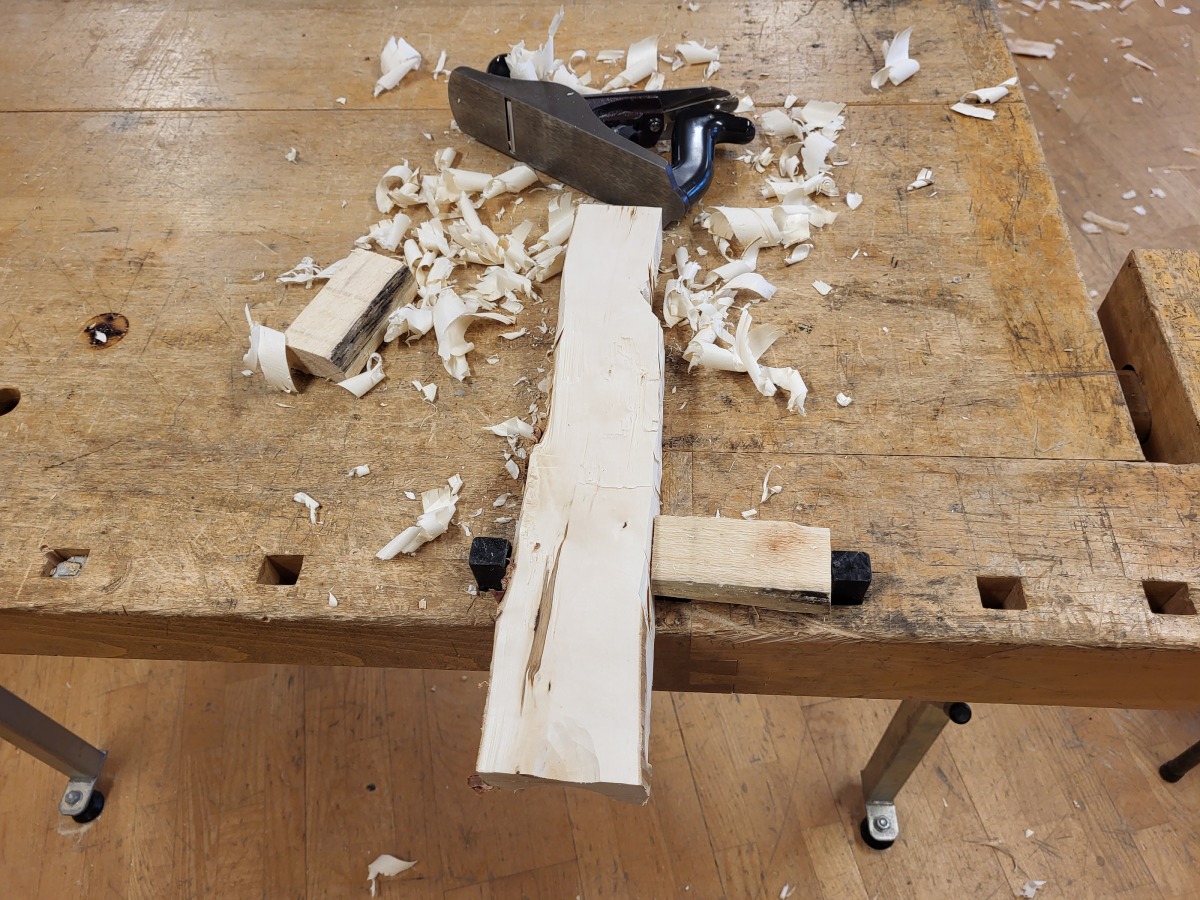
Figure 4: Thirdly, I move onto the plane
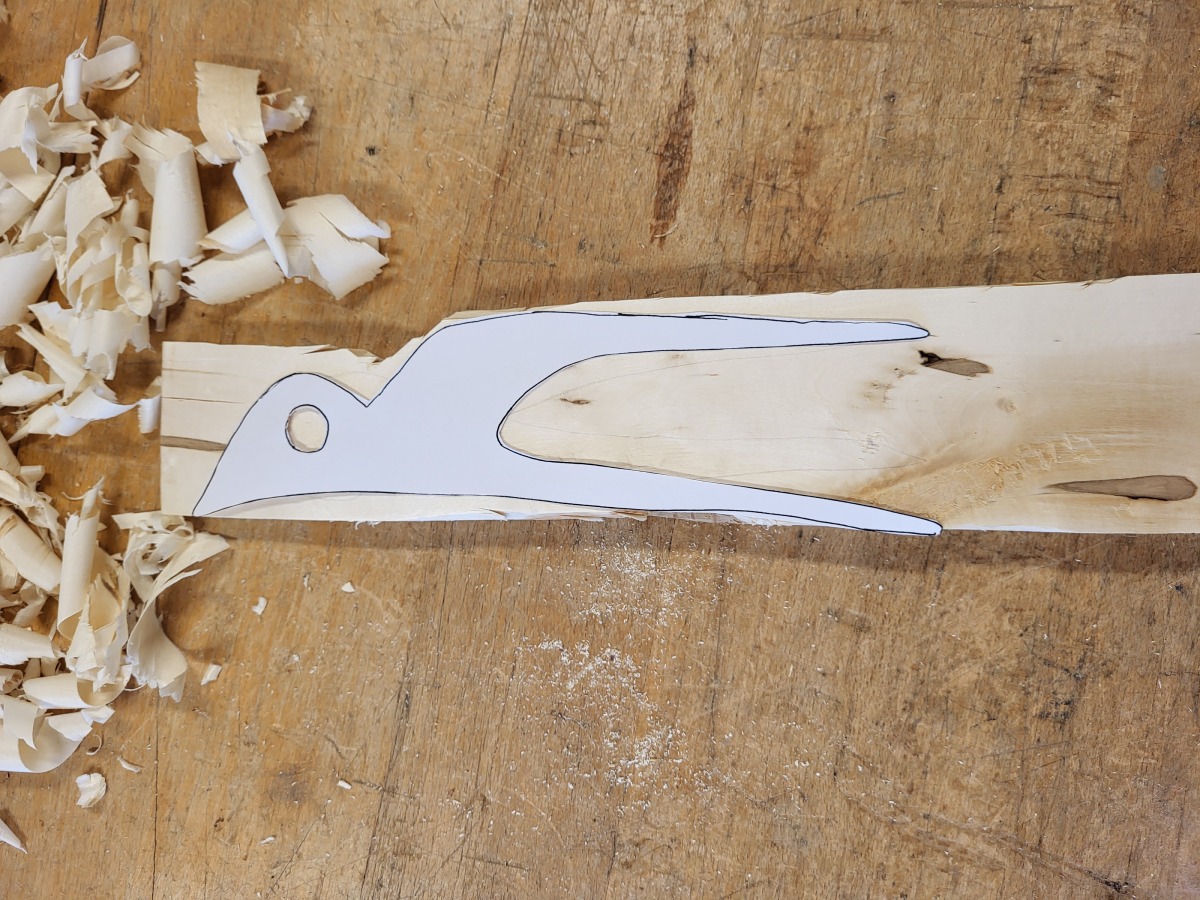
Figure 5: I can now copy the template onto the wood
However, by now I can see the piece of scrap wood I am working on has difficult parts, with knots in the wrong places. I decide to start anew. Furthermore, it was dry making it hard to do wood carving.
3.2. Try 2: Use fresh birch
I pick up a birch log, which I then get to work on.
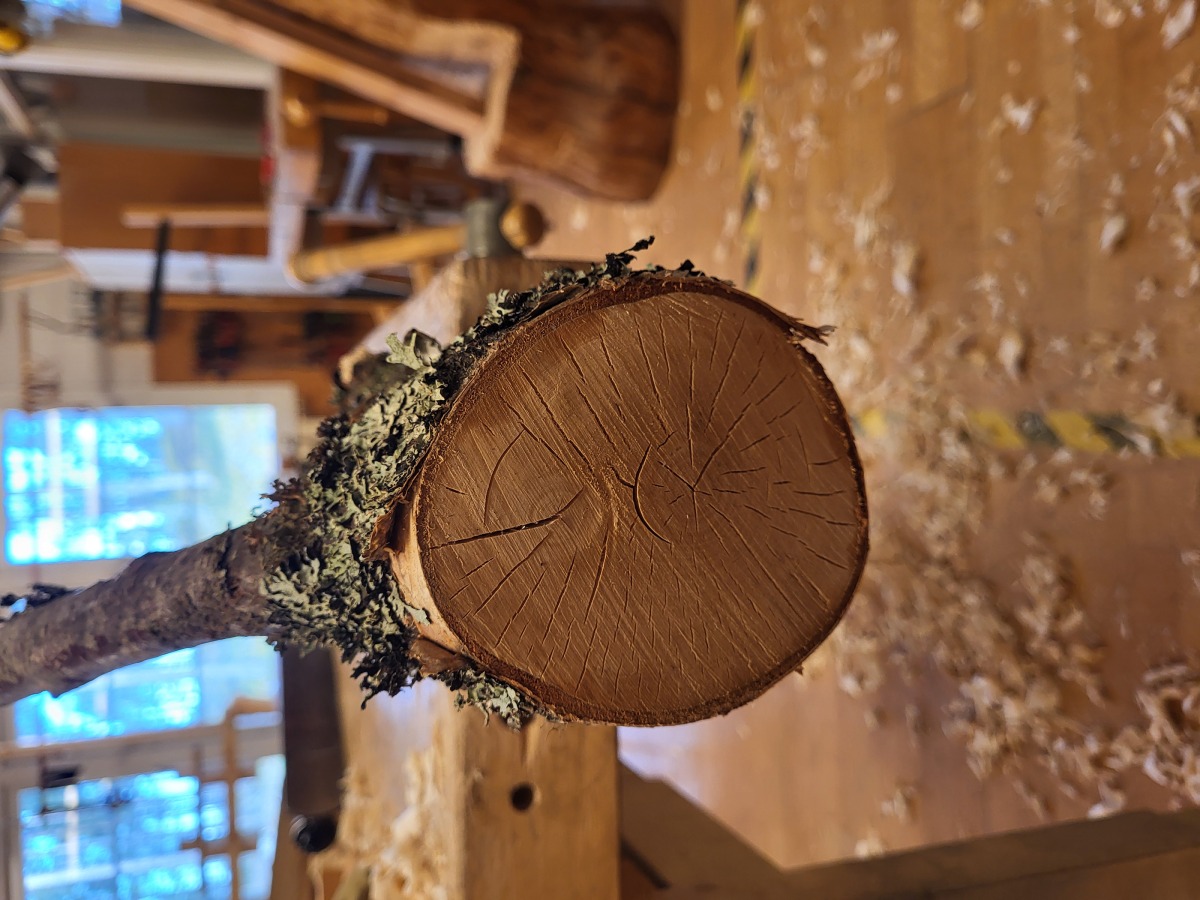
Figure 6: Outer 10 cm is dried and cracked, which I remove.
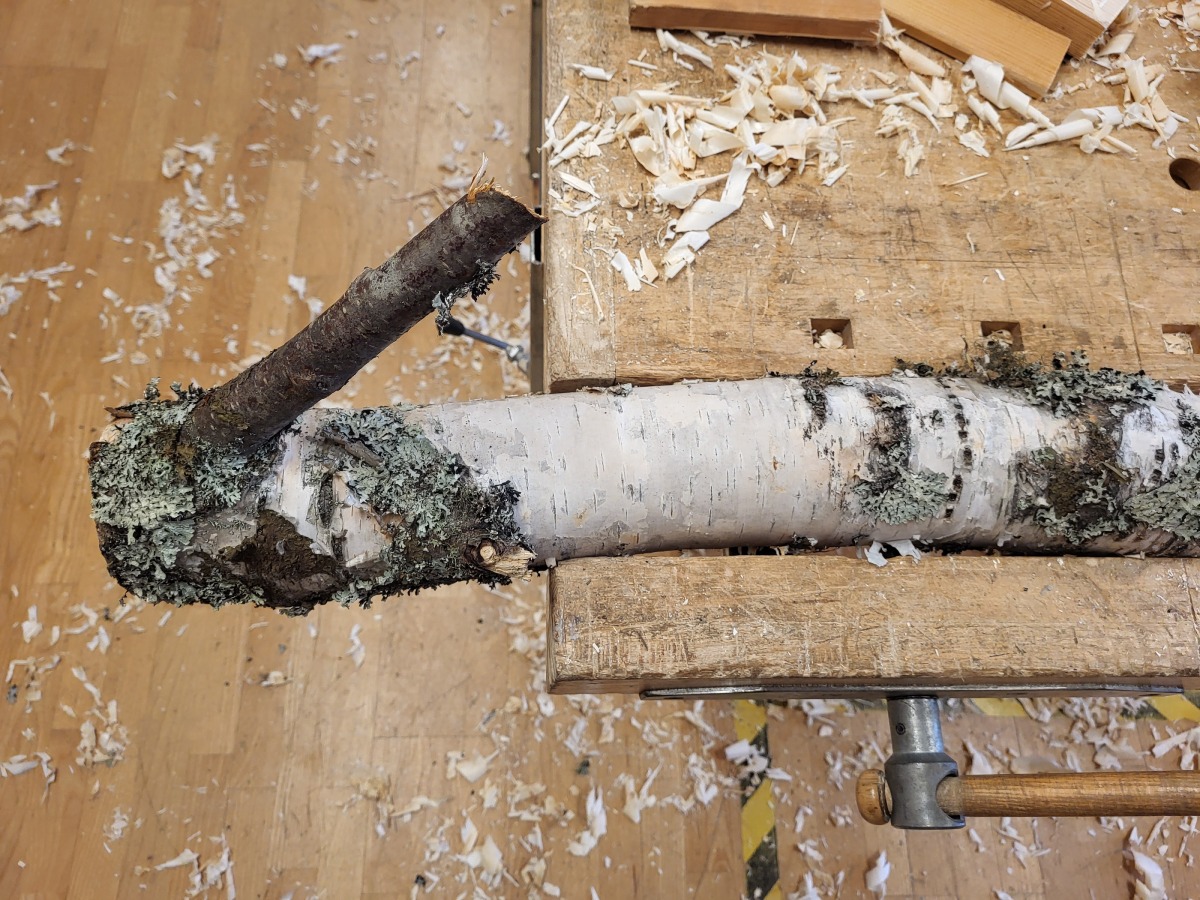
Figure 7: I do not want to waste a good oportunity to also make a wooden hook

Figure 8: Side project: make hook. Here I’ve split it down the middle for suitable wall mounting, and used the ax to to get the rough shape in place.
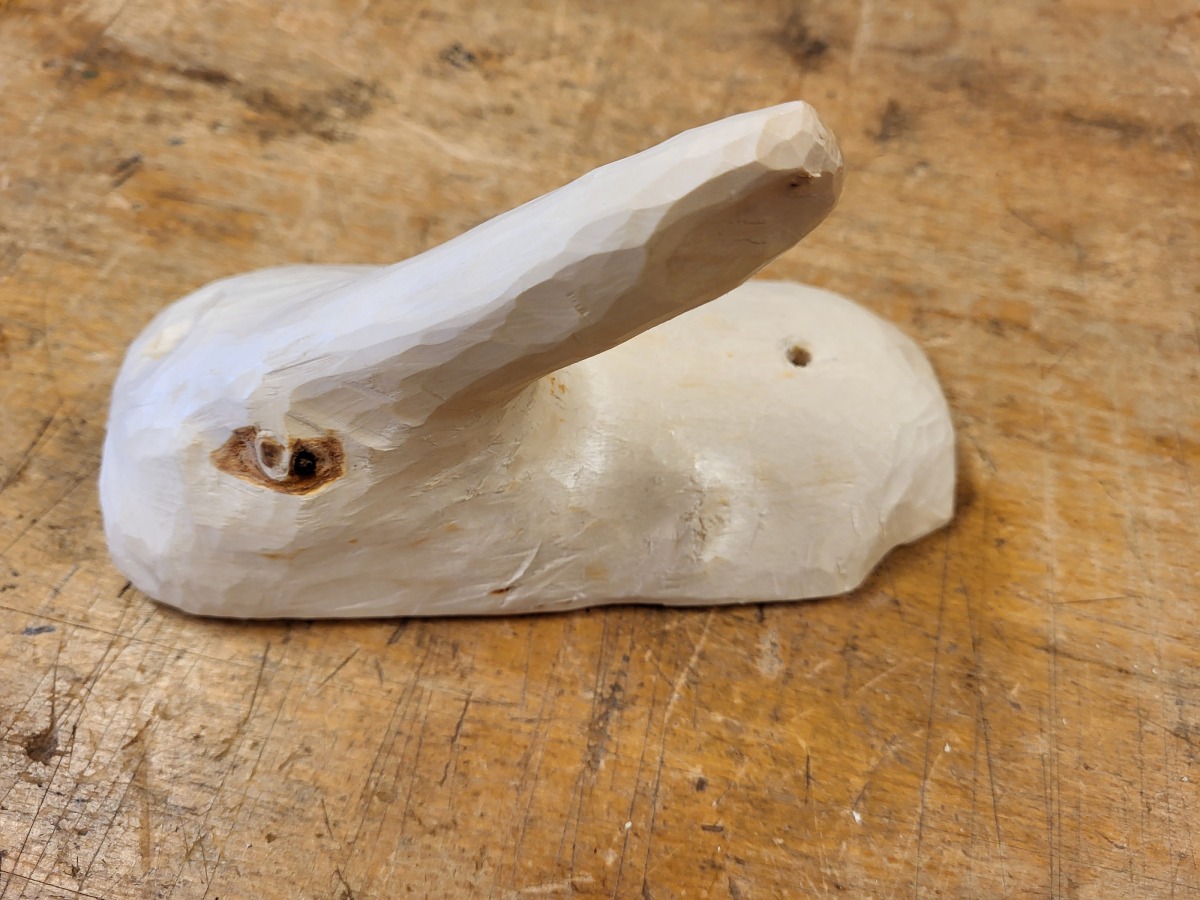
Figure 9: Let nothing go to waste. Finished hook for wall mount.
Returning to my main project
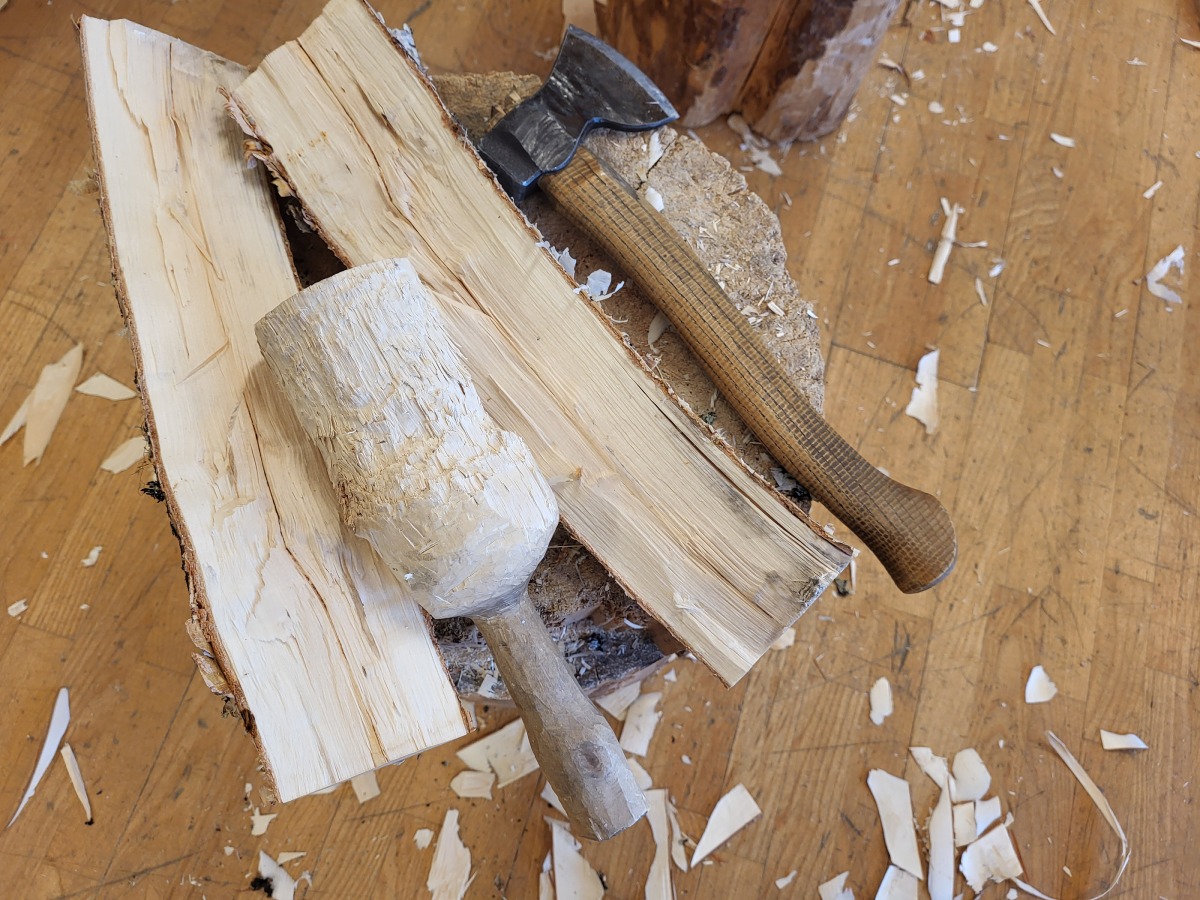
Figure 10: Split log in middle
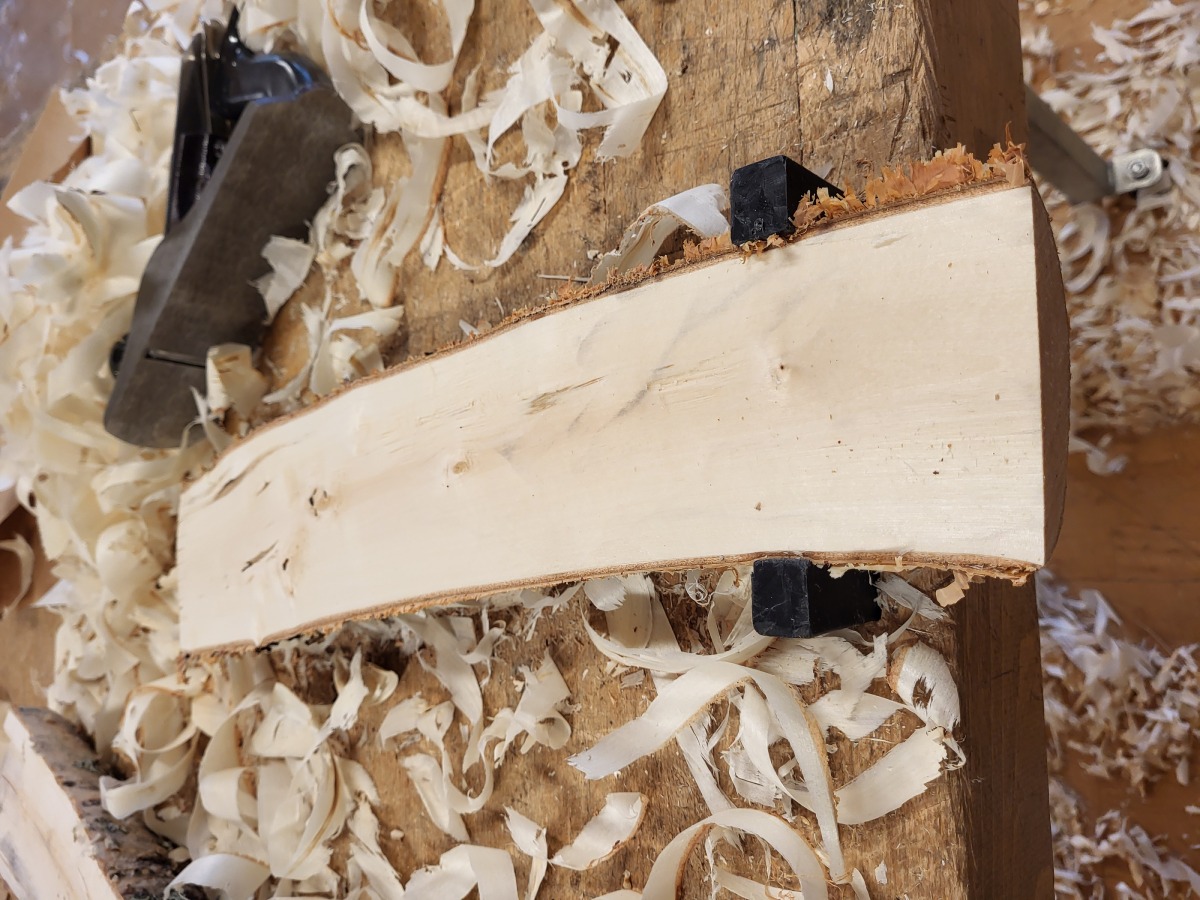
Figure 11: Plane
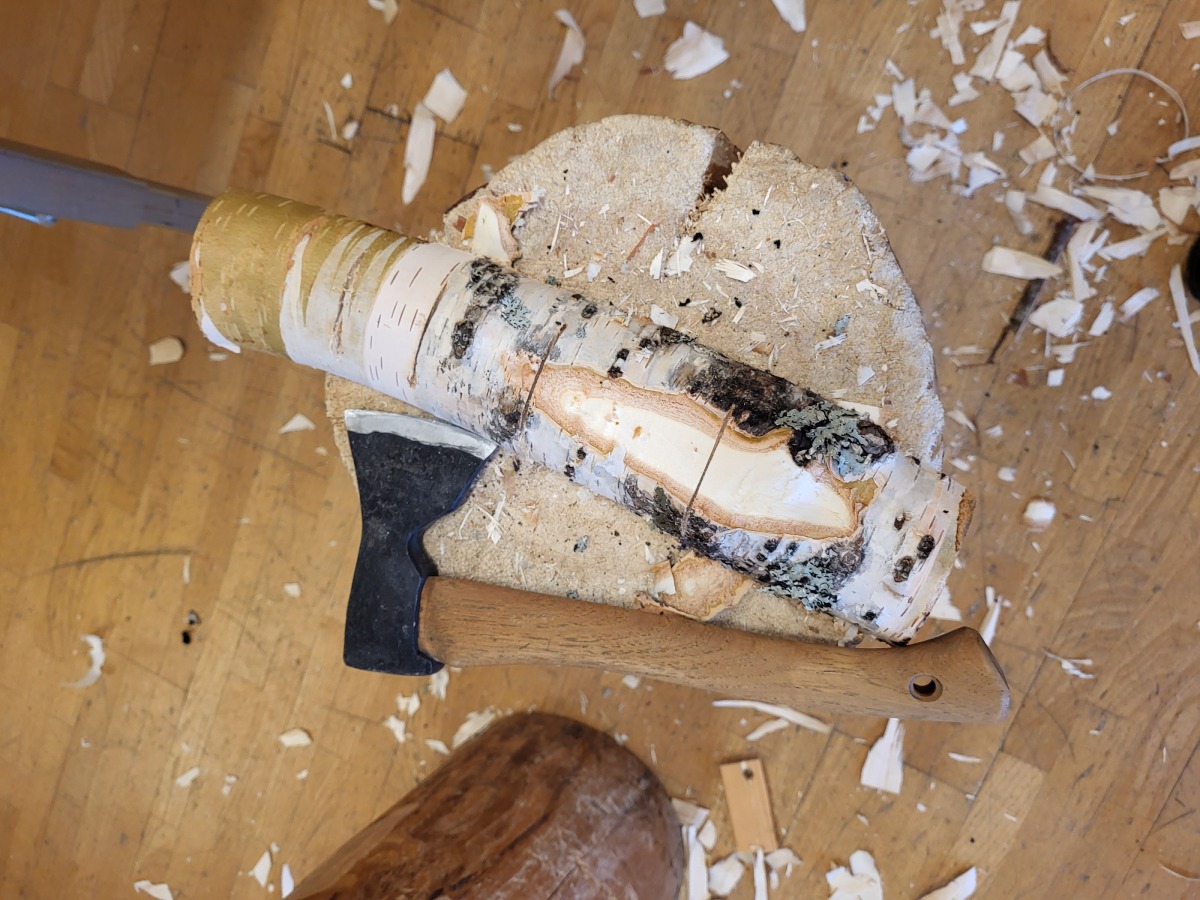
Figure 12: Use the ax on the other side, to also get this flat
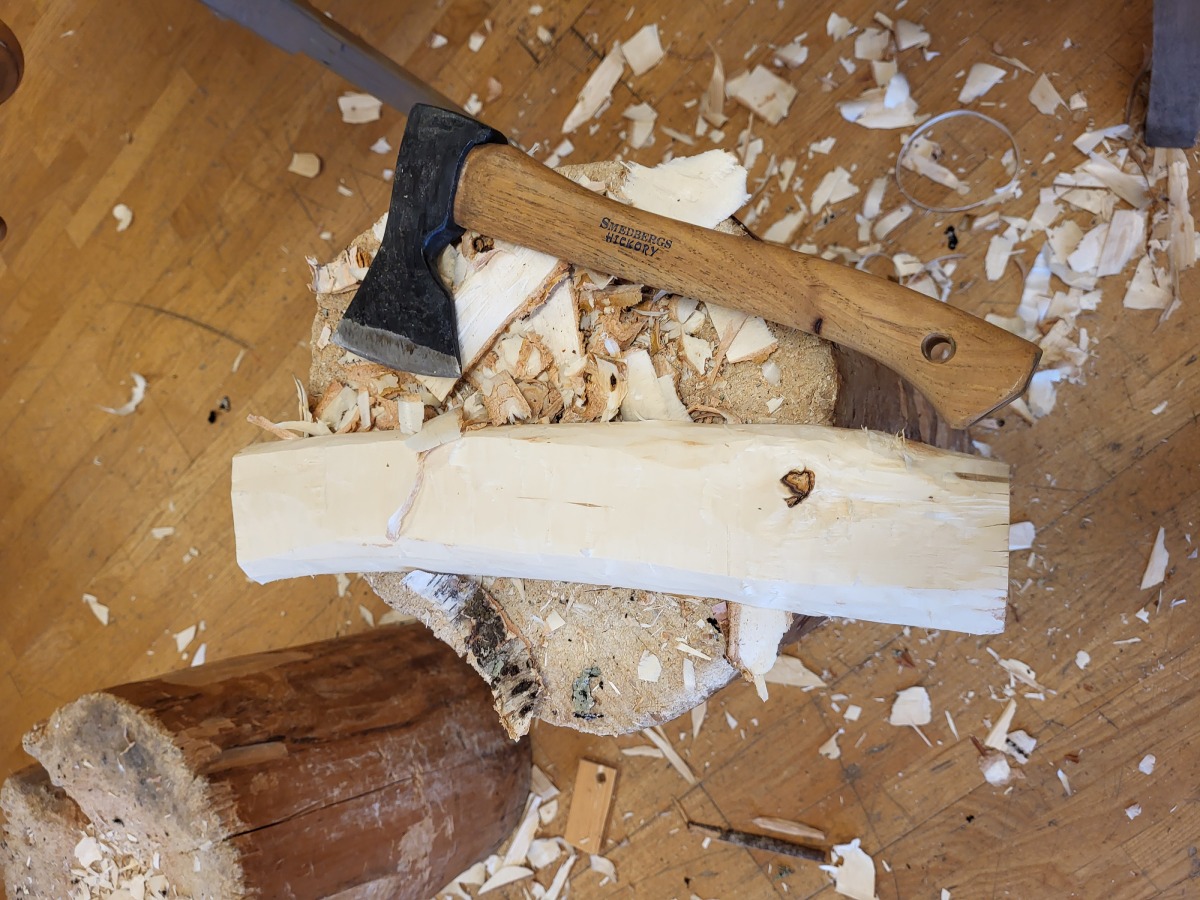
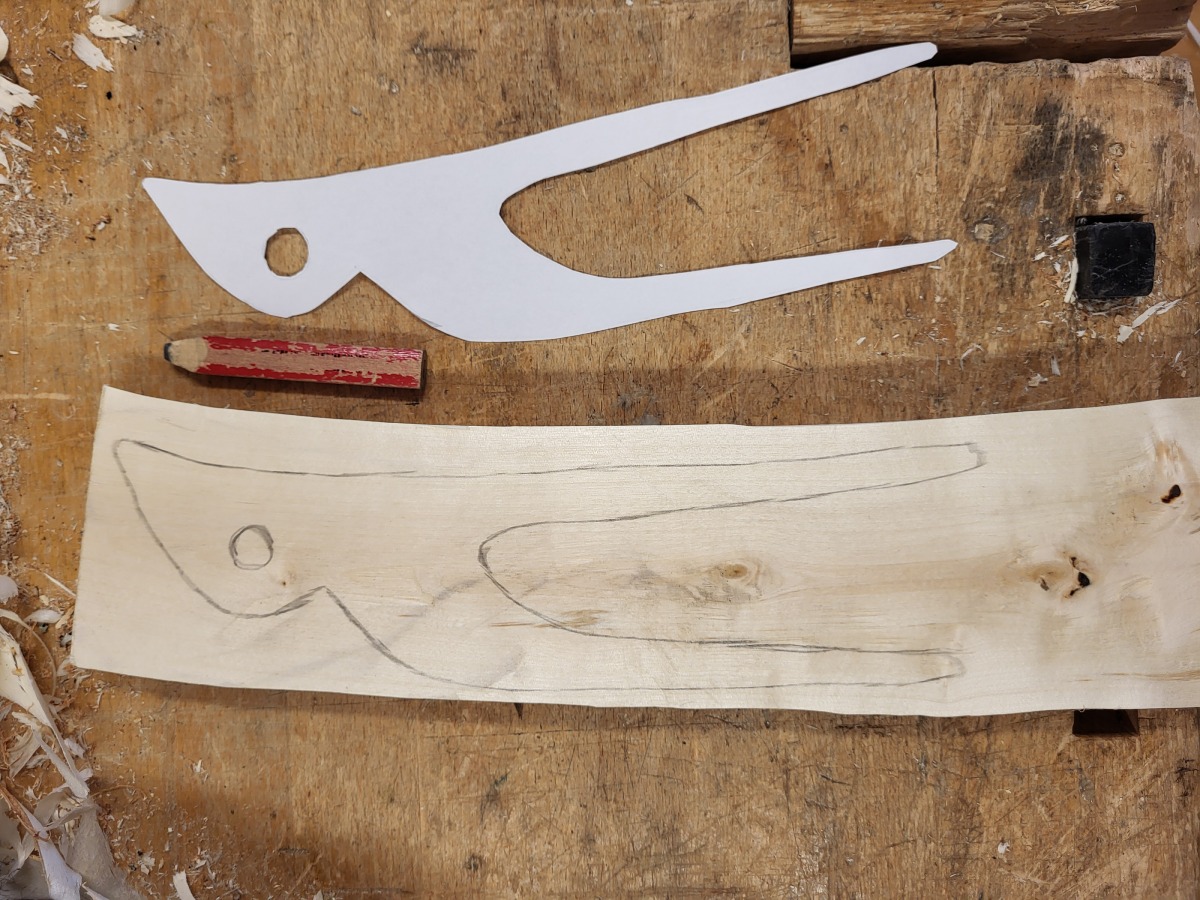
Figure 13: Copy the template onto the wood

Figure 14: Use saw to get the rough contour
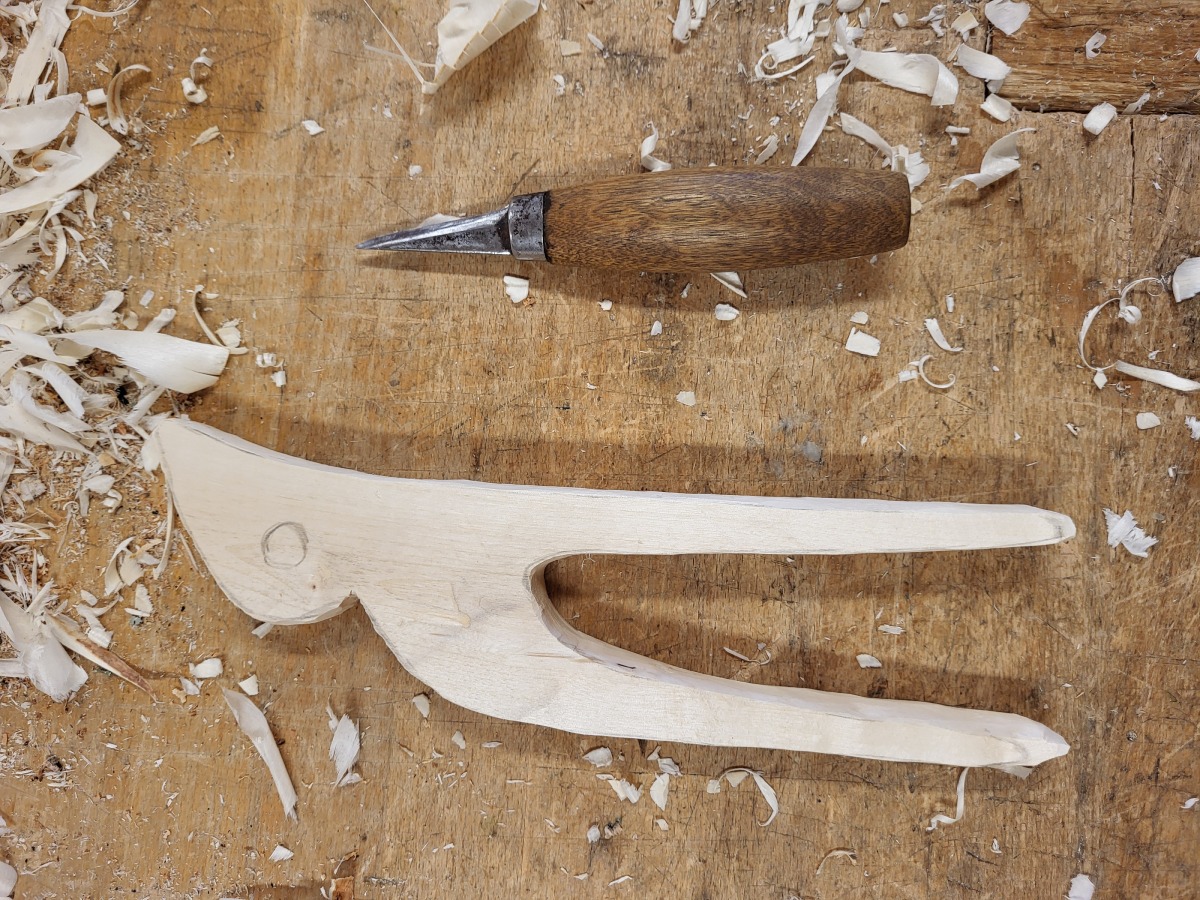
Figure 15: Use knife to refine the shape
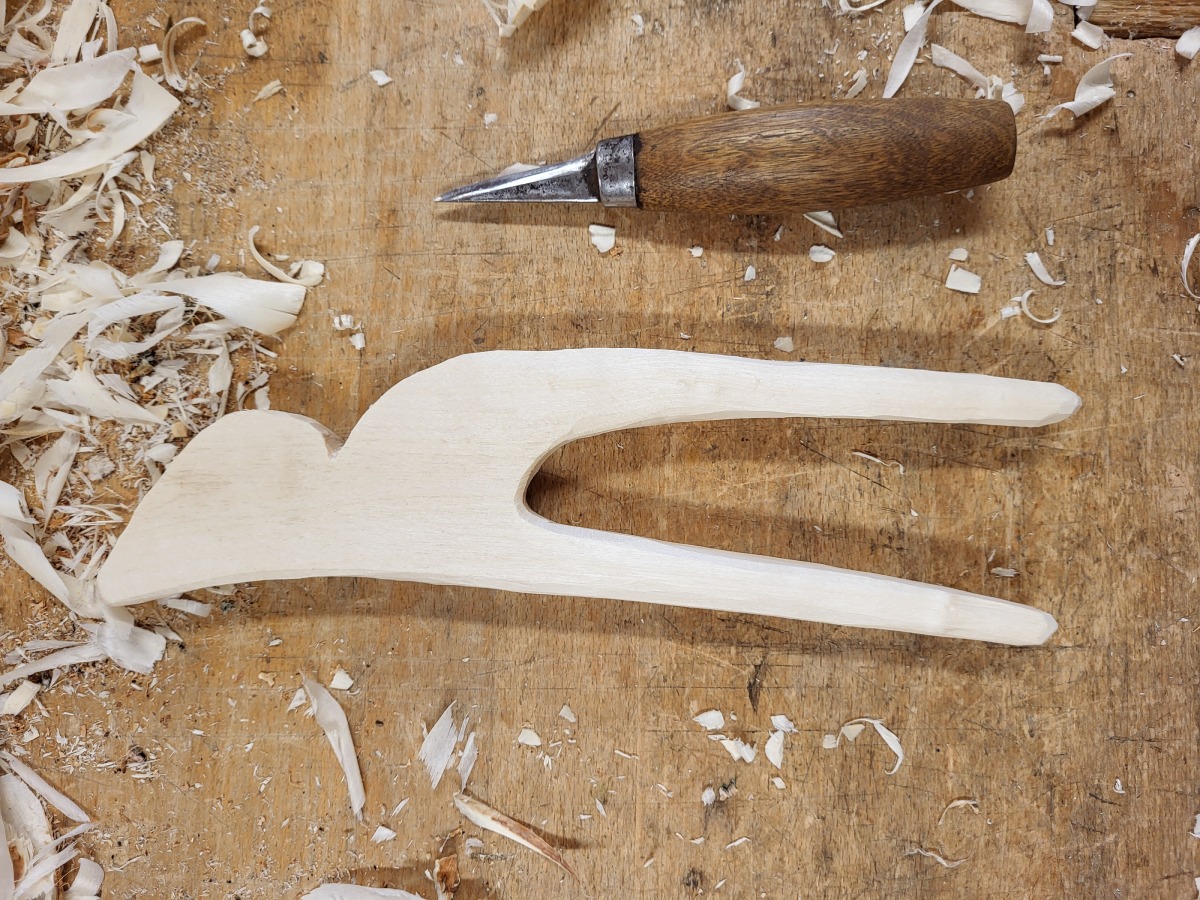
Figure 16: I can almost see the goat shape in the fork
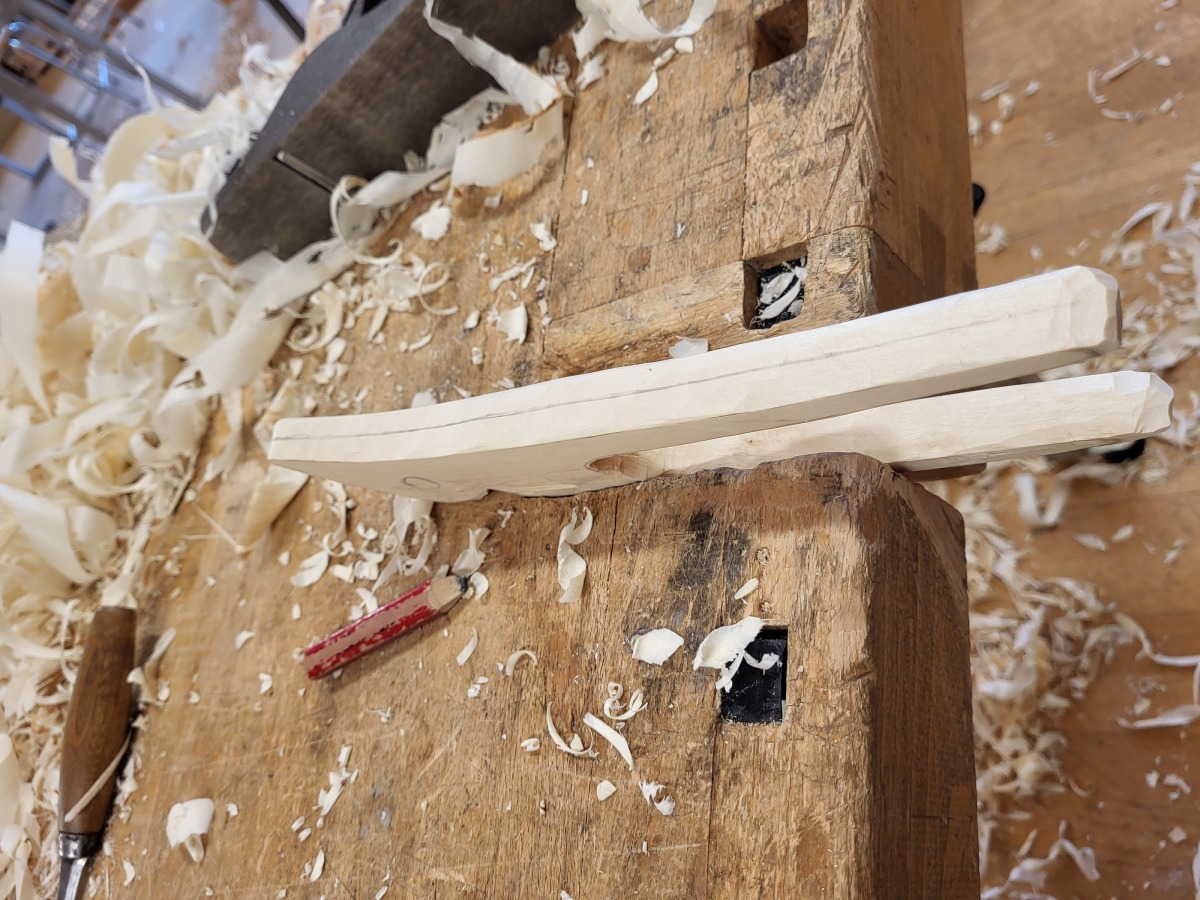
Figure 17: The 2D shape in the $xy$-plane is mostly there. Next I want to sculpt in the $z$-dimension, giving it a 3D shape. Start by drawing a line along the centre, to easier see symmetry.
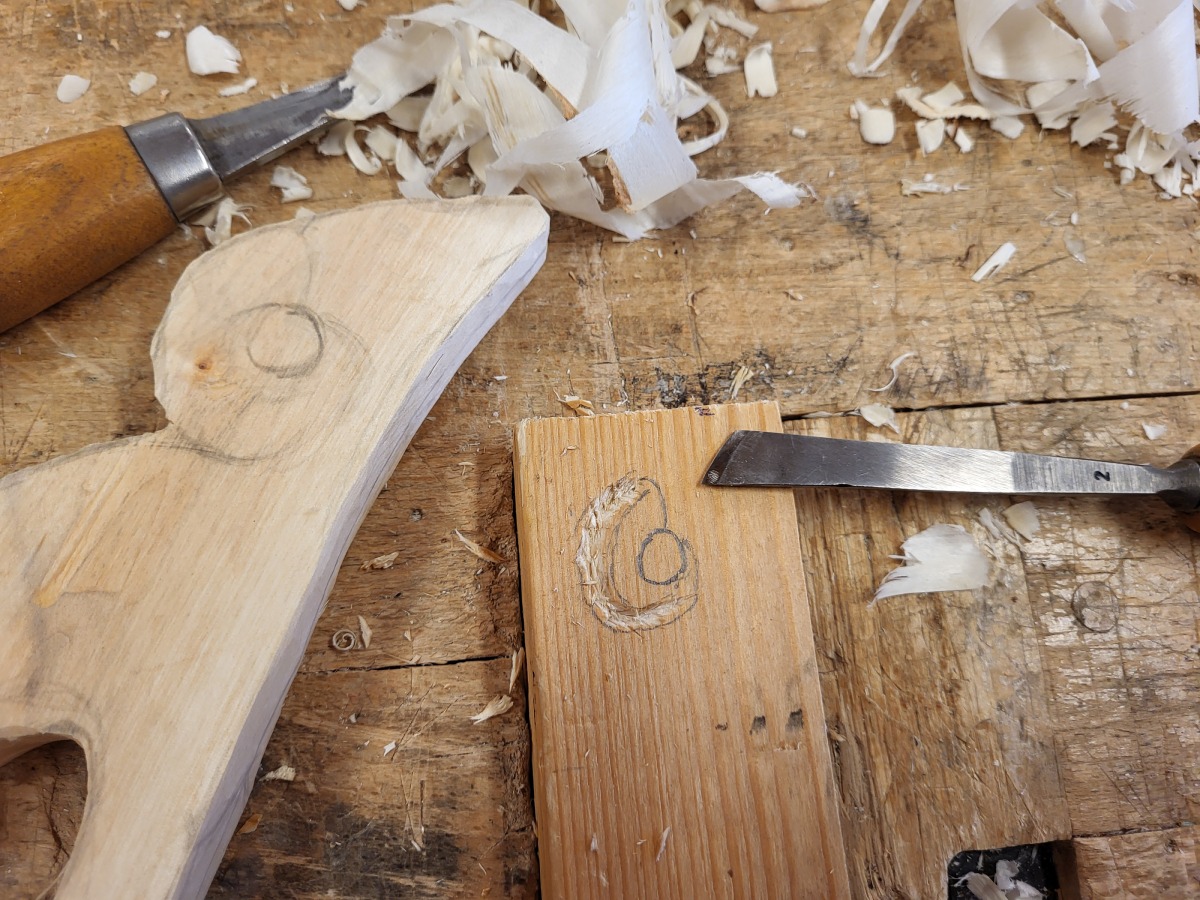
Figure 18: Practicing shaping the horns on a piece of spruce (swe: gran)
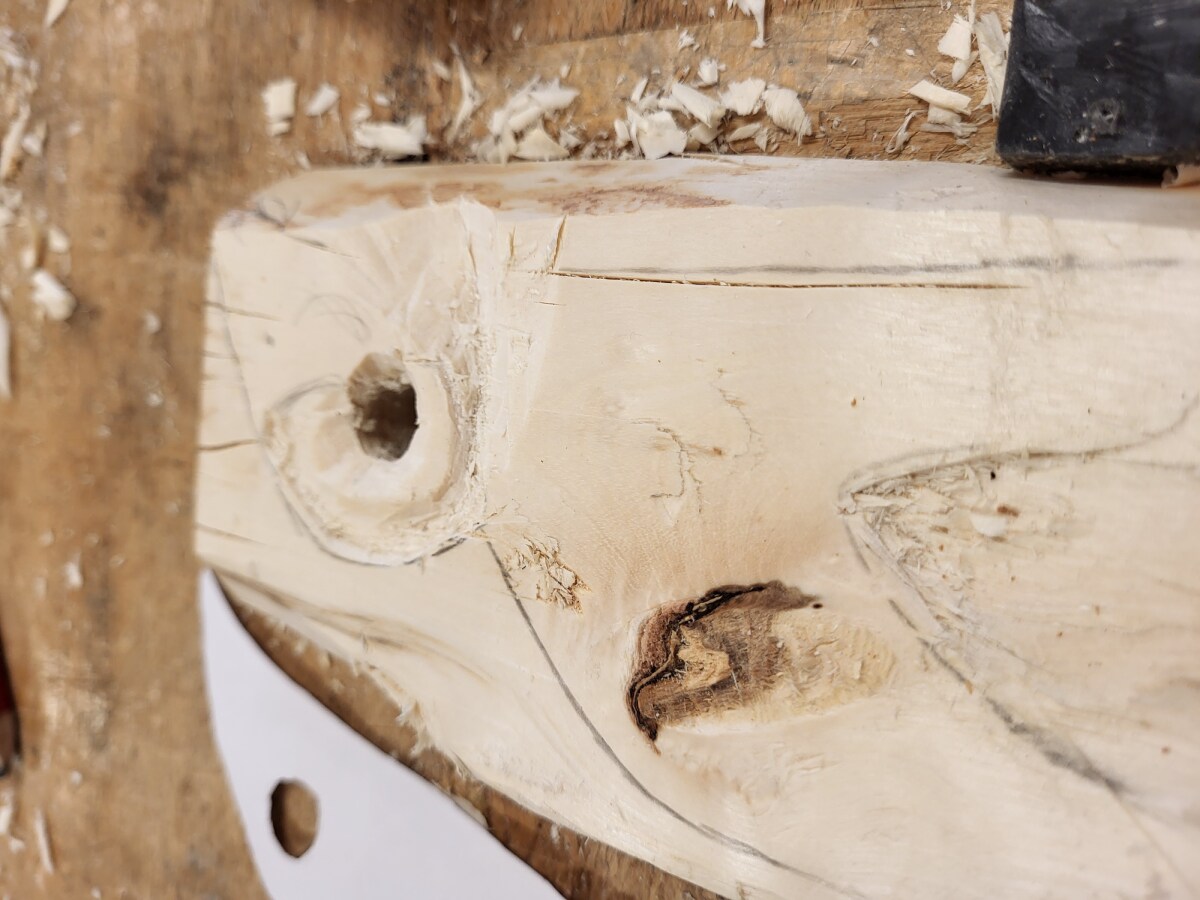
Figure 19: Better to practice on birch (from my first attempt)
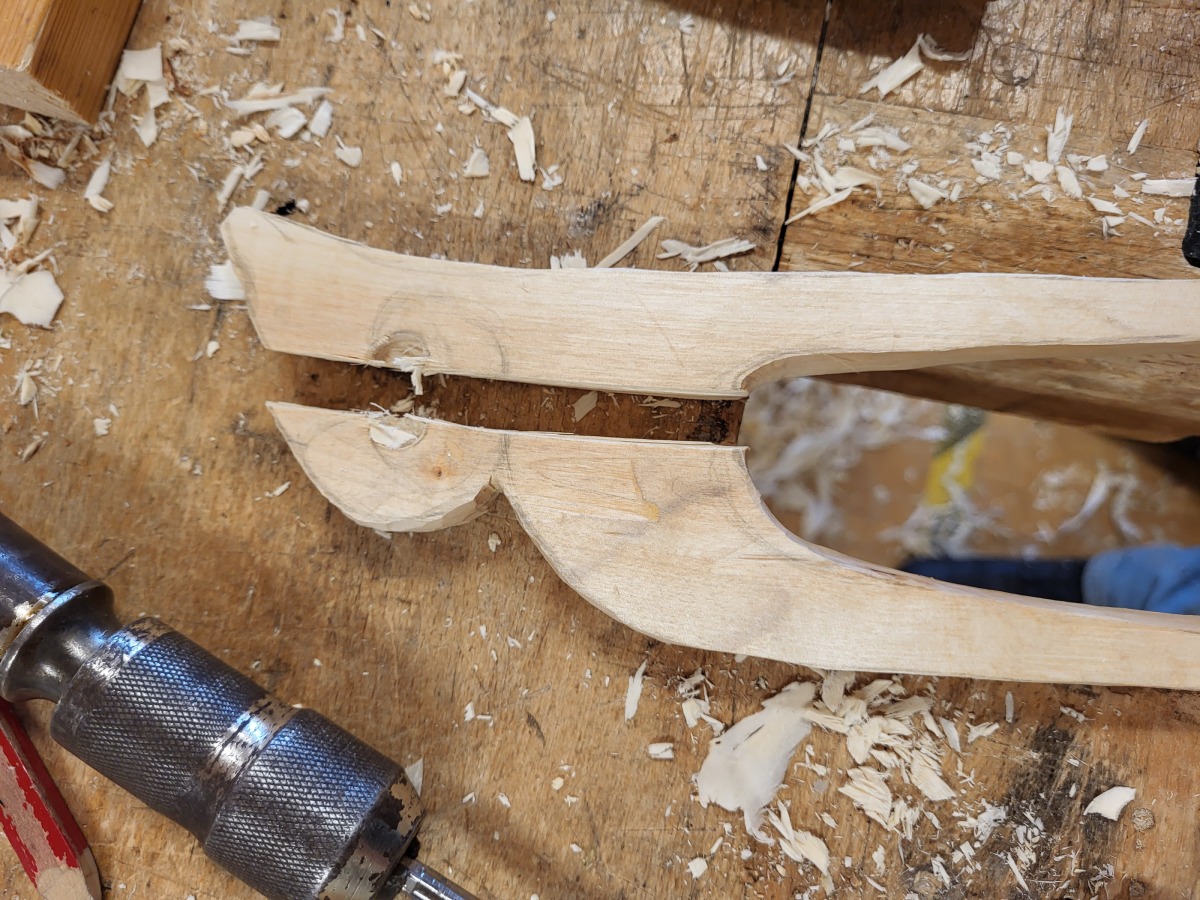
Figure 20: Alas, when I used hand drill to make the hole in the handle, that would also separate the horns from the head, it cracked.
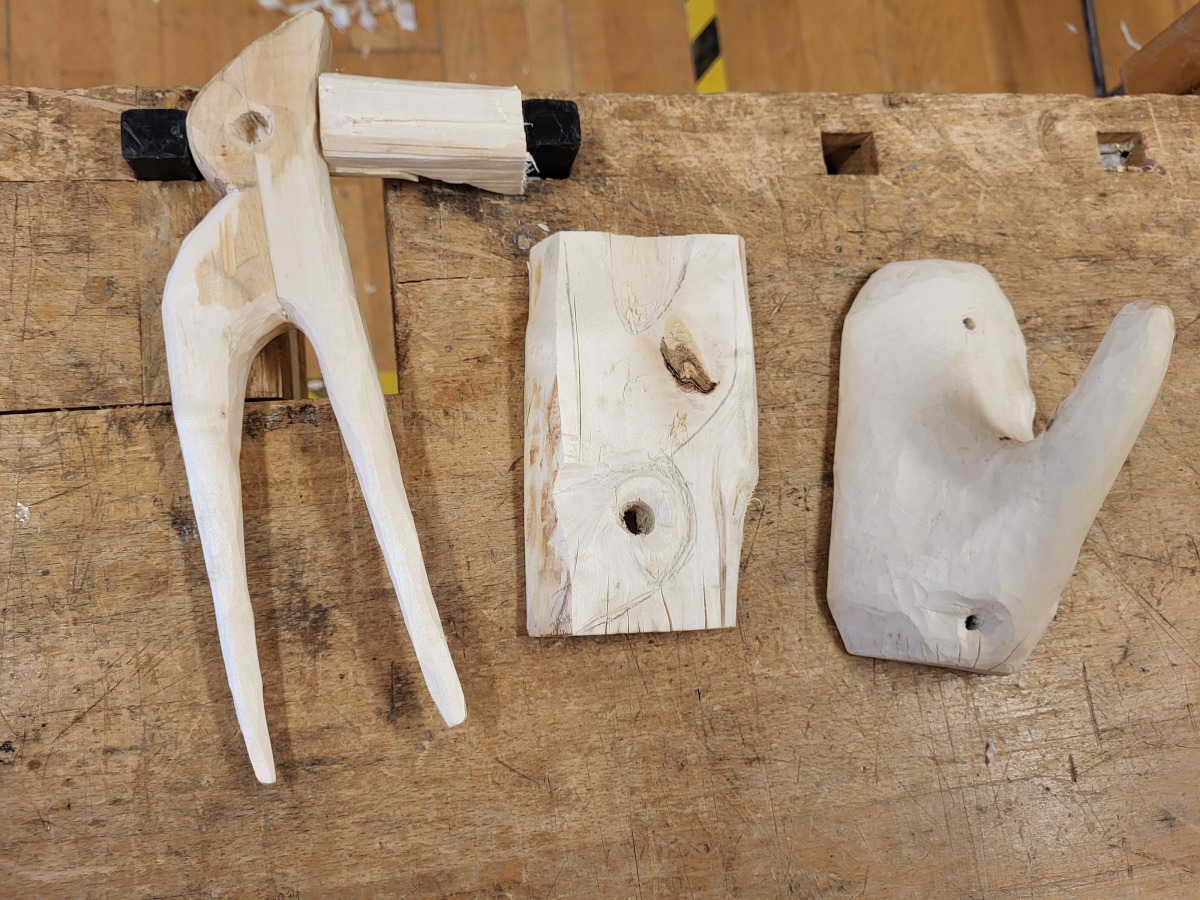
Figure 21: End result: a cracked meat fork, and a hook for wall mounting.
4. Lessons learned
- Use fresh wood
- Astute observer might spot that I forgot to strip the bark in two strips where the log wold split.
- Combination of drilling and clamping the piece from the side was not a good combination. It would have been better to fasten it along the other (up-down) axis, as that would not have incurred any critical stress in the wood.